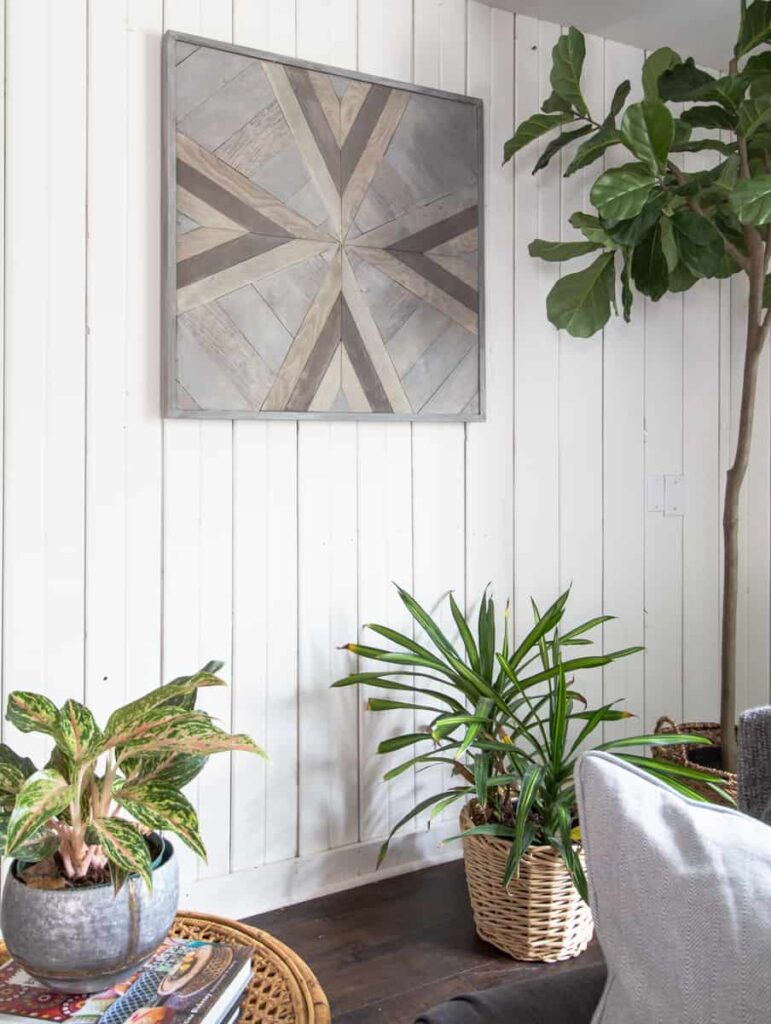
I have wanted to create a piece of wood art like this for quite some time. Cutting wood into patterns is not a new type of project for me. I created a fancy parquet pattern on a tabletop before. (You can see that here.) But this time I needed a very specific size and type of art to hang in our media room. See why below.

How to Build a Wood Art panel
Here are some key points from the video.
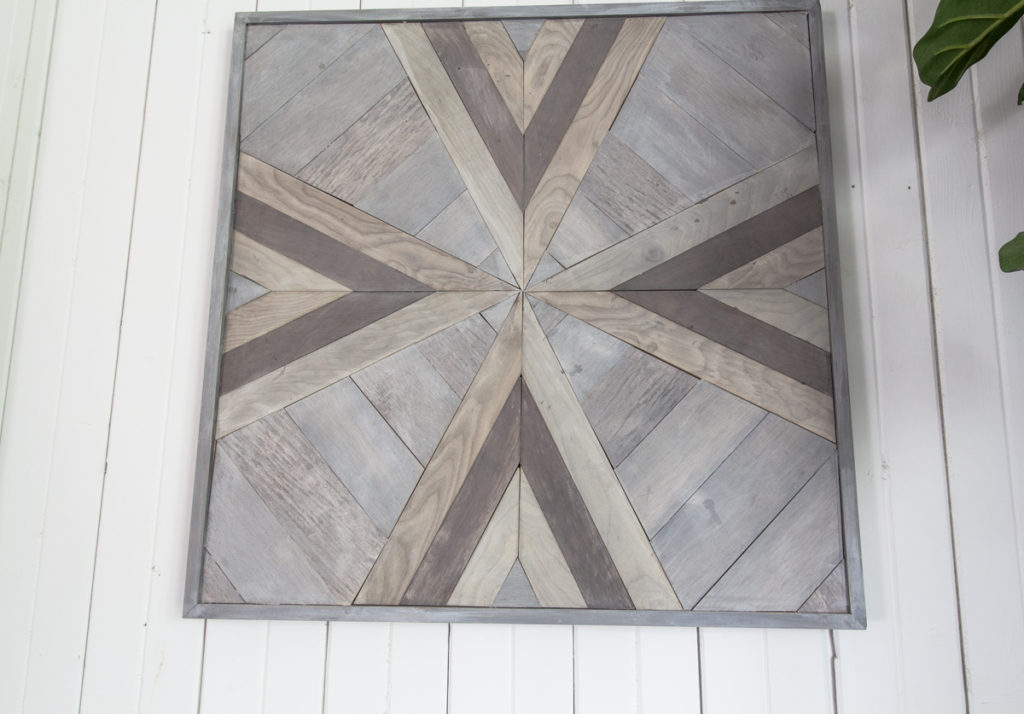
This art is created with a 32″ square base of luan.
I used scrap 1/4 inch plywood for the strips to create the design. We figured the scraps we had were a little over a 2’x4′ panel.
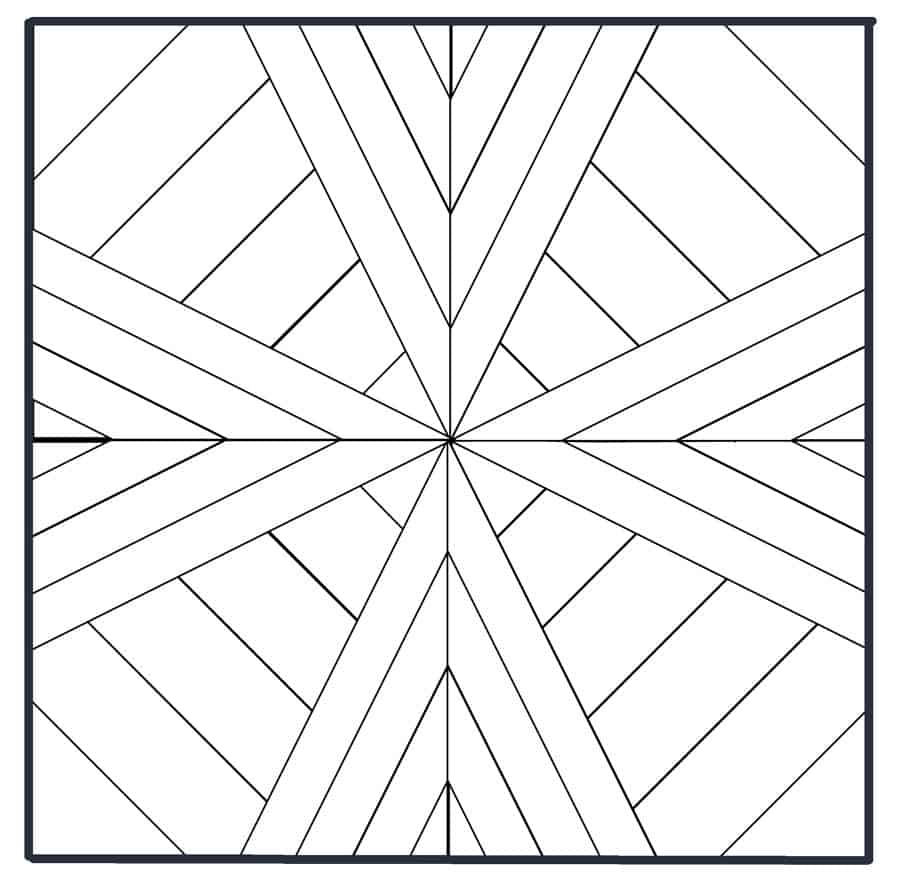
This cut plan shows you how many pieces and the finished sizes.

To create the triangles you will need to know two angles. The top, meeting point angles are 63 degrees. The bottom angles are 27 degrees. These two angles obviously add up to 90 degrees, which is why the jig to create the 63 degree angle, is cut at 27 degrees.
I walk you through how to achieve those angles on a miter saw in the video.
Here is a diagram of the art.
Tools & Helpful Supplies
- Miter saw
- Pin Nailer
- wood glue
- Multi-purpose tool, like the Ryobi Job Plus
- Vice clamp
- Square
The secret reason I built this art
On this side of the media room, there are two electrical panels, one of which is raised so that a normal piece of art would not sit flat on the wall.
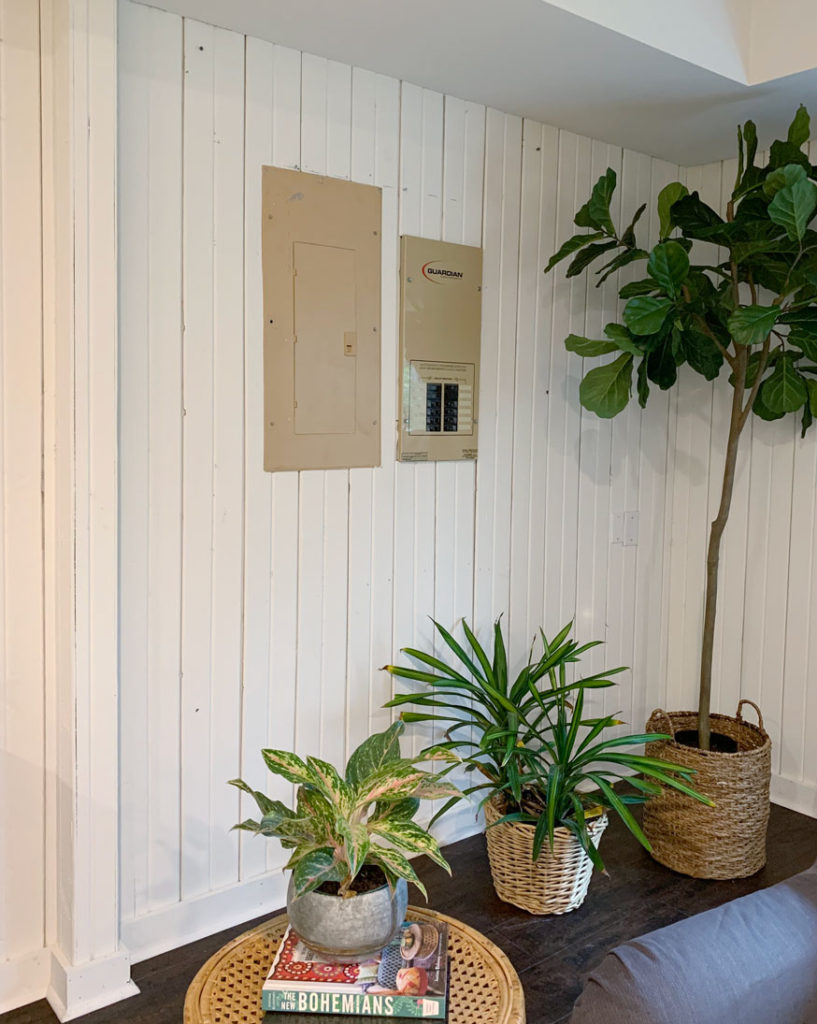
Previously, we hung a giant American flag to cover the panels. Which we all agreed was a great solution.

And last year, I just embraced the Americana look and decorated the tree with a patriotic theme.
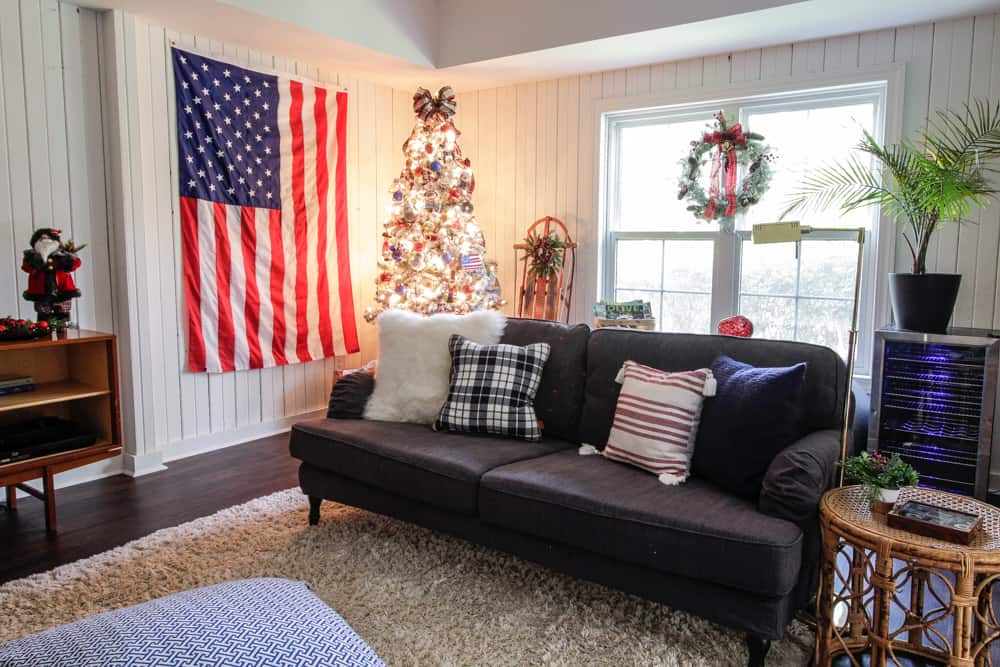
This year I had different plans for the Christmas decor and also I was just ready for a change. After renovating and decorating this house room by room for the last two years, it is finally time to give this room a refresh.
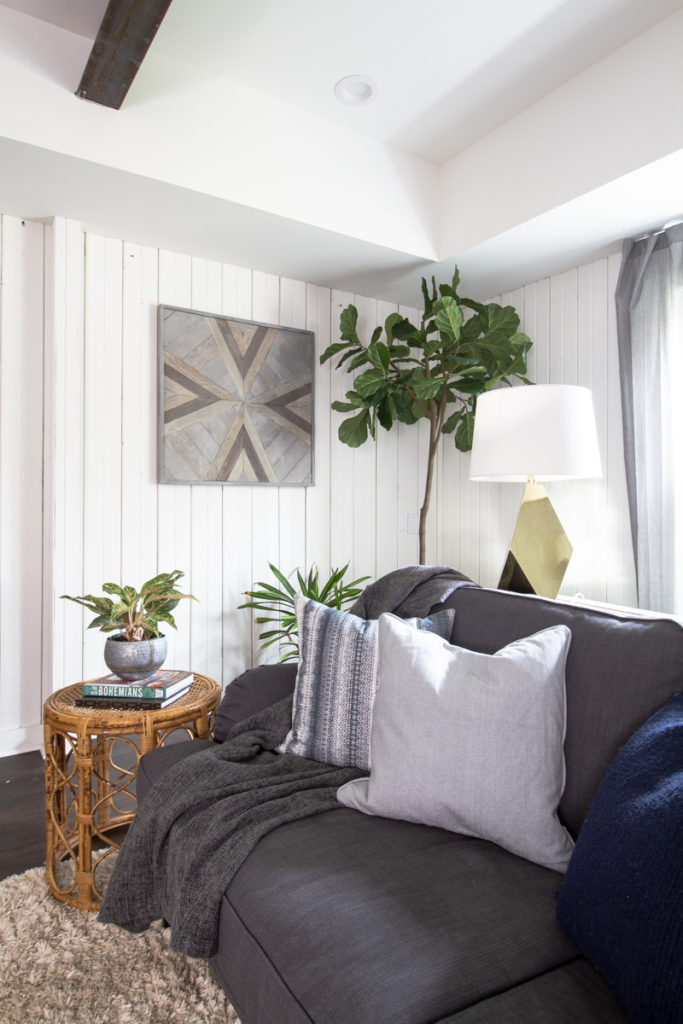
While this looks complicated, I walk you through the entire process. If you can use a miter saw, you can build this!
I would love to see your version of the wood art too! There are so many finishing options!!




No Comments