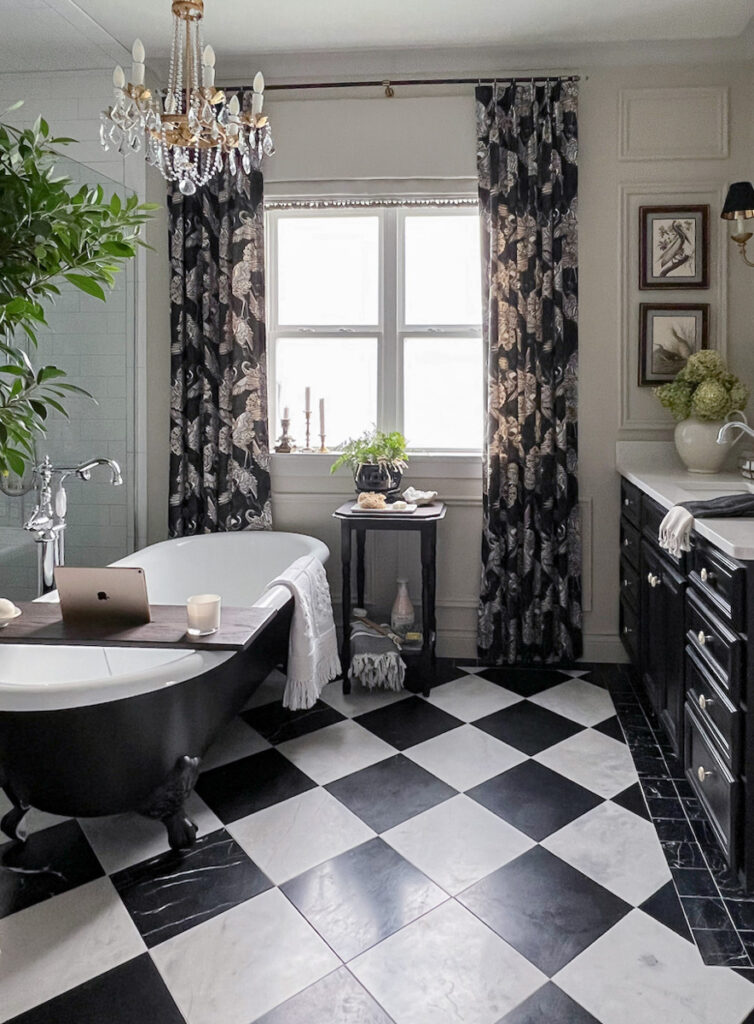
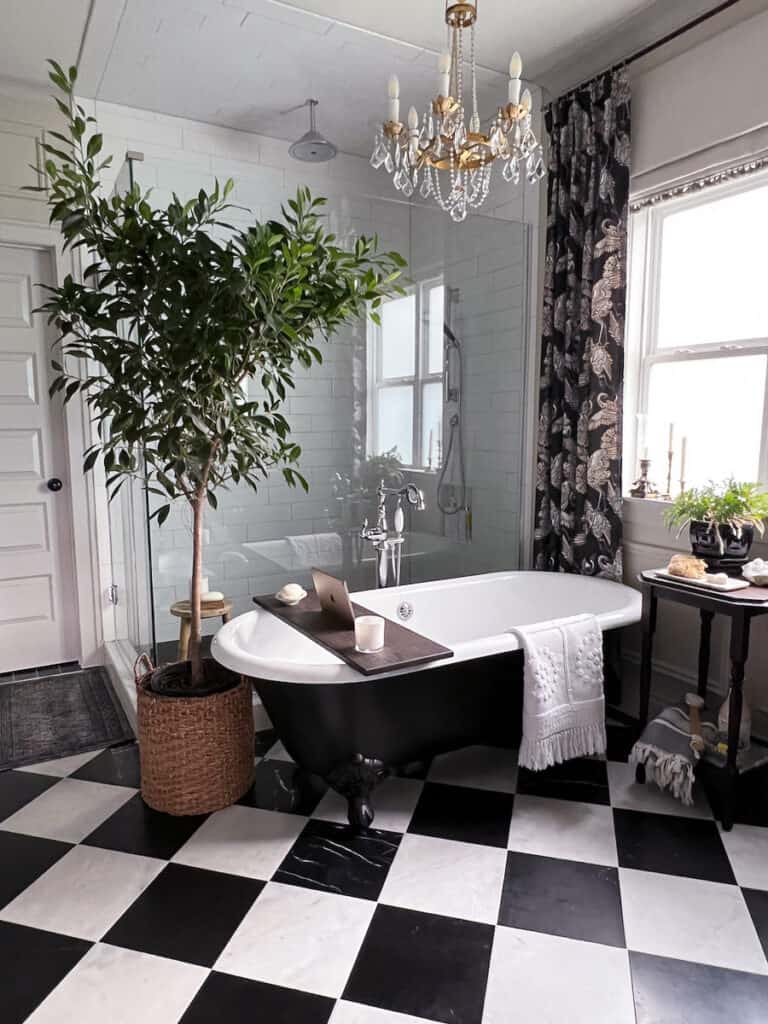
Building a beautifully simple bathtub tray that provided a safe place for my tablet was the last thing to do for this makeover. For all of the sources, visit the original reveal post here.
One of my favorite ways to relax in the evening is to take a long soak in our new clawfoot tub. Quite a few years ago, I added to the relaxation experience. I love watching a series or movies on my iPad! (This coming from a designer who said it was weird to put a tv in a bathroom just years before.)
This is actually not my first time to build a bathtub tray almost entirely for this purpose. The previous version was made from a beautiful piece of reclaimed oak and it was absolutely perfect for that tub! Because it was custom made for that tub, I thought it was best to leave it for the new homeowners. (That’s the beauty of building your own projects, you can customize the measurements to fit your needs perfectly.)
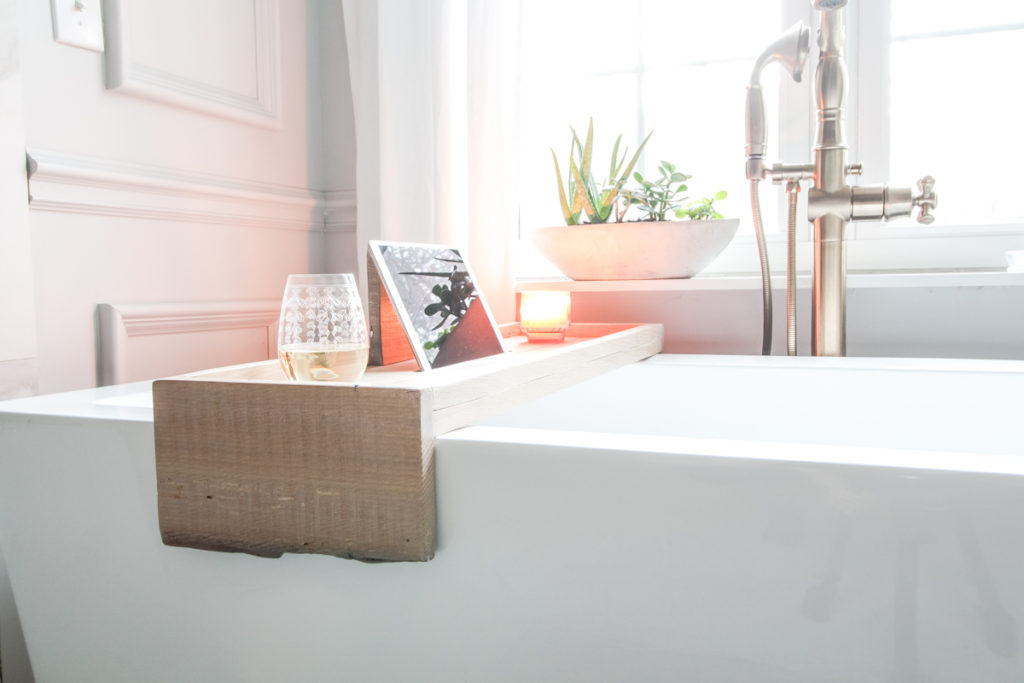
You can find the full plans for this tray here. I think it’s still a well thought out design. However, I began to think the tray itself could be simplified and still keep an iPad or any kind of tablet secure without the lip around the edge I had incorporated to the previous design.
As long as I designed the new tray with some type of brace to keep it from slipping, even if it were to be accidentally bumped, nothing would fall off.
I also really wanted to find a way to simplify the design further, eliminating the stand behind the iPad. I was concerned about how secure the iPad or tablet would be without the stand, but I found that as long as the width and the depth of the routered out slot was small enough, the tablet would be very secure.
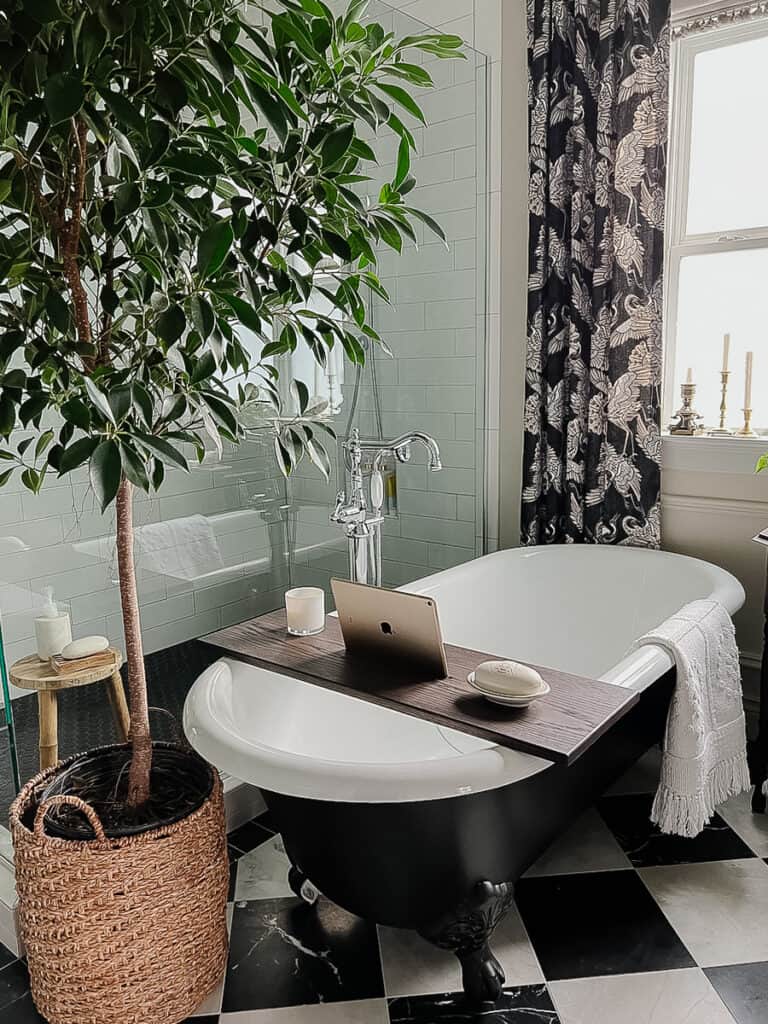
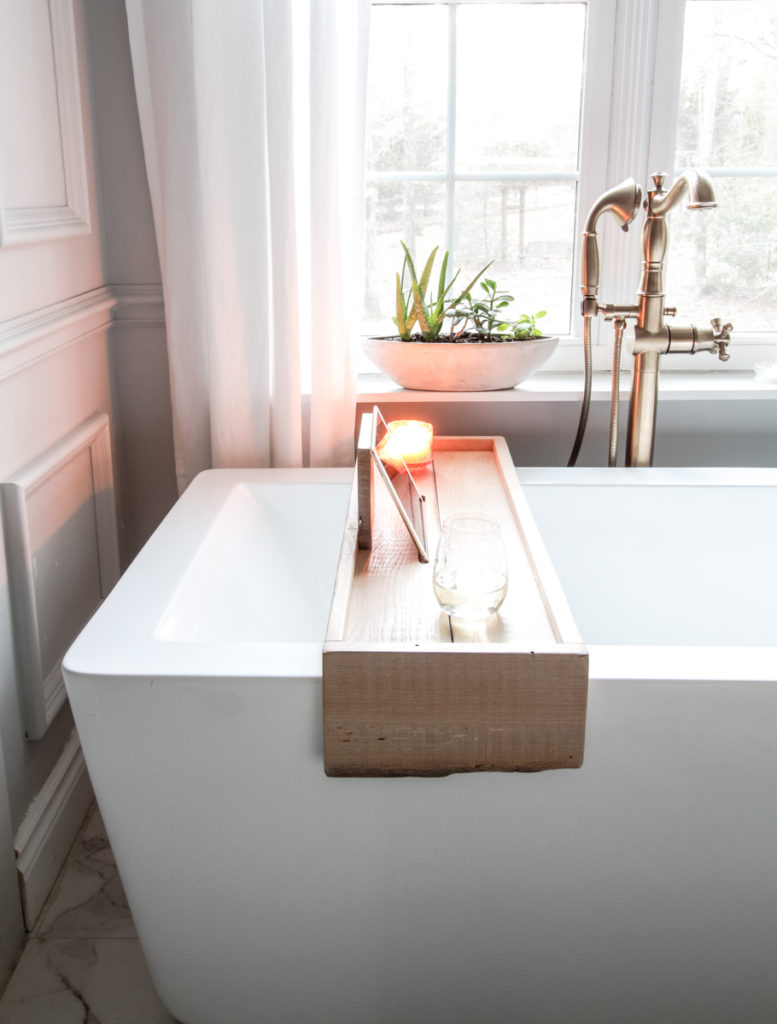
From this angle, you can see the braces that discreetly hold the tray in place. The braces fit snug inside the rim without rubbing against the sides of the tub. Even with an accidental bump, the tray doesn’t move much at all, and certainly not enough to jostle anything on the top of the tray.
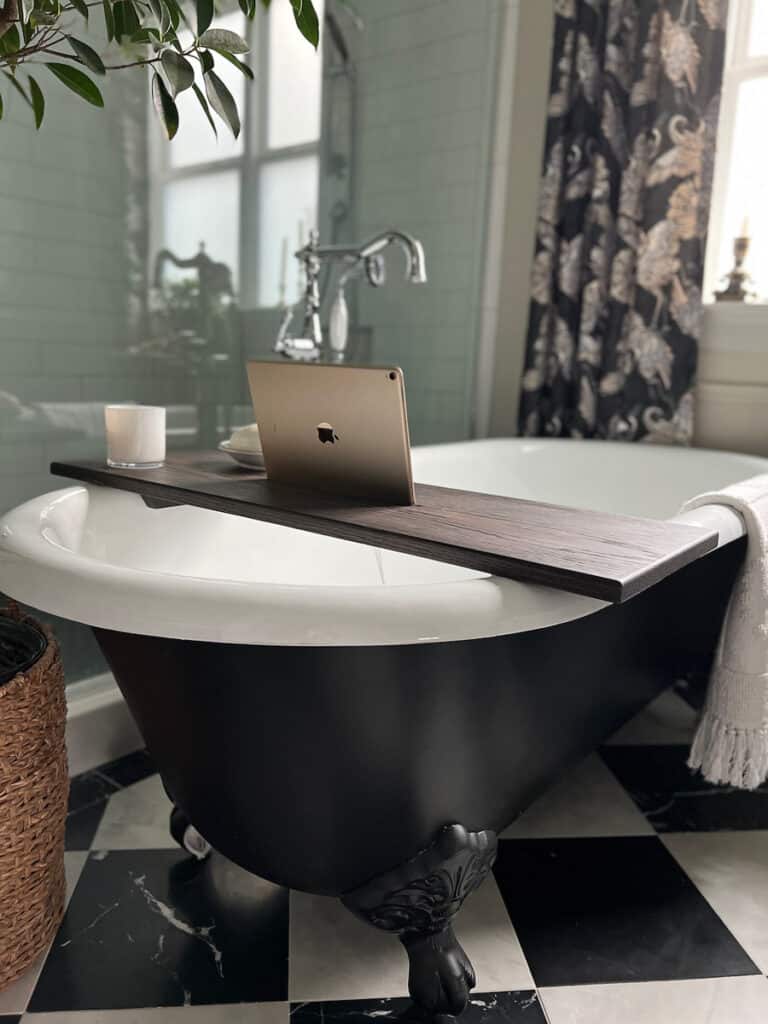
The other very important measurements were the depth and width of the routered slot for the iPad. I have an iPad Pro 10.5” and plunged down 1/4” for the depth. If you have another type of tablet you will want to test those dimensions on a scrap piece of wood.
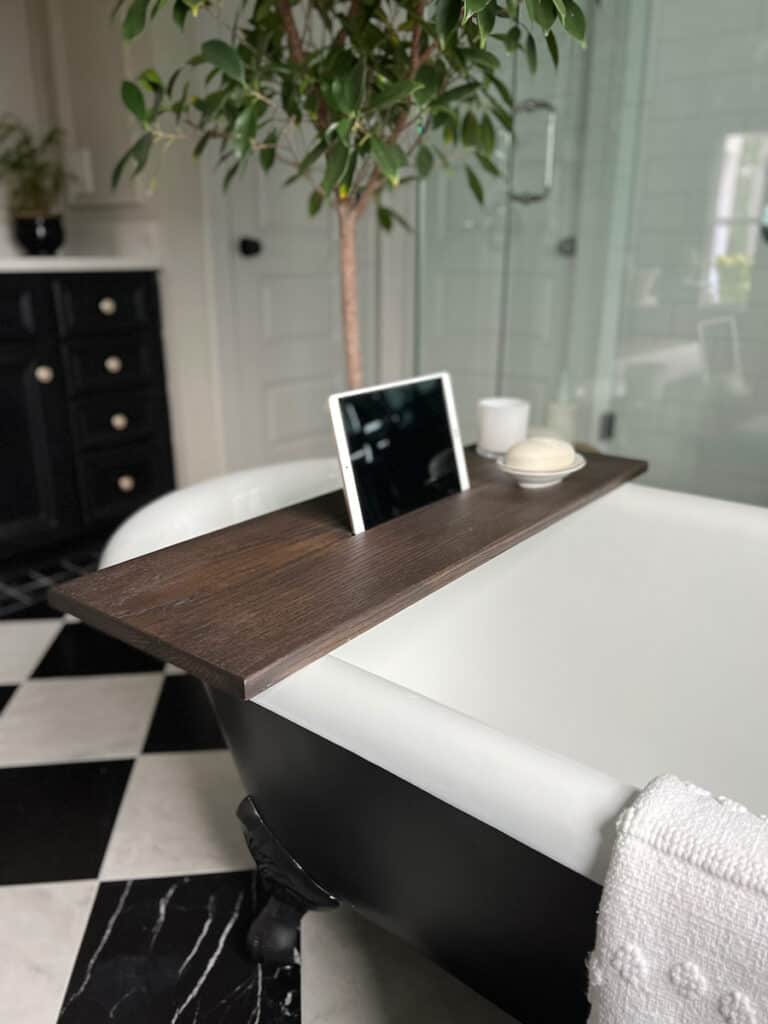
How to build a simple bathtub tray.
- Gather the measurements of your tub. You will need the measurement from one inside edge to the other. (Bathtub rim to rim on the inside.)
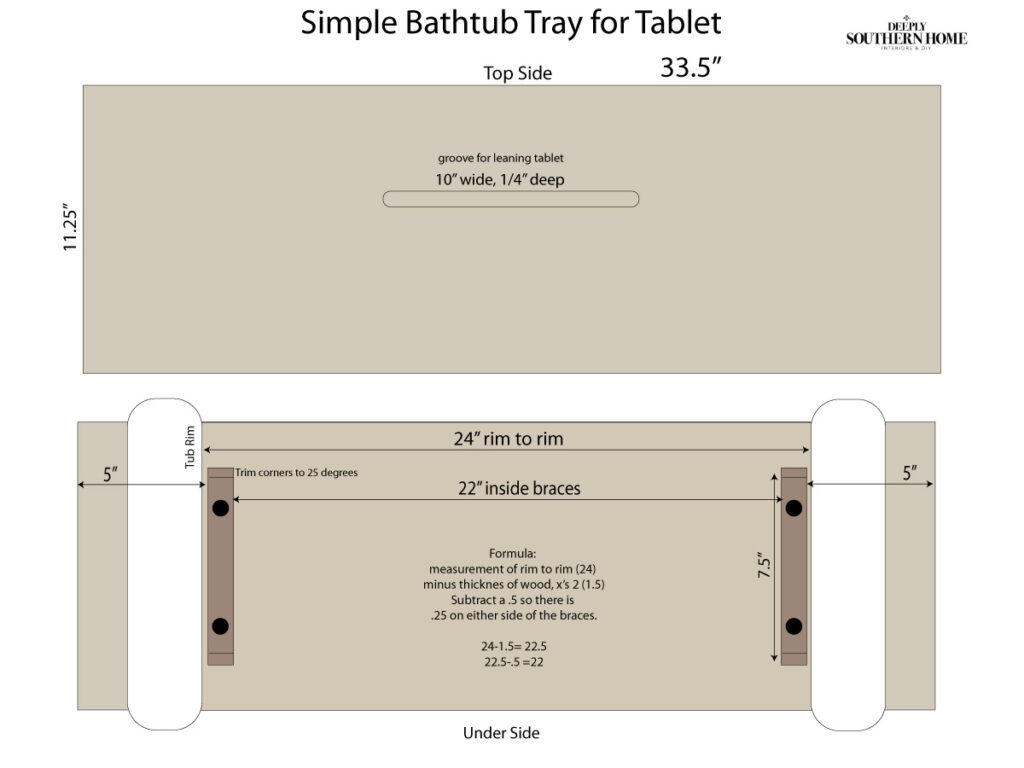
- Use the simple plan below as a guide, substituting your tub’s measurements for a tight fit. My tub is 24″ wide on the inside. The space between the brackets is 22″.
- Cut your board to nearly the size you need. I added about 4 inches to my desired length. I wanted to give myself the opportunity to square the board down to size at the end so that the routered out slot would be perfectly centered.
The best way to create the slot for the tablet in the center of a board is to create a router jig. I used this palm router and find it to be the perfect size for all sorts of projects.
How to cut the slot/holder for a tablet
- Using a scrap board longer than your desired slot, cut two pieces of wood as guides. (I used a quality piece of luan.)
- Nail the first trim piece into place.
- Lower the blade of the palm router so that it can sit flush on the board. Set the router next to the first piece of trim and transfer that width. Or measure the width with a ruler.
- Nail second trim piece down so that the palm router fits snuggly inside. Making sure everything is square.
- Lower the blade and cut through the bottom piece of wood to create the jig. Taking care not to cut it too long.
- Always clamp your working piece to a secure surface. In this case make sure you have your cut board elevated or hanging off the work surface to avoid cutting the surface underneath.
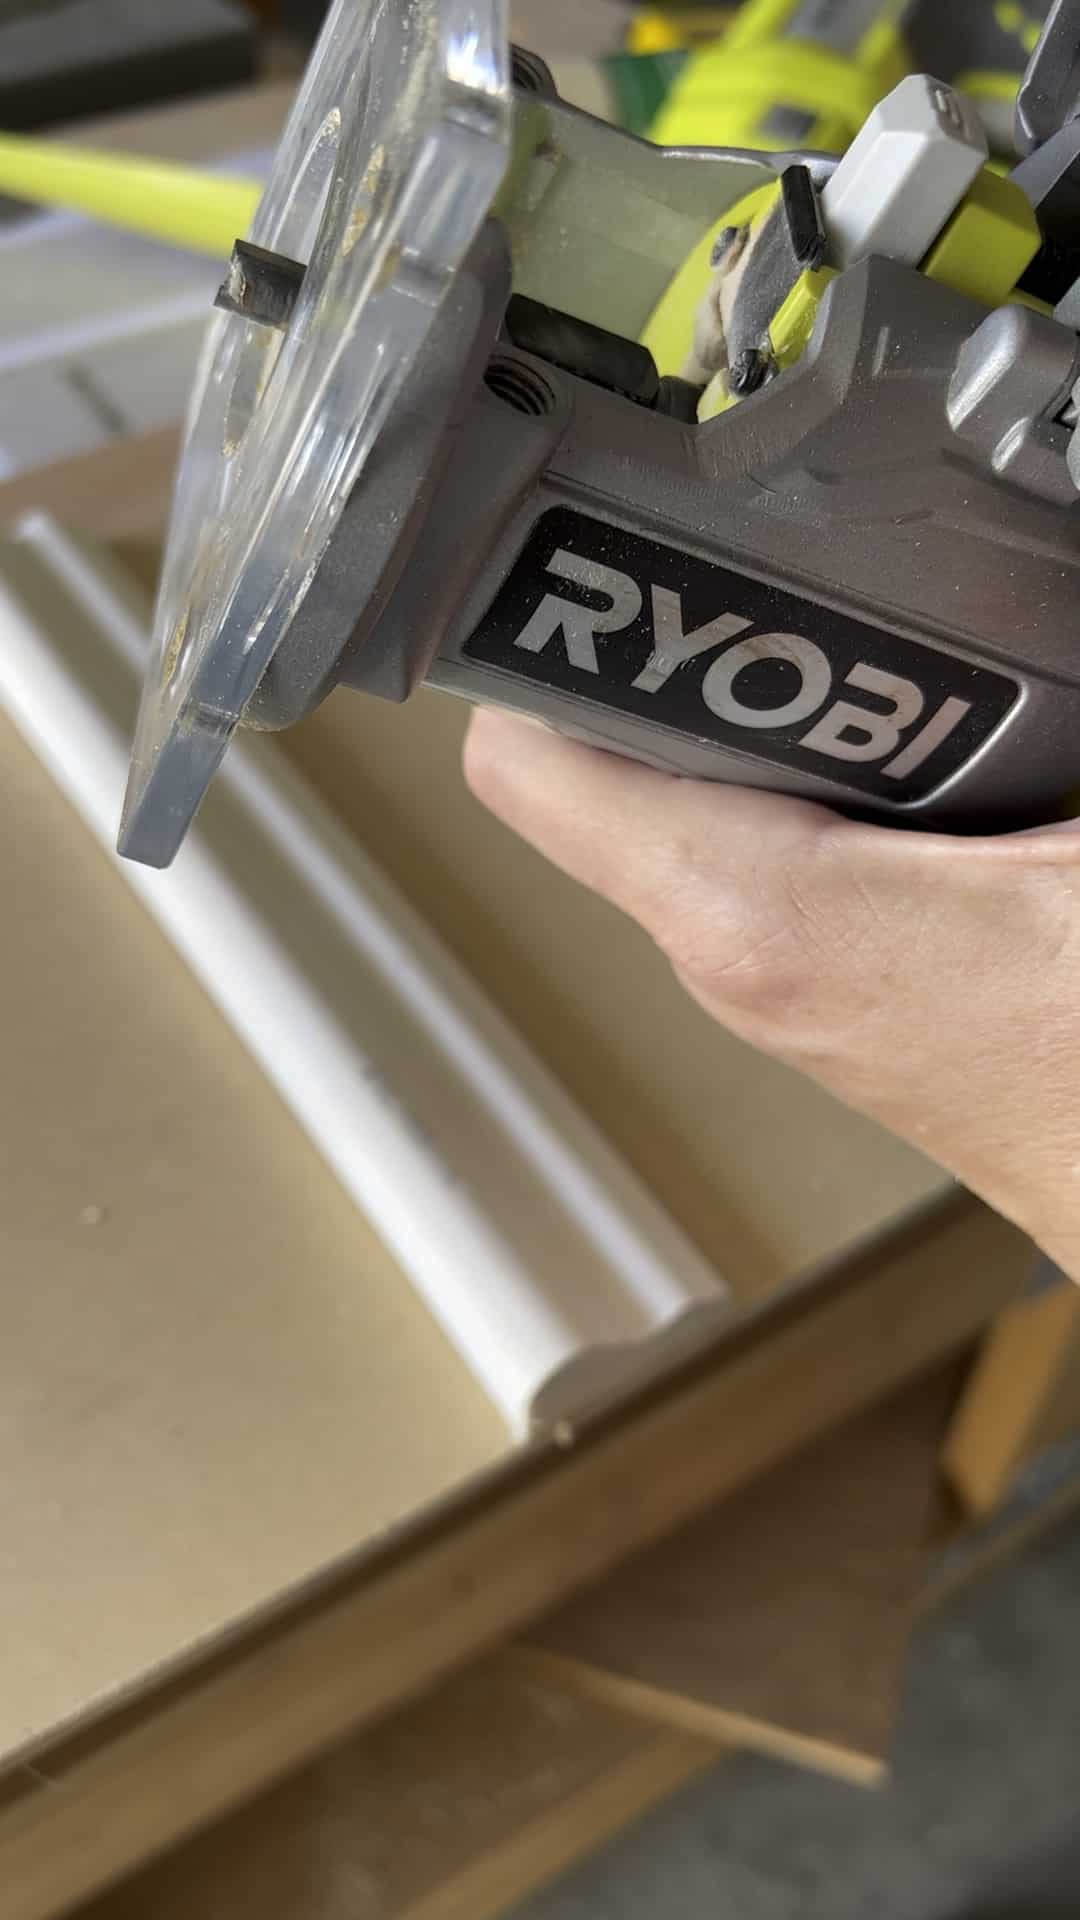
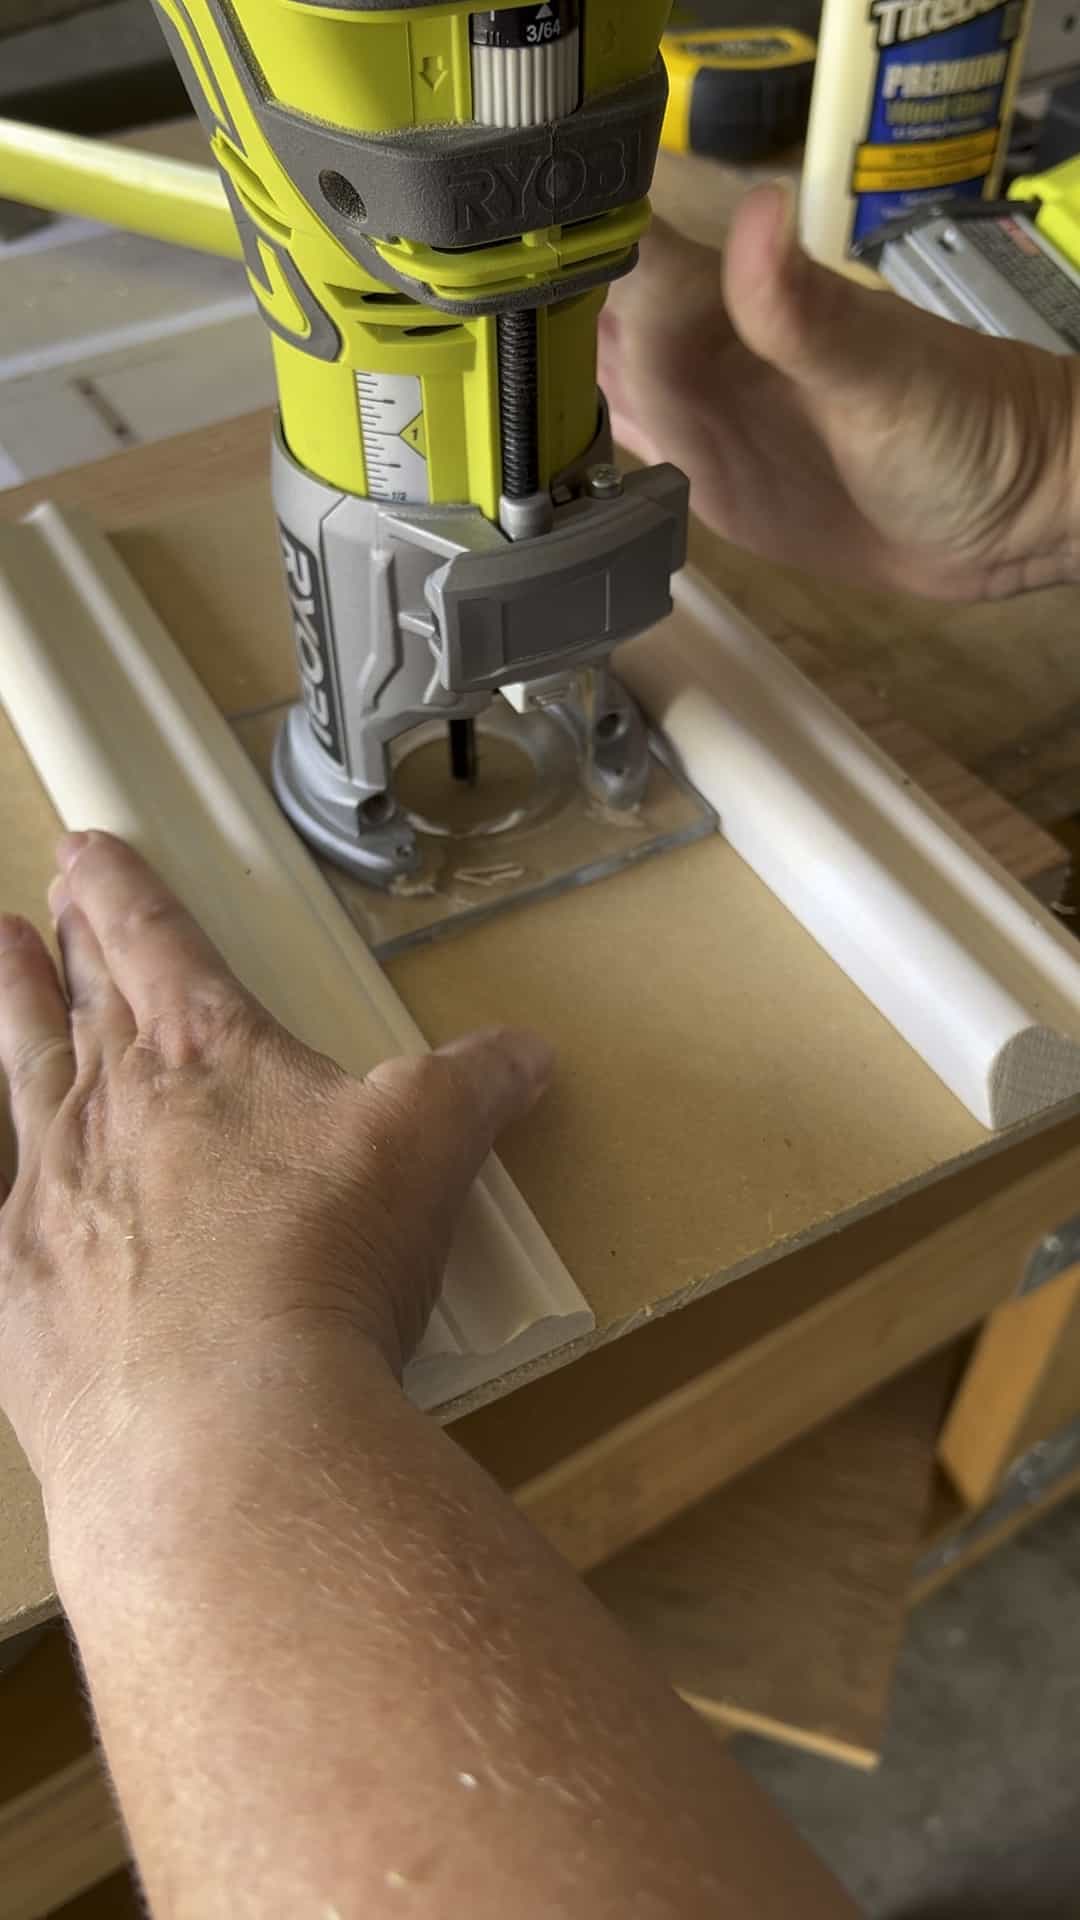
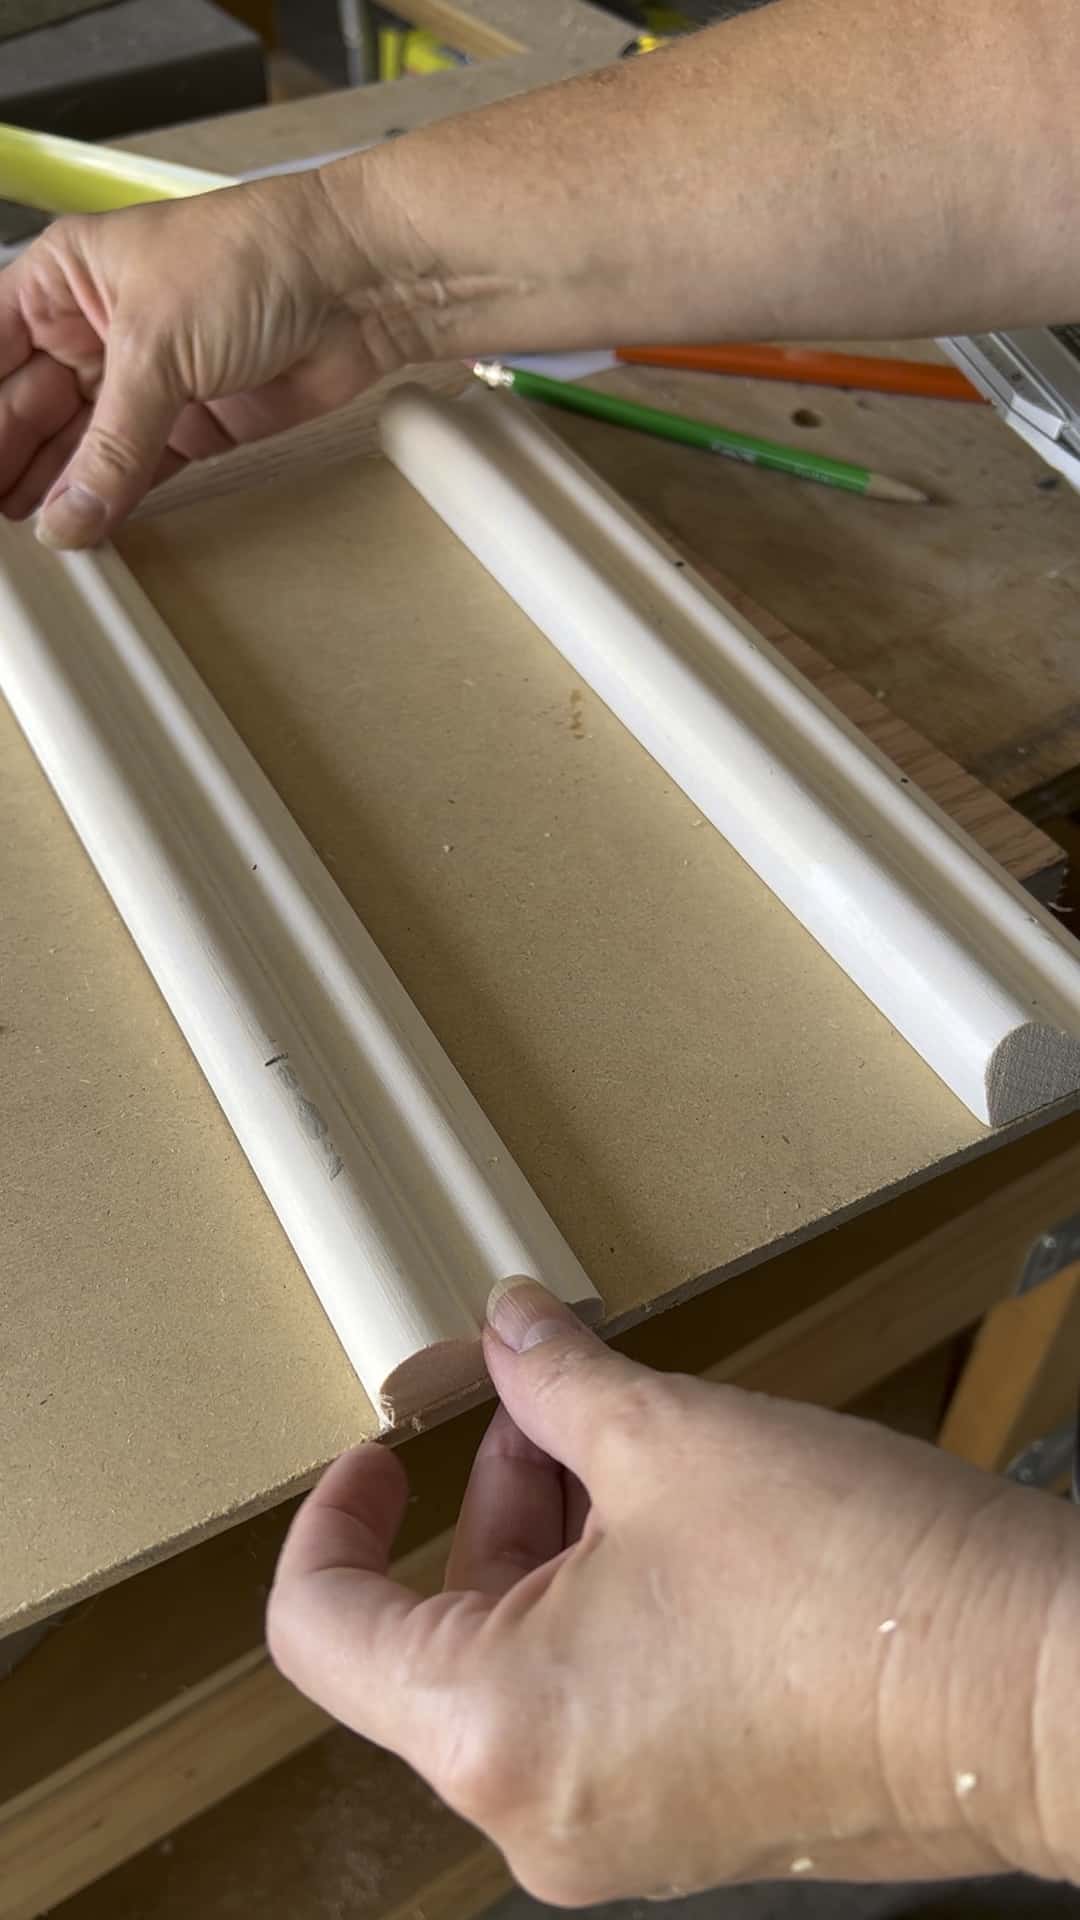
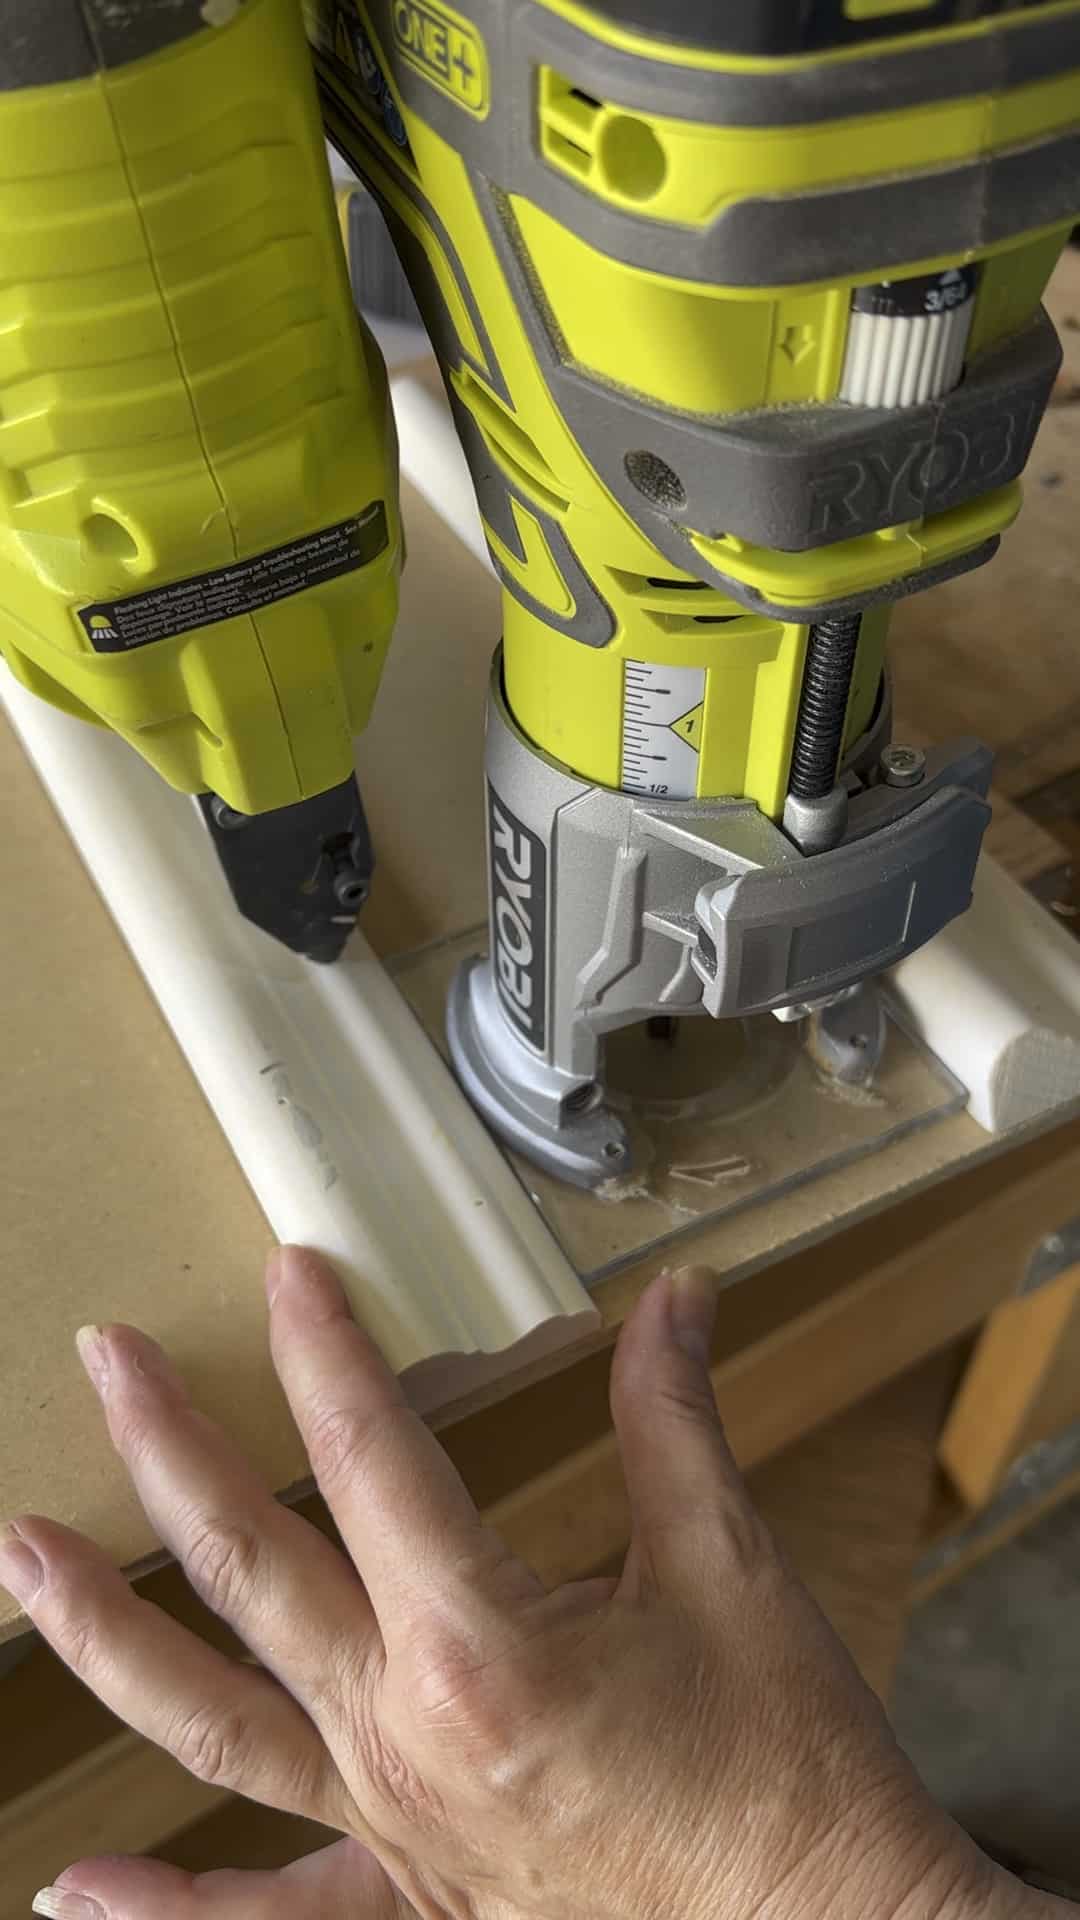
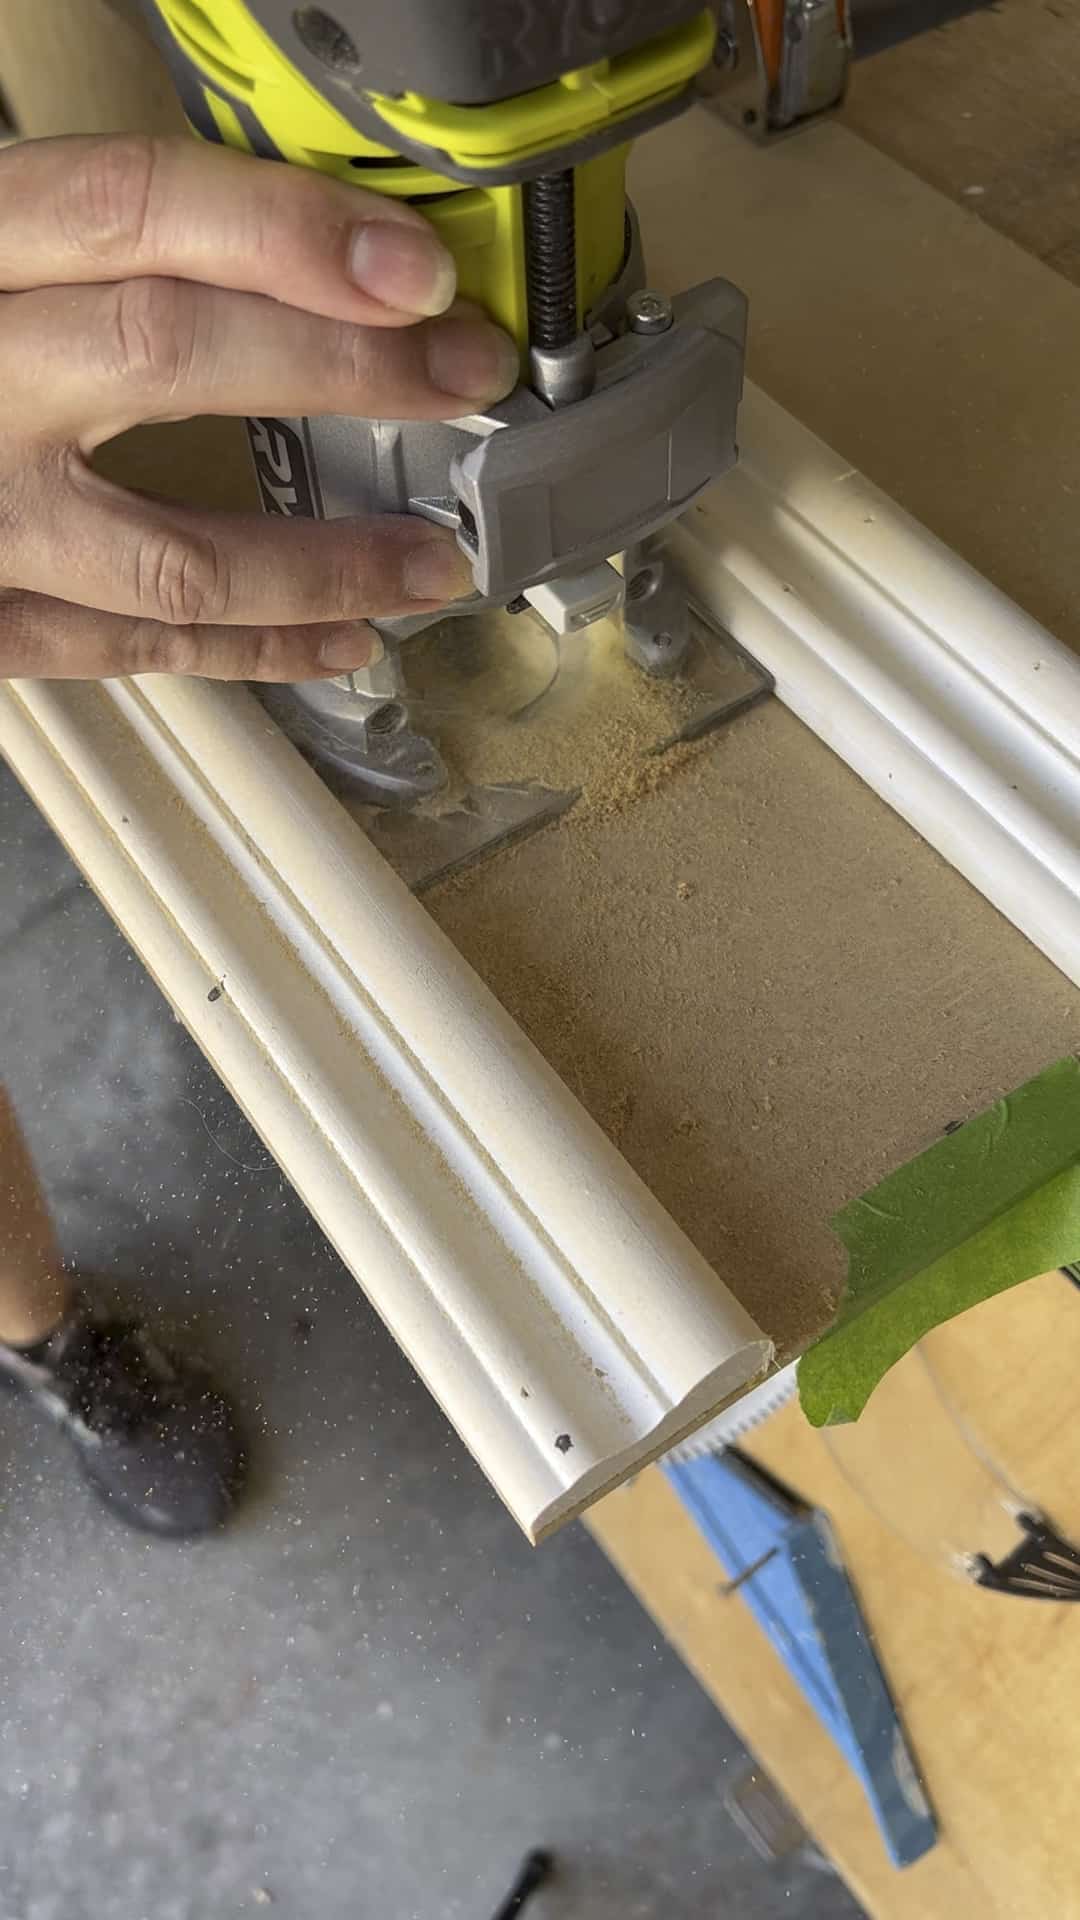
Take a moment to cut a test slot for your tablet. You want the slot to offer a snug fit with just a little wiggle room to lean back ever so slightly. The length of the slot can be just a 1/2 inch bigger than your tablet. I used a 5/16″ bit from this set for my iPad.
After testing your slot width and depth, it’s time to cut the board you are going to use for the bathtub tray. I chose red oak for my tray.
- Center your jig on your board vertically and horizontally or where ever you would like. (I chose the vertical center so that if the tablet happened to tip it would land on the board. )
- Clamp the jig onto the board and your work surface.
- Drill a hole into the wood so that the router can drop into the hole before you start.
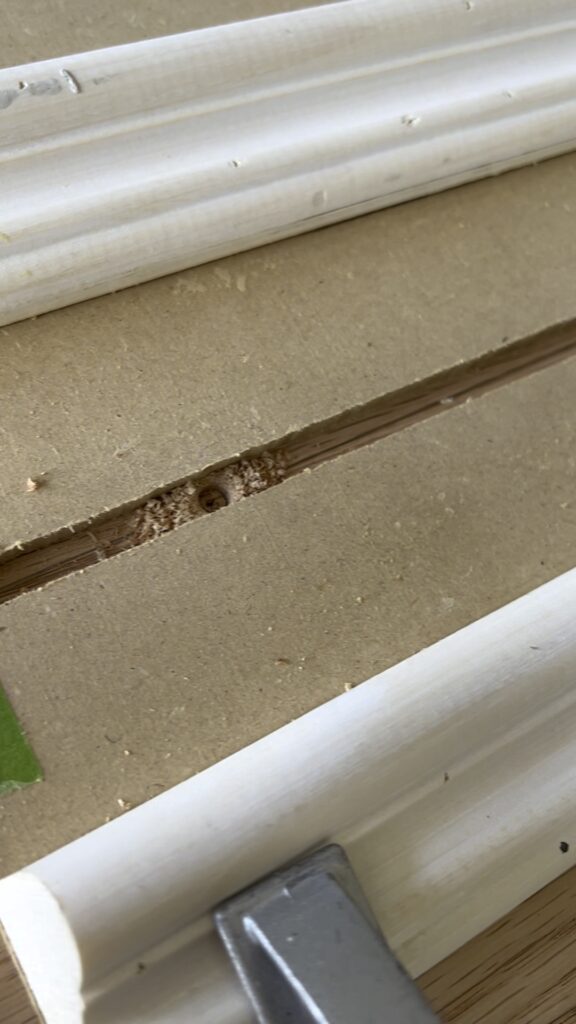
Slowly lower the blade until you cut down to your desired depth. I used 1/4 of an inch.
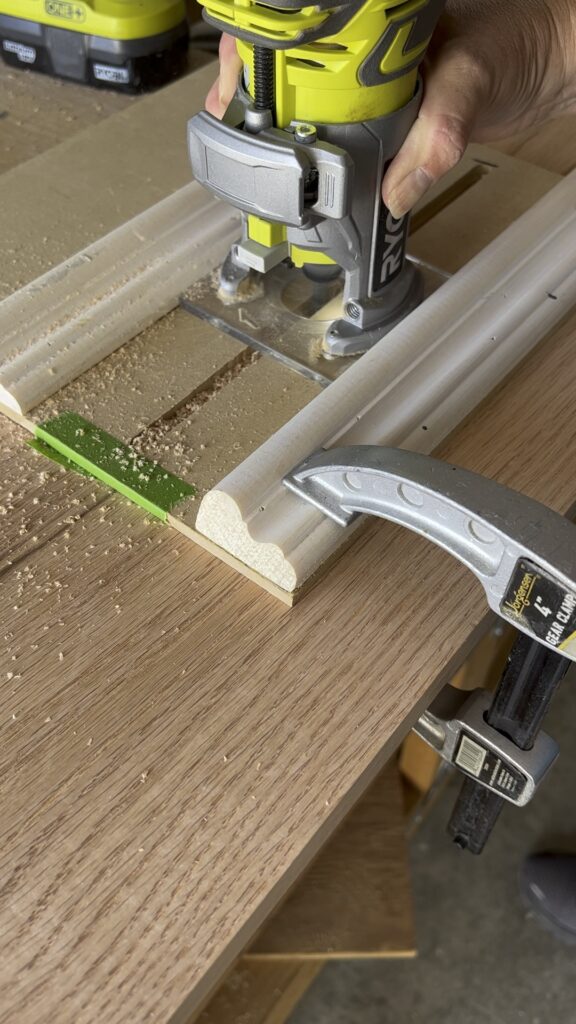
Cut your board to the desired length with the slot perfectly in the middle. I used tape to mark my starting and stopping points.
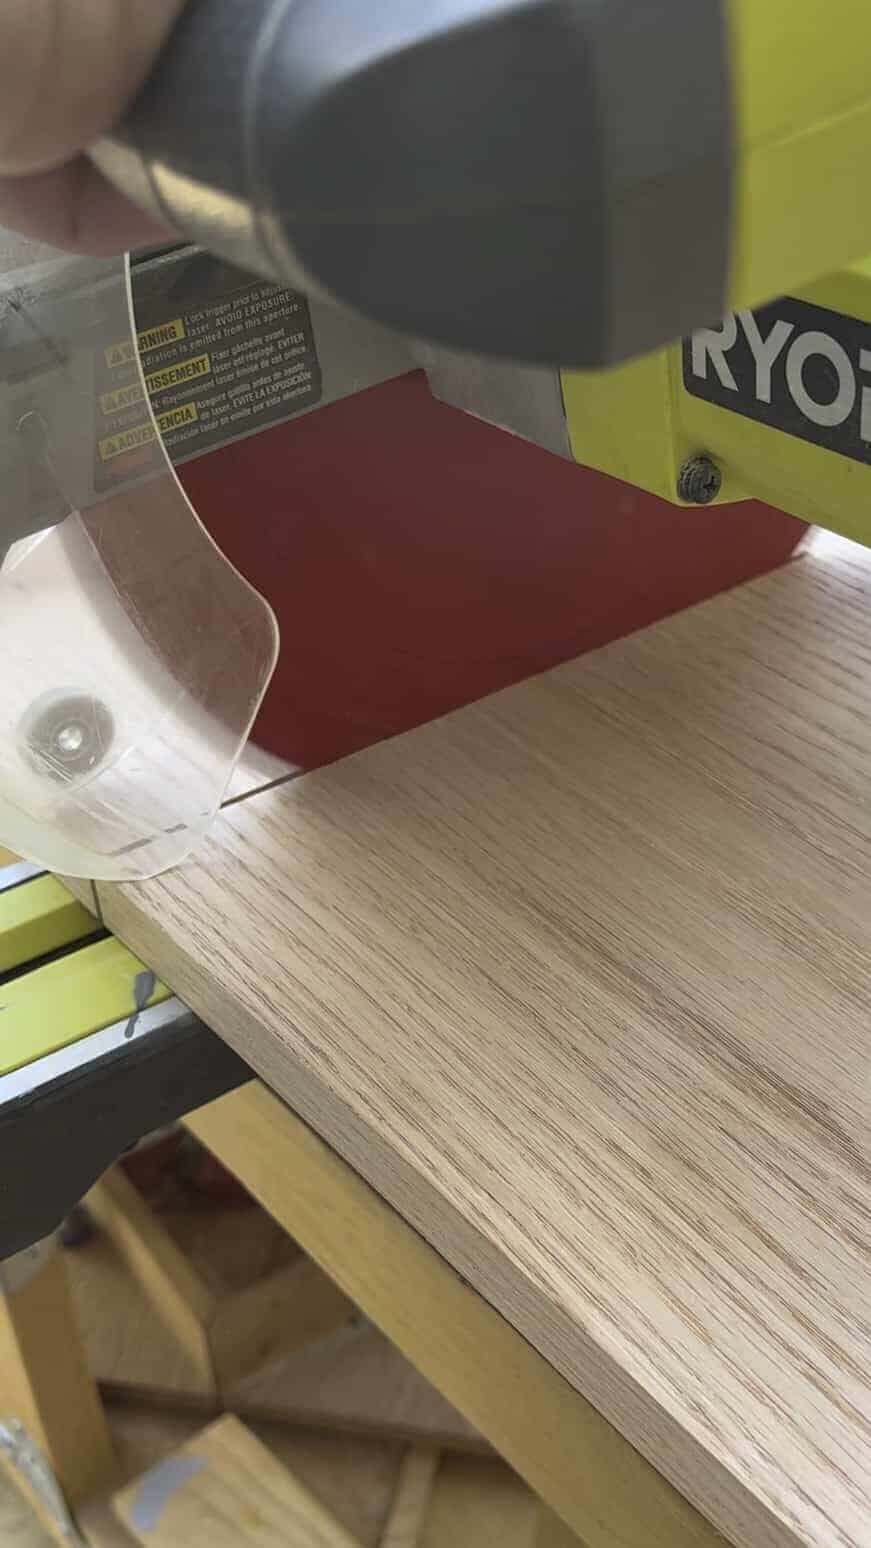
Cut strips of wood to use as your braces. (See plan above for more)
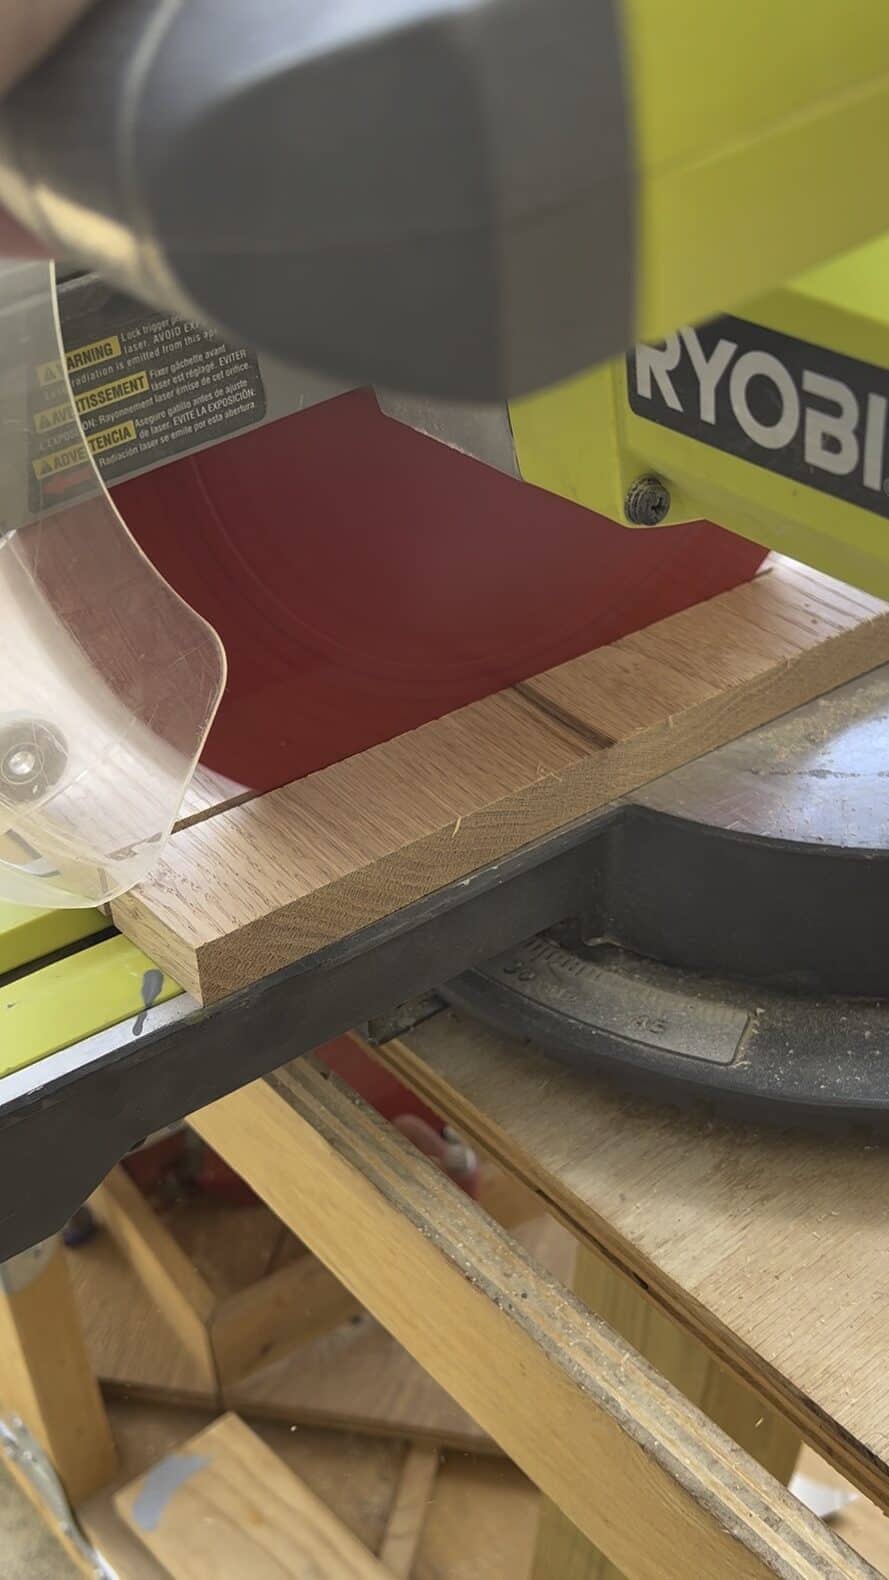
- I chose to trim the ends at 25 degrees for a neat appearance.
- Either screw or nail the braces into place. I had nails long enough that with a little wood glue would make the braces secure.
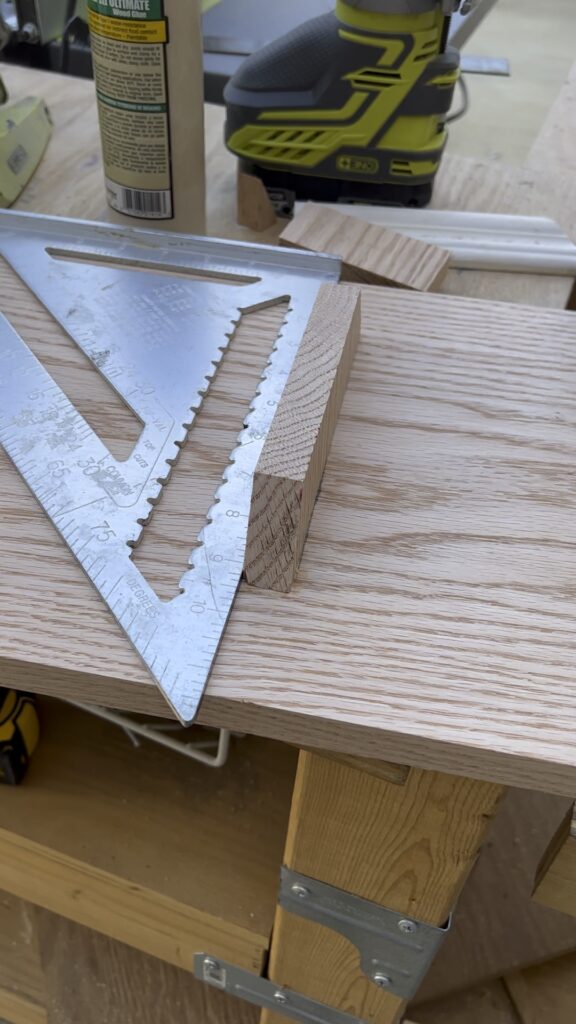
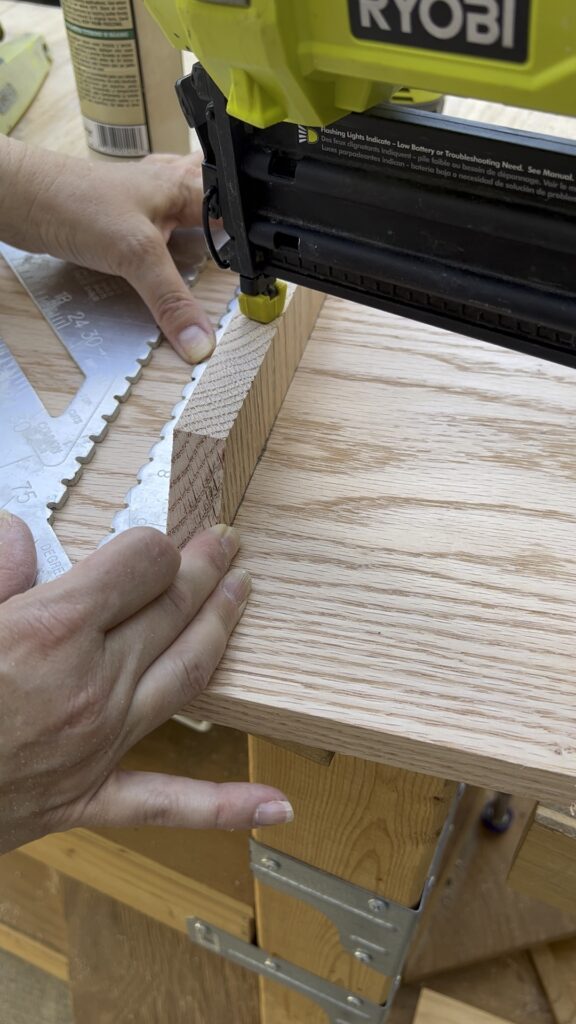
Using a 1/4″ round over bit, I went around all 4 sides. The softened edge looks so polished.
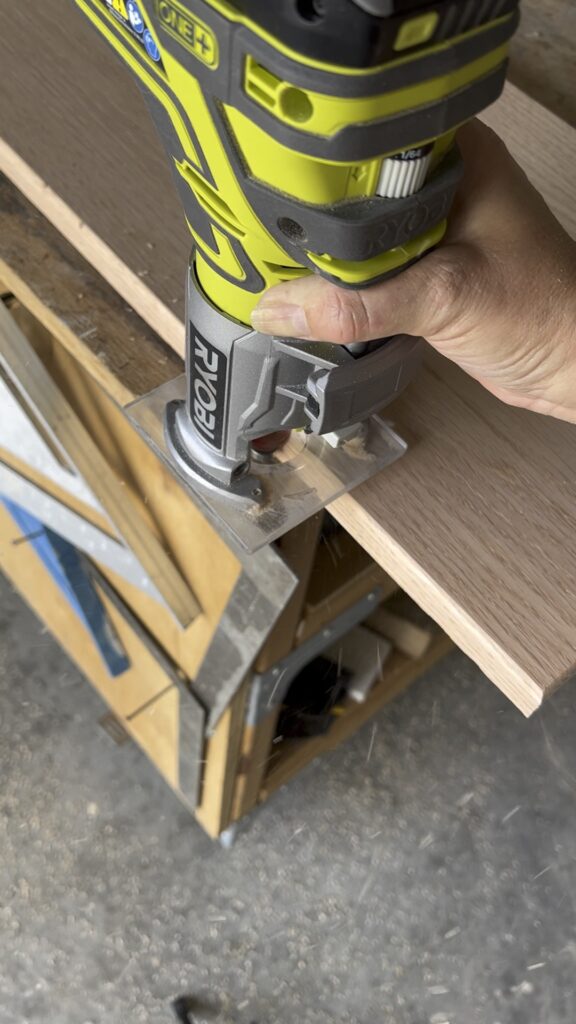
Then, sand and finish your tray as desired.
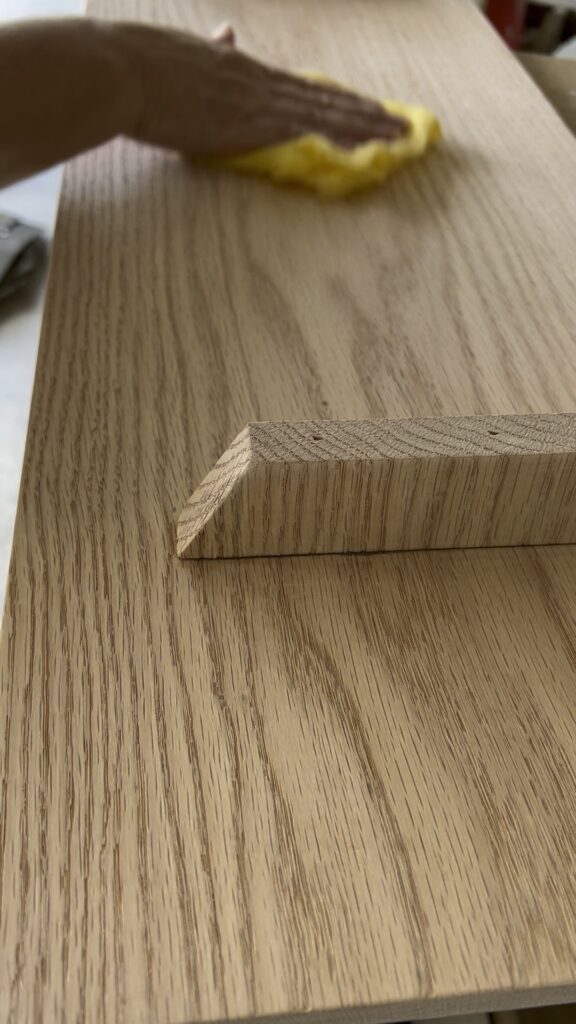
I used a custom mixed Kona and Ebony color finishes for the dark, furniture-style finish I wanted.
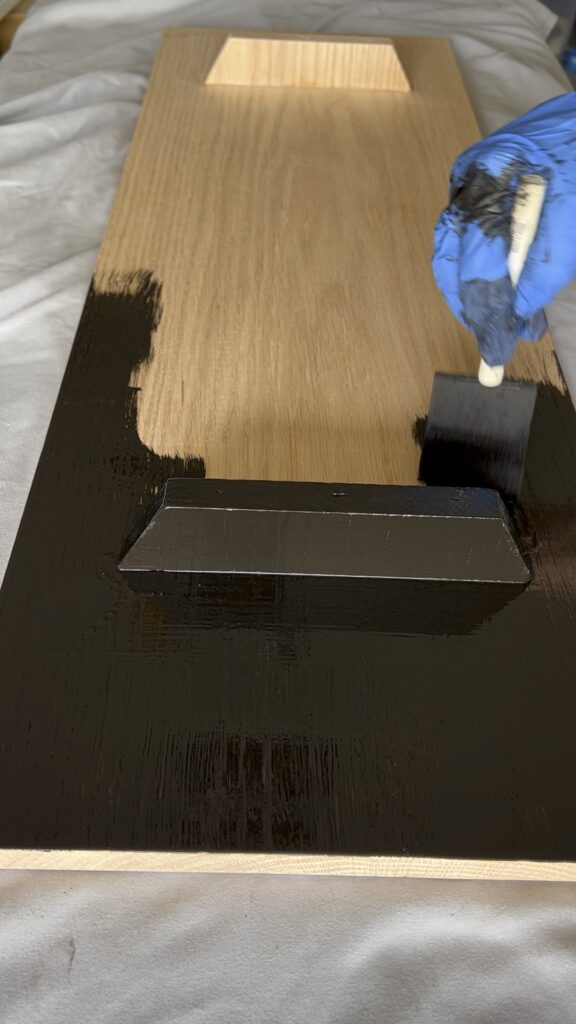
I debated for quite a while on what type of top coat to use. I considered tongue oil because of the potential water exposure, but didn’t want a glossy finish.
I ended up choosing General Finishes Flat Out Flat. Based upon the previous successes I have had on projects with decent levels of exposure to water, I knew the tray would hold up perfectly fine.
Not only is it a super durable finish, like it’s name says, it is very flat and I happen to love that look.
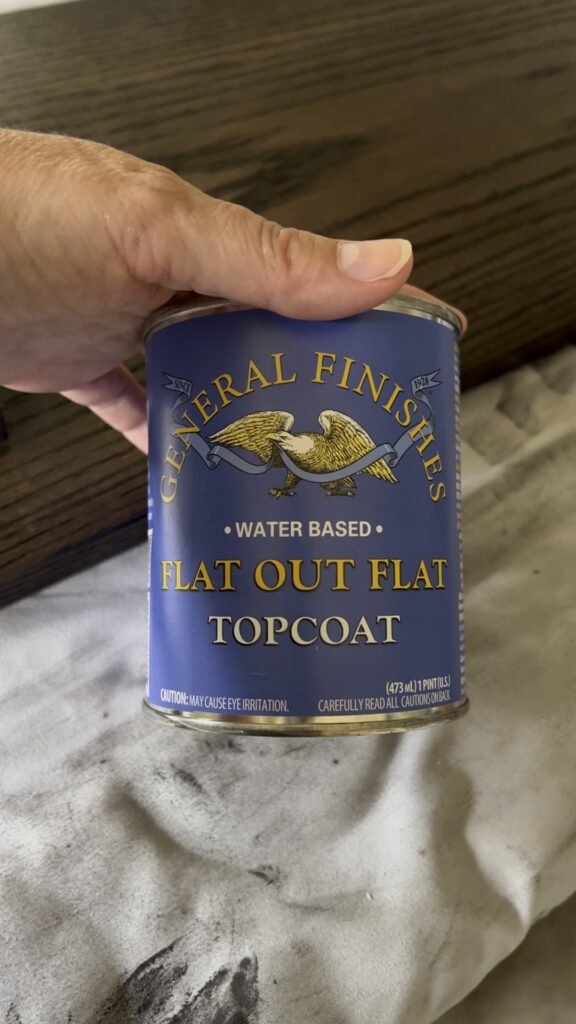
I applied 3 coats to the top and bottom with a foam brush.
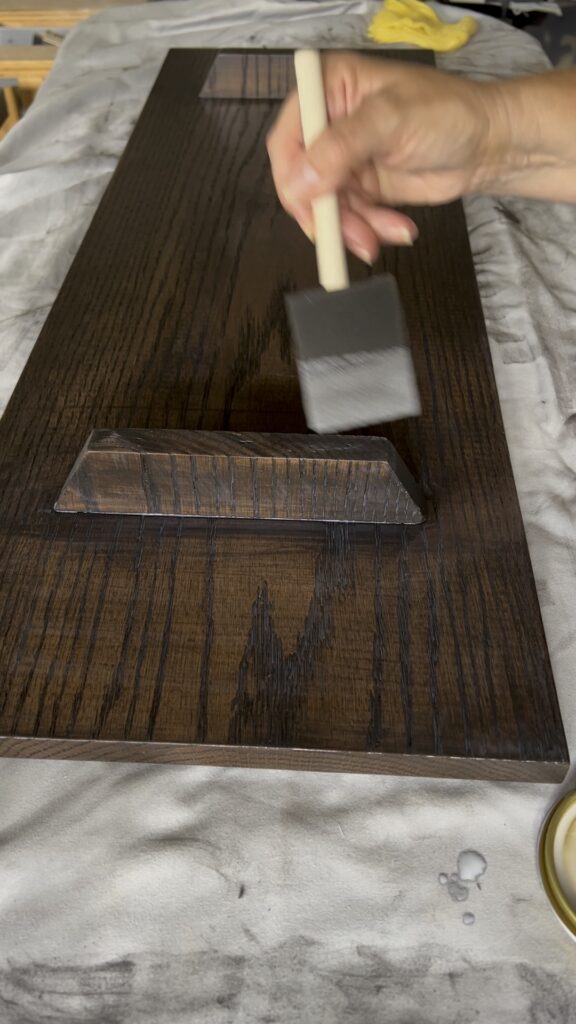
The end result is as simplistic in design and as beautiful as I had hoped.
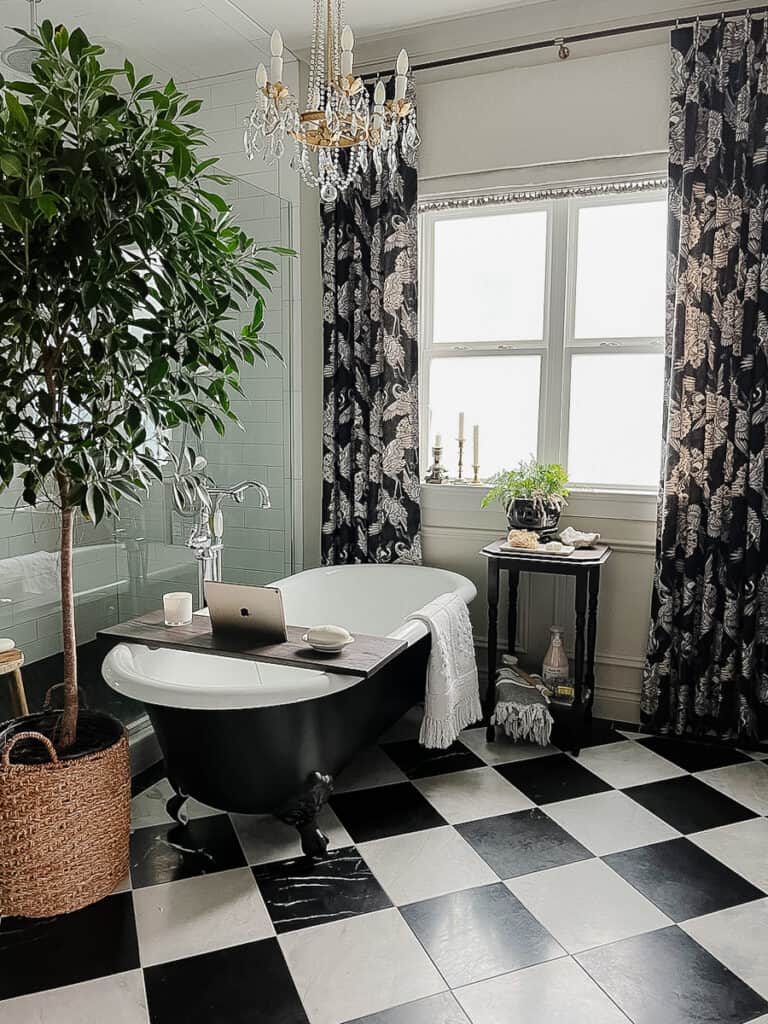
I love that the end product looks more like a piece of simple, crafted with a fine furniture finish, similar to the antique table at the other end of the tub.
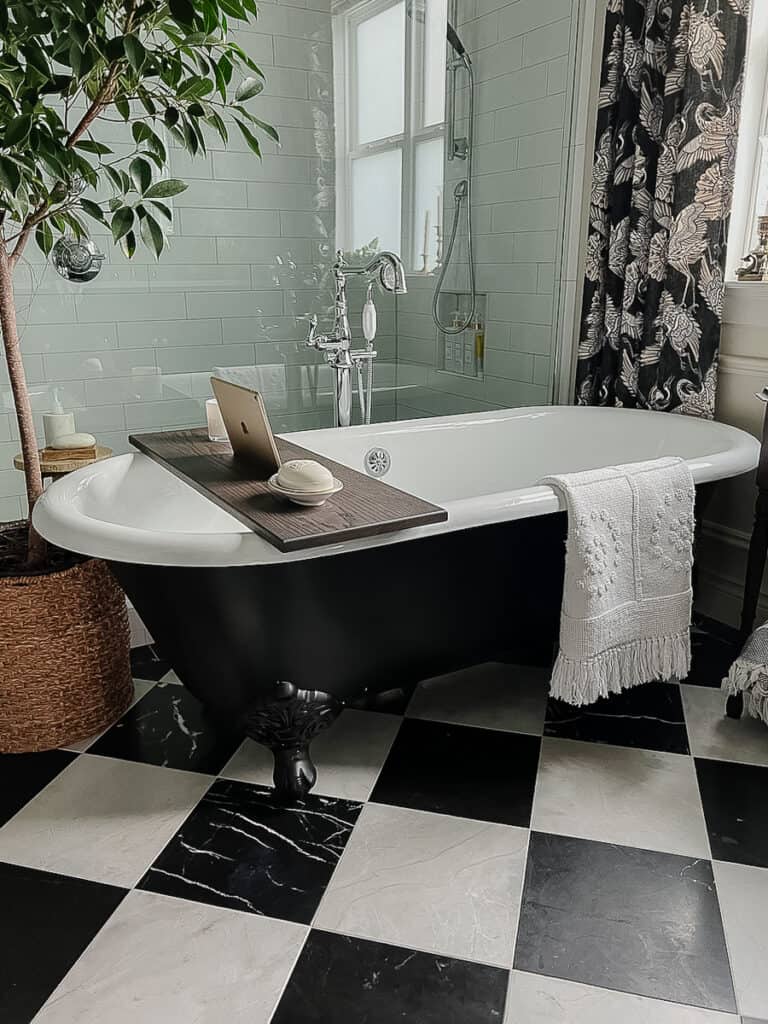
Beyond the beauty, knowing my iPad is perfectly safe. No bump of the tray could make it fall with the added security of the snug slot as well.
I think I can safely call this a successful project!





No Comments