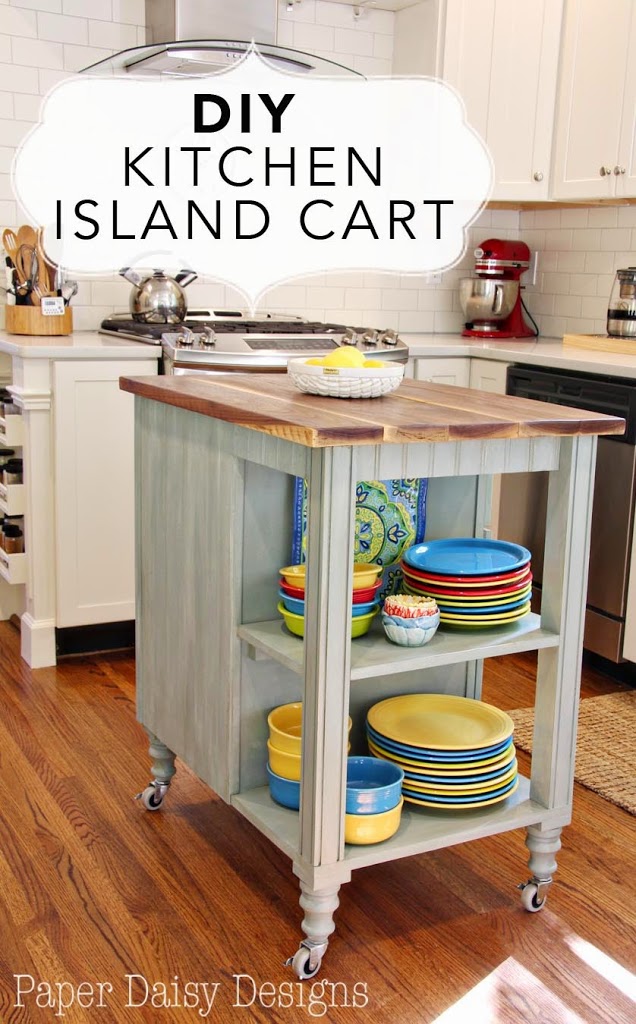
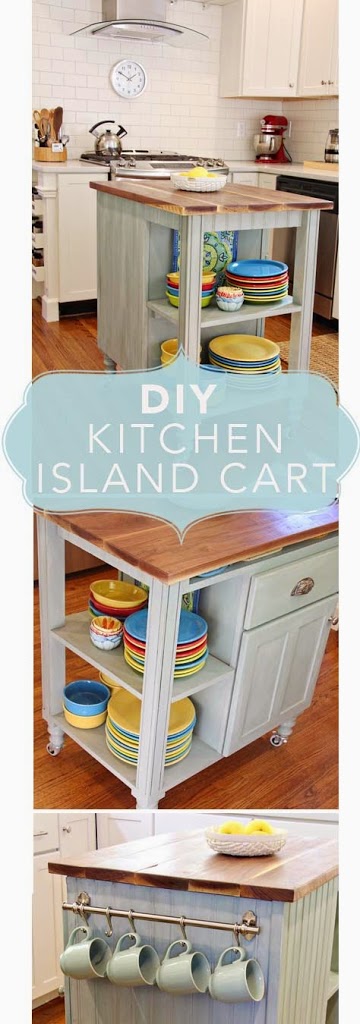
Today, I’m excited to share the design and plans for our kitchen island cart. As we worked through the kitchen renovation we often wondered if we would indeed have room for an island.
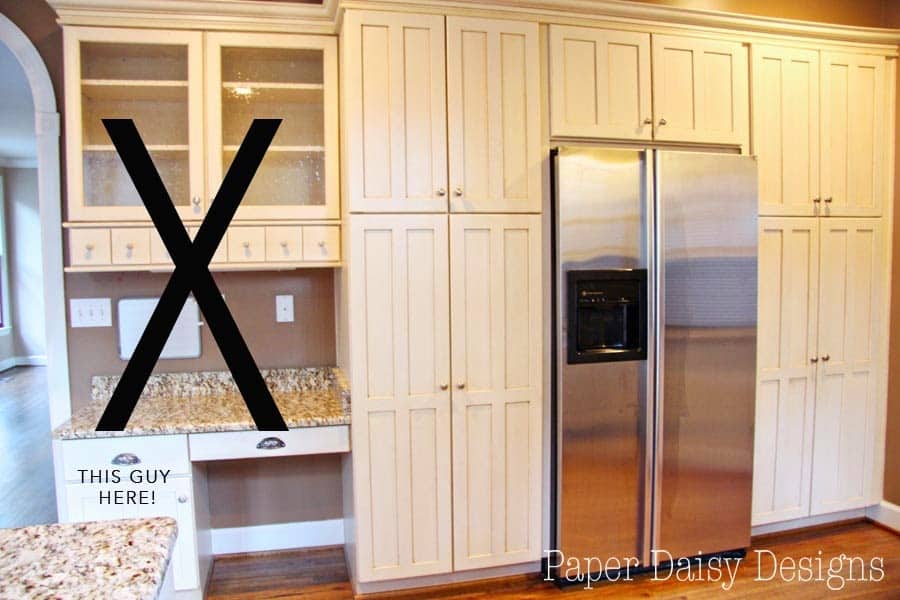
After a few weeks of trying out boxes and such in the center of the kitchen as place holders, we decided that functionally, an island was a great solution for storage and convenience. If you look closely at the photo above you’ll notice there are no drawers next to the range. I found that to be very disruptive to the way I cook. While the cabinet to the left is a handy sheet pan rack, there’s no other function there. To the right is a hinged door for the corner cabinet and it is very cumbersome to open and close. The more I worked in the kitchen, the more I knew I needed a handy drawer for spatulas and larger cooking utensils.
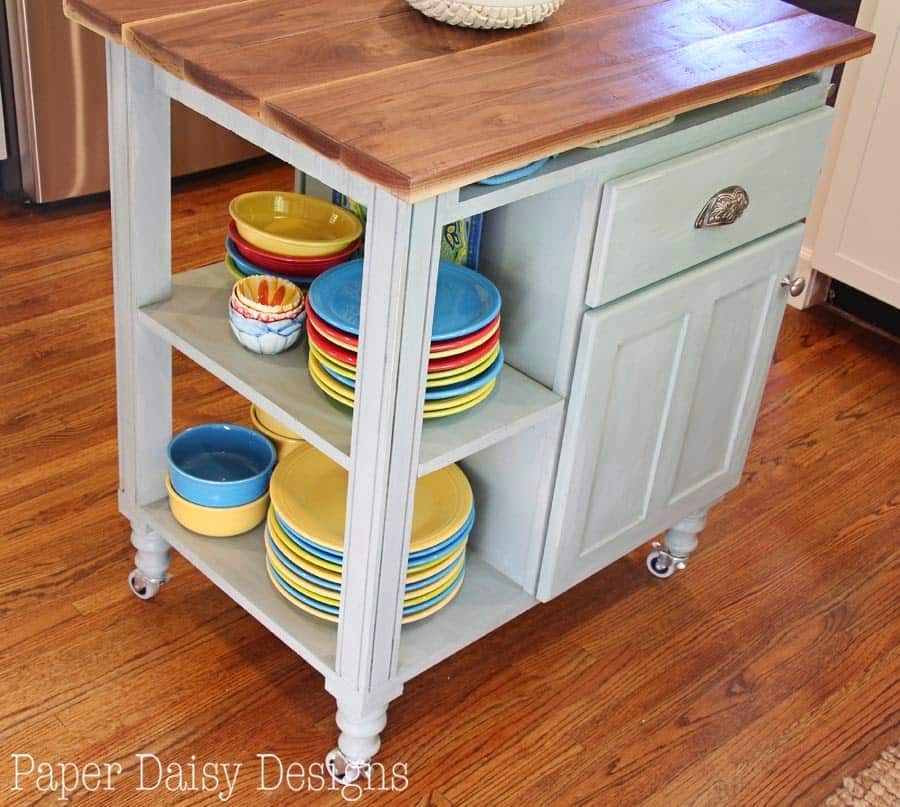
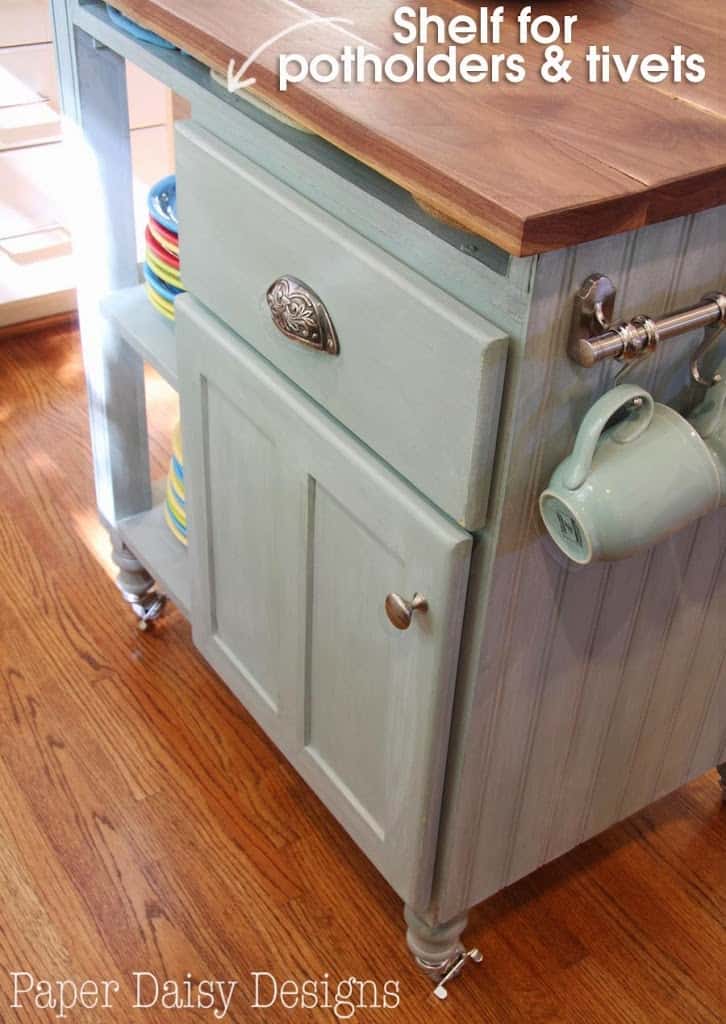
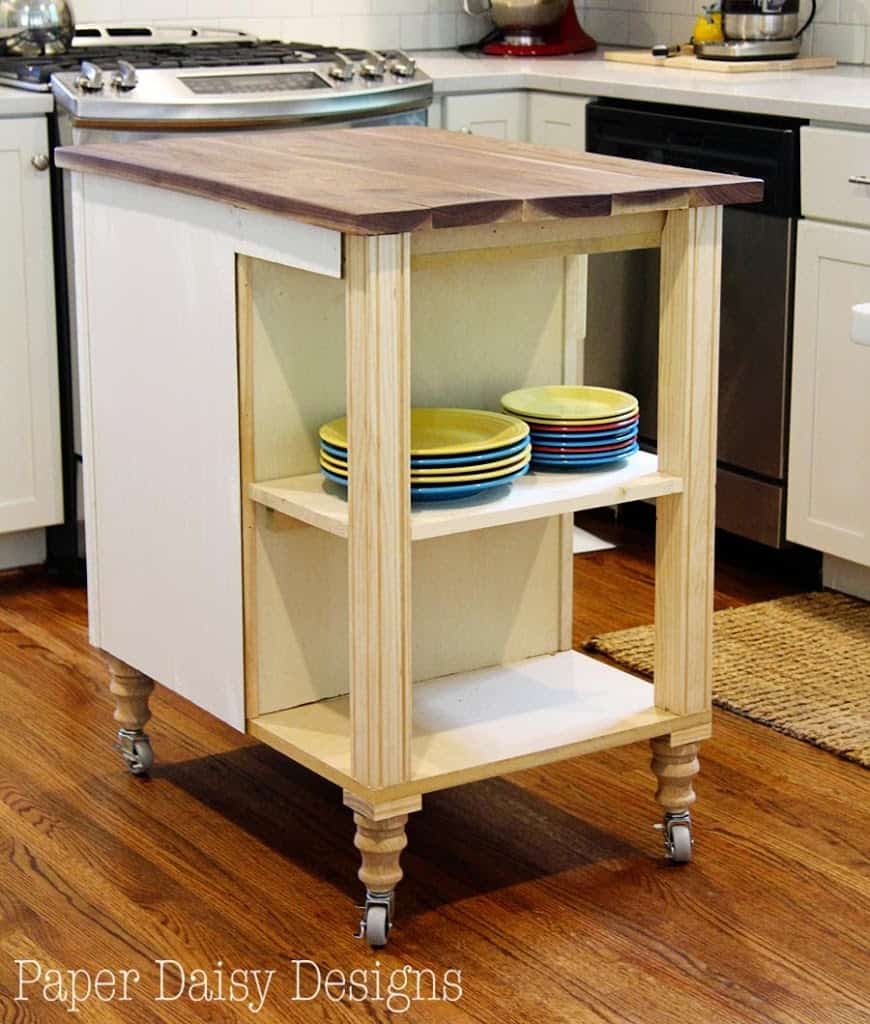
Initially, we thought the top slot you see above would be taller, but as we worked through the design process of the island we let design trump function in this one area. The chunkier legs gave more substance and was chosen over a larger shelf along the top. Turns out this smaller shelf is still super handy for my pot holders and cork trivets, which were previously kept in the awkward corner cabinet.
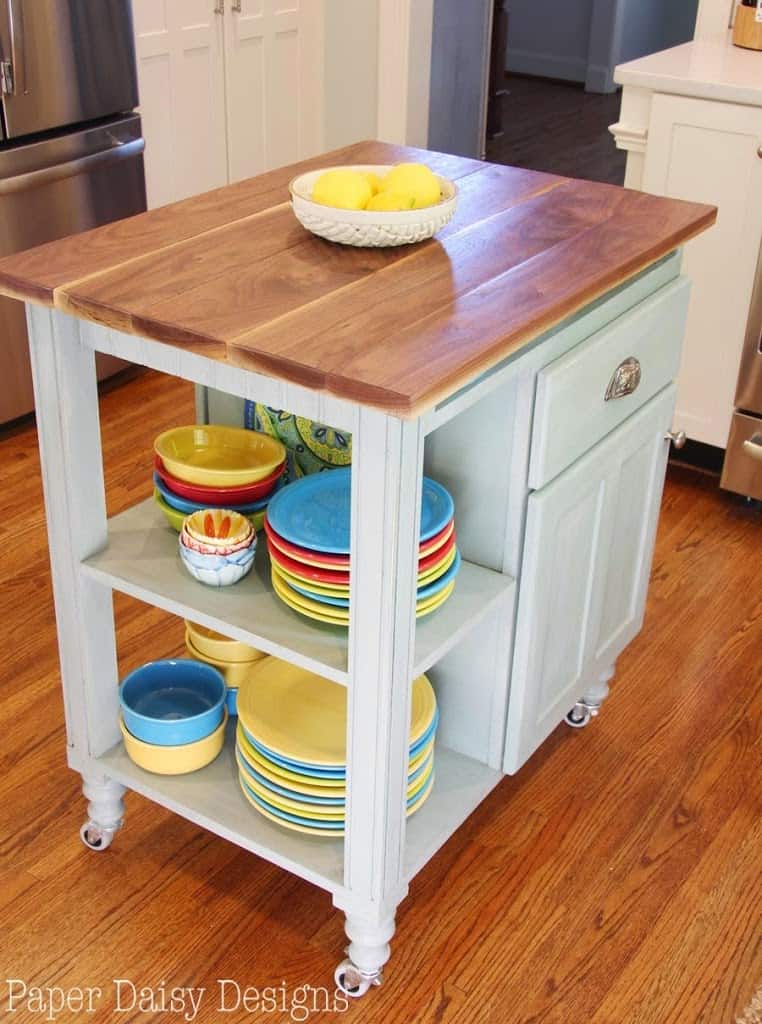
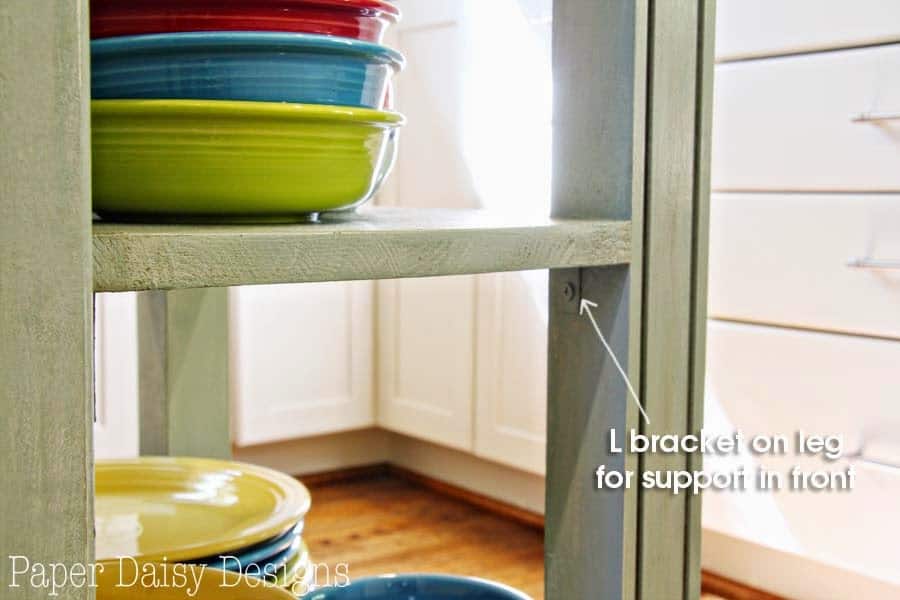
And because we ended up with less open shelving in the kitchen than I had initially planned, we opted to have an open end on the kitchen island cart for our daily dishes. We love just reaching down for our bowls and plates as we serve food.
I’m sure you’ve noticed the beautiful wood on the top by now. I blogged all about our little trip to Southern Accents to acquire the rough cut walnut a few weeks ago. I love that it is a unique approach to an island top and think turned out just gorgeous.
The other salvaged part of the island is the base cabinet. It was saved from the desk area that was removed from the portion of the wall dividing the kitchen from the living room. We opened this area up to add an pennisula counter.
For building your own kitchen island cart, you could easily pick up a cabinet at a Habitat for Humanity store or buy one at your local home improvement center. Other than the legs, the walnut for the top, bead board and one piece of wood for the shelf, the remaining pieces were scraps we had in the garage. This is why I can’t give you a price for the whole project, but I am confident yours will be much less expensive than buying new and you can be confident that it is a solid piece of furniture.
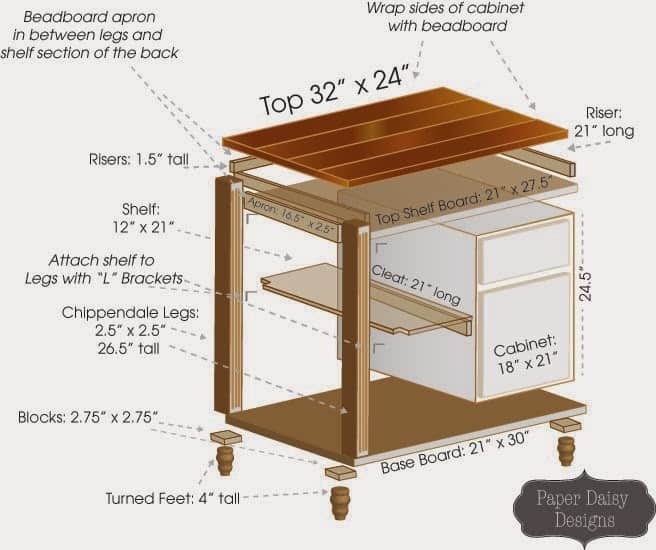
Here’s a diagram of how all the pieces fit together.
I have to apologize for the photos below. I was not willing to have my DSLR camera in the garage while we worked with all the saws, resulting dust and plenty of opportunities for it to get knocked around. So these photos were taken with my phone. I do think they are still a good reference for how construction progressed almost step by step.
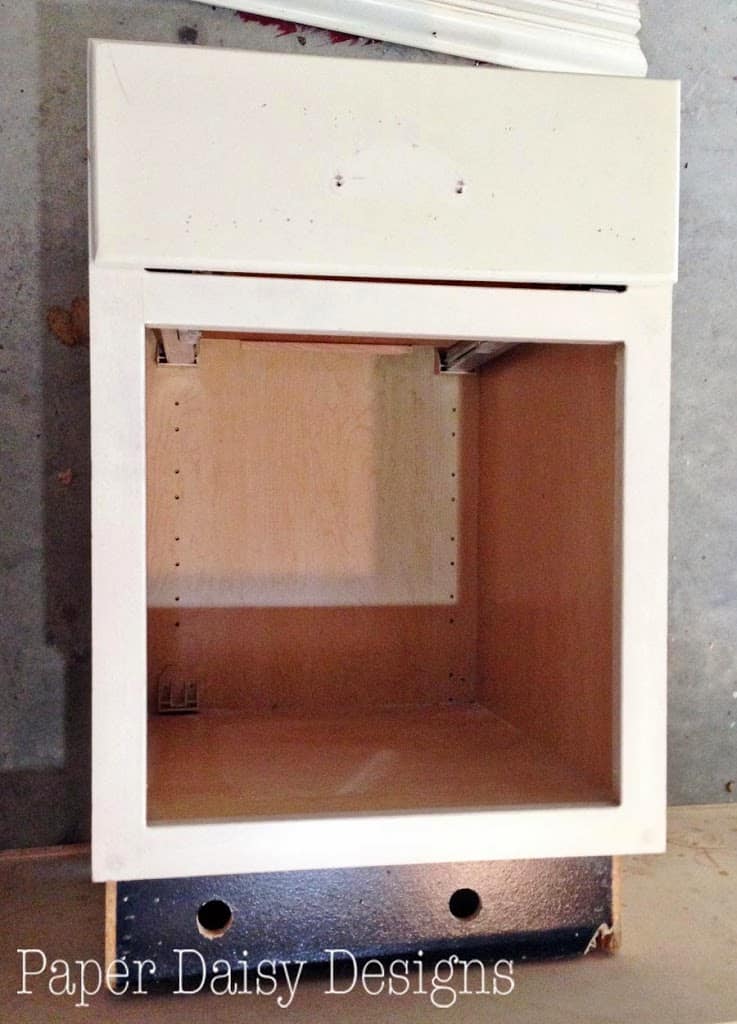
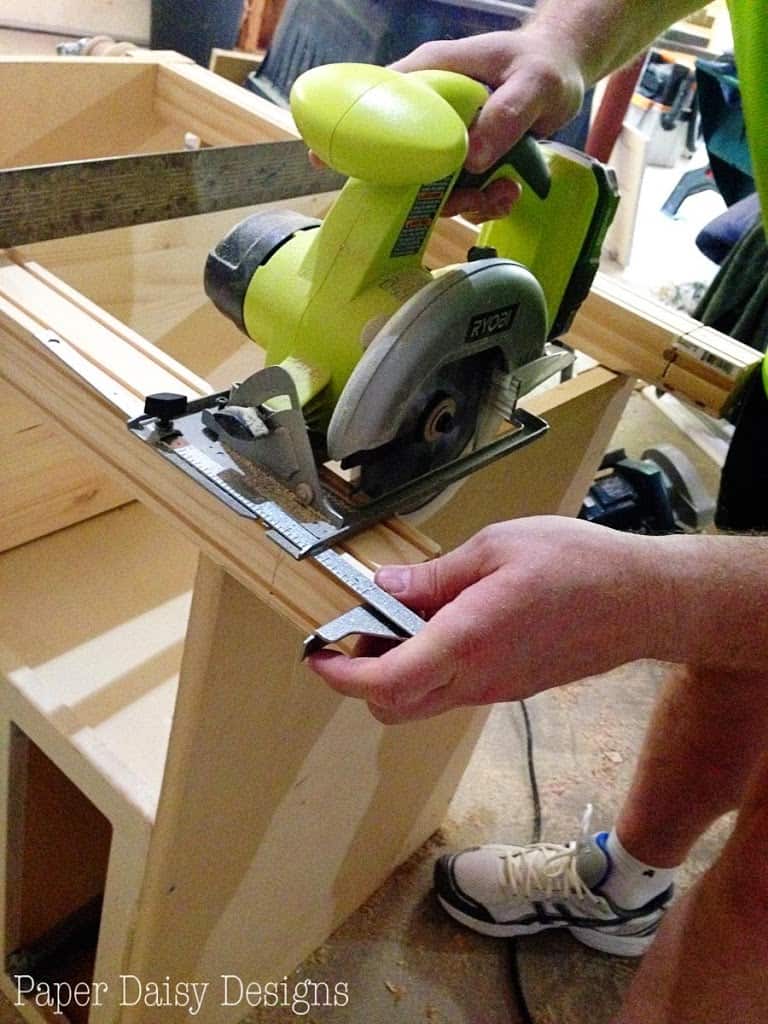
First we cut off the toe kick portion of the cabinet. Here’s our before cabinet.
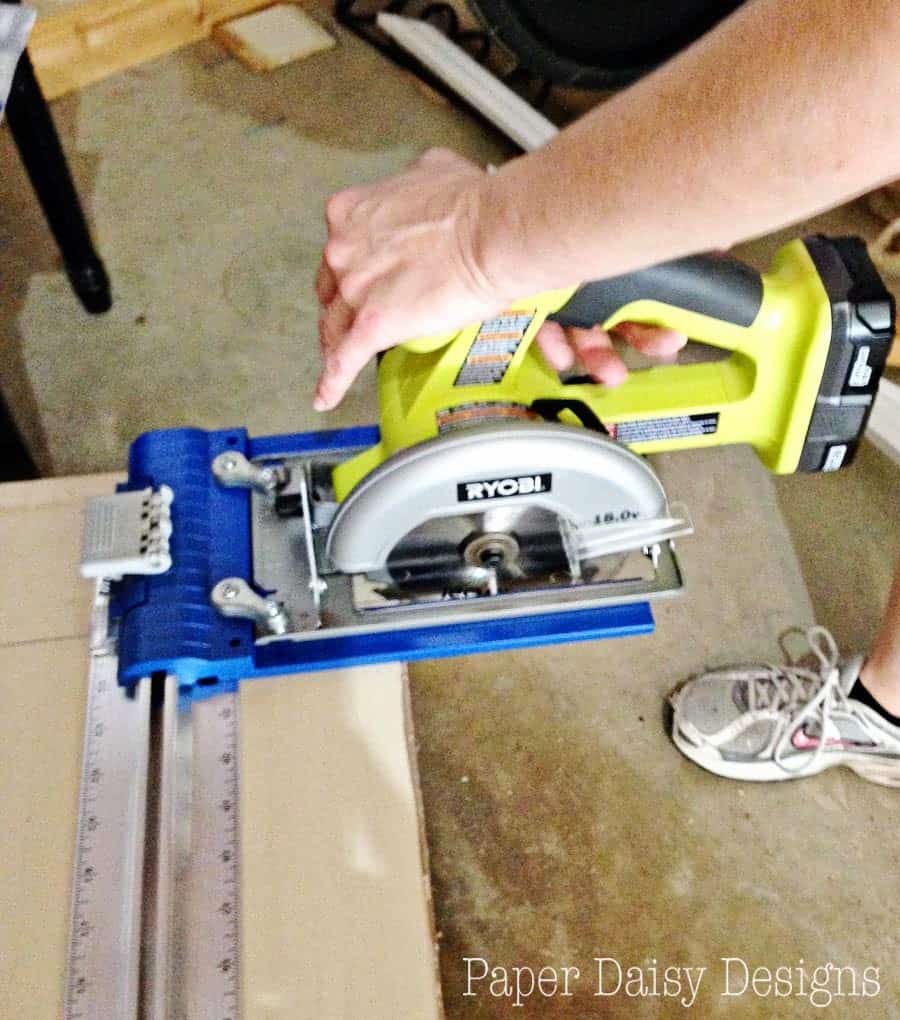
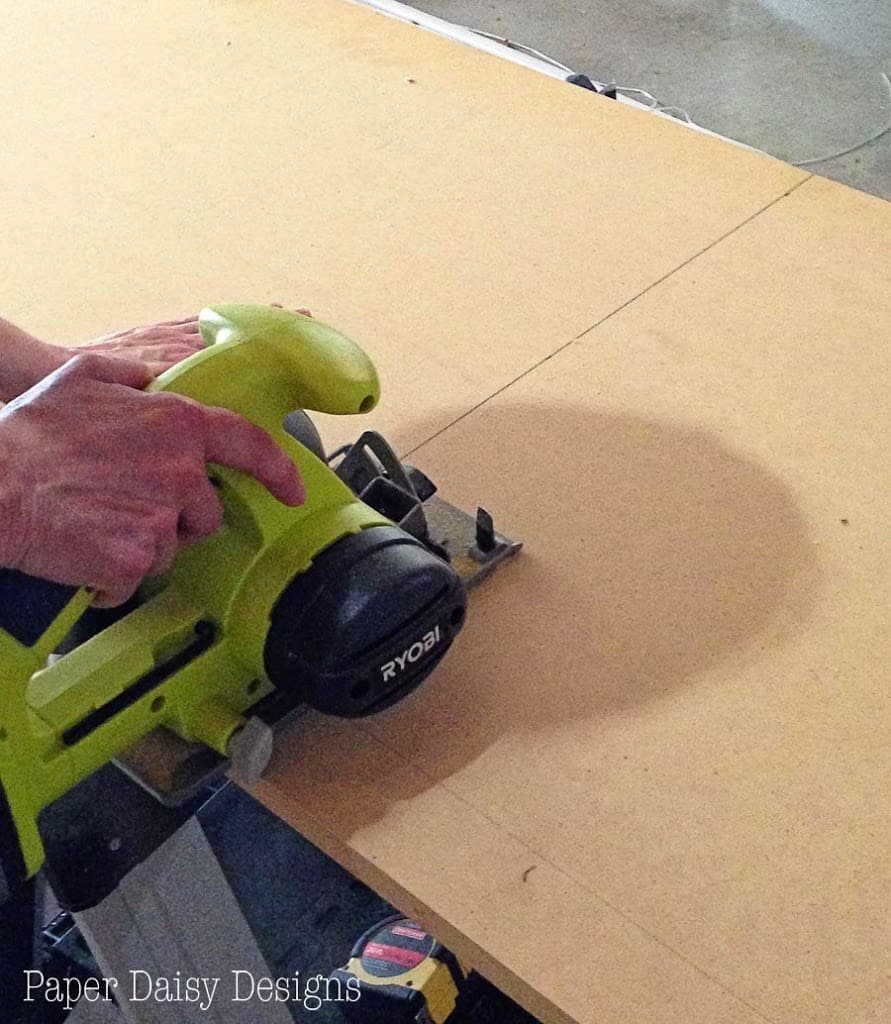
We used the Ryobi Circular Saw attached to the Kreg Rip-Cut which allows you to connect a circular saw to a guide to rip a straight cut.
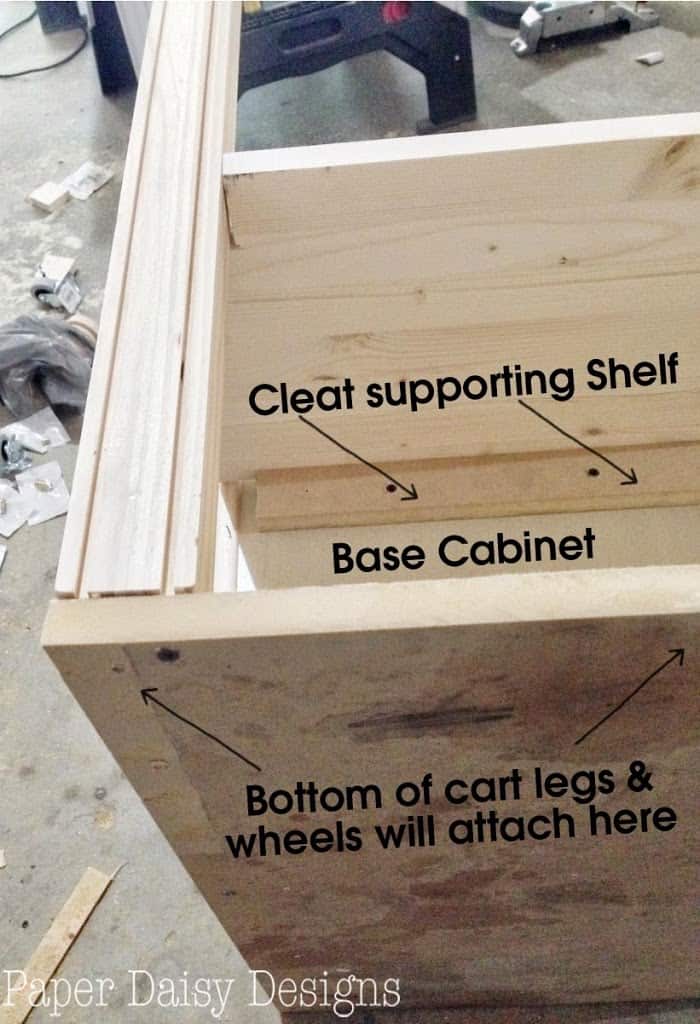
Then we cut the base board that would become the bottom shelf and where the cabinet would be screwed into.
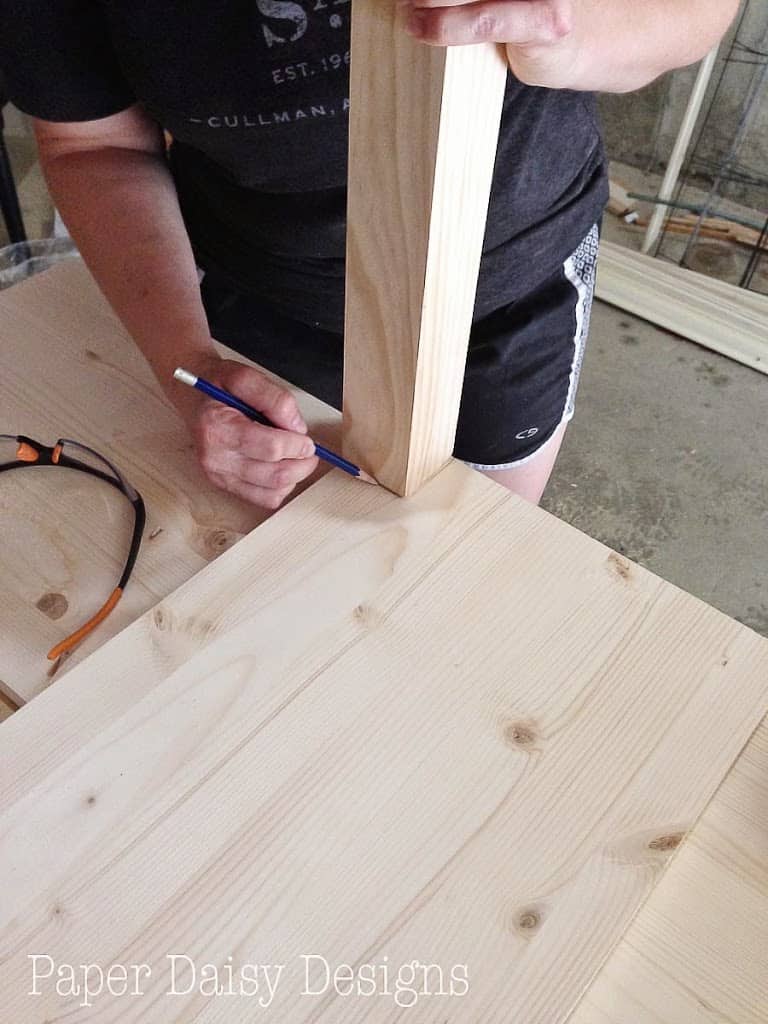
The chippendale legs were thicker than the saw blade, but we simply flipped the island over and cut from the other side to finish the cut.
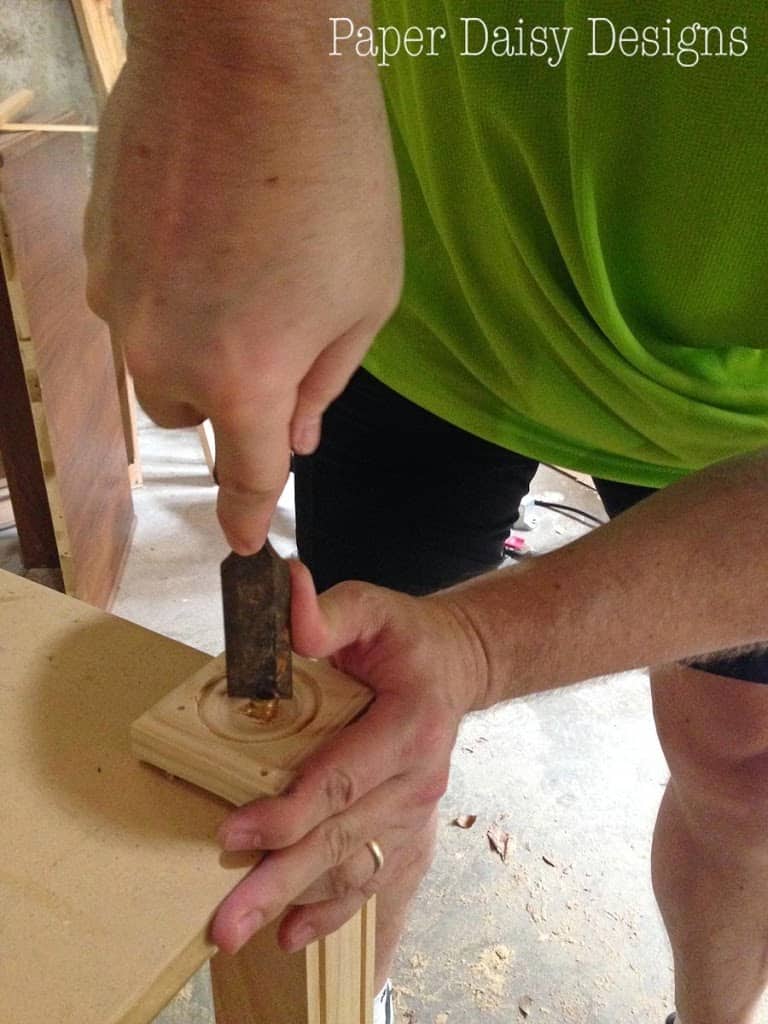
To properly attach the legs to the bottom of the island we used a threaded brass insert, which reduces the possibility of striping the wood when it accepts a threaded screw when attaching legs to wood.
We didn’t need to use the threaded inserts for the wheels. (Neither of us can remember exactly why. We think it was because the wood the legs were made of was very hard.
All that was left was cutting the bead board to wrap around the cabinet and sides, finishing off with corner trim. Here’s a look at all the pieces prior to painting.
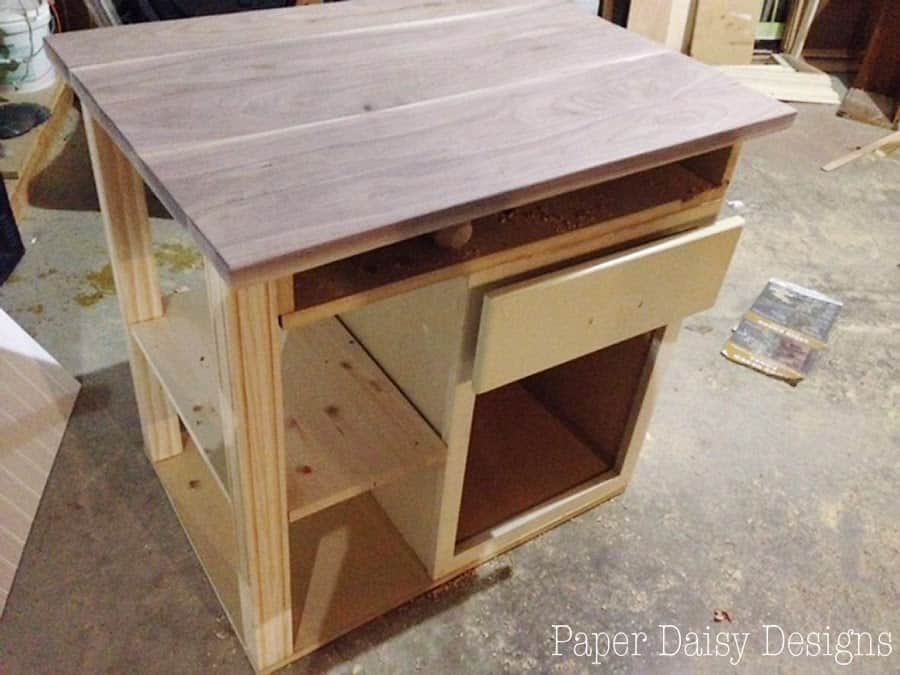
I might have been just a little giddy at this point and couldn’t wait to see how our dishes would fit and had Richard place the top on temporarily to see how the top would look.
Speaking of the top, let’s back track here and look at the construction. I worked on the top congruently with the actual build of the island.
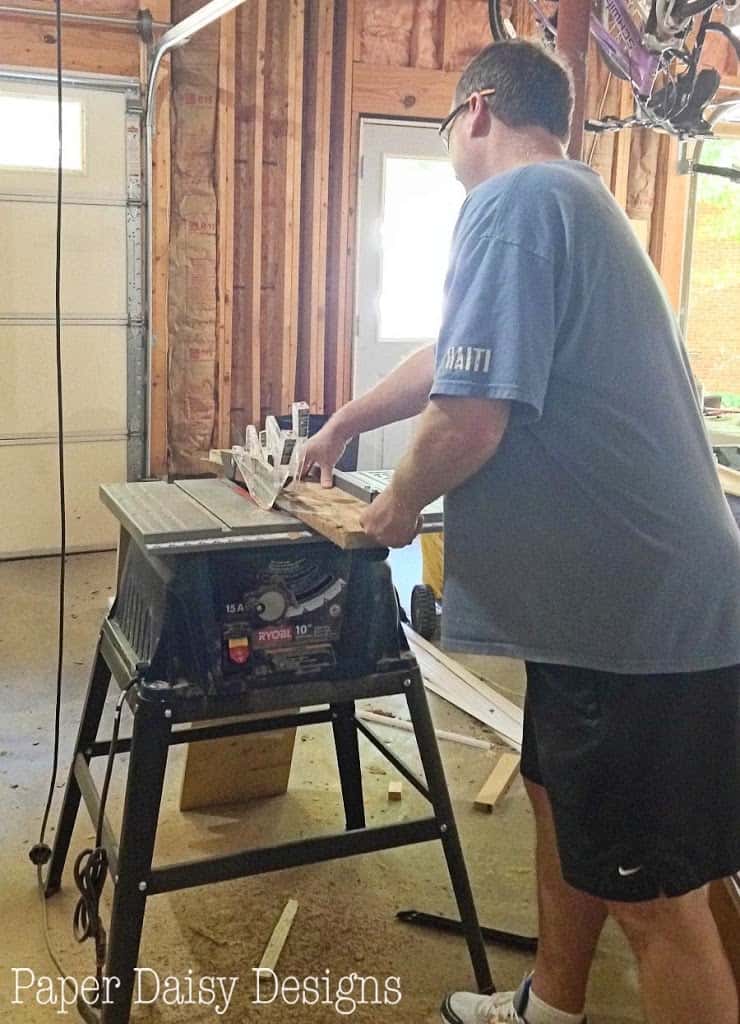
Because the walnut was rough cut, meaning the edges were not square or particularly straight. We bit the bullet and purchased a Ryobi table saw. Southern Accents would have been happy to mill our wood for us, but we wanted to do it ourselves. What we didn’t know is that walnut is an extremely hard wood and was the one of the few things the Ryobi Circular saw couldn’t cut for very long with out causing a nuisance trip. (I was told by the Ryobi product manager that the Li-Ion batteries have an overload protection chip inside that keep them from overheating. In essence, they trip to protect your investment in the battery. So it’s a good thing!) The Ryobi table saw cut through the walnut with ease and it was very easy to produce straight cuts.
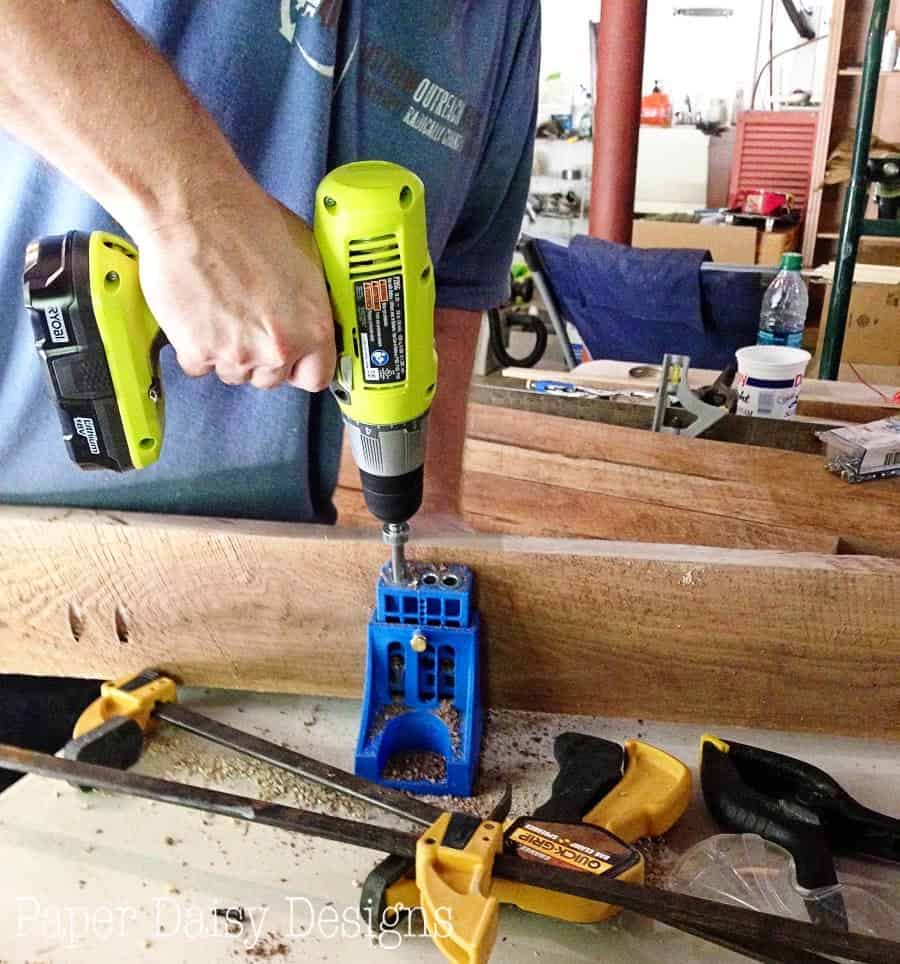
Once the walnut was cut, we used a Kreg Jig Master System to drill pocket holes and added screws to secure the walnut boards together to form a top to cover the island.
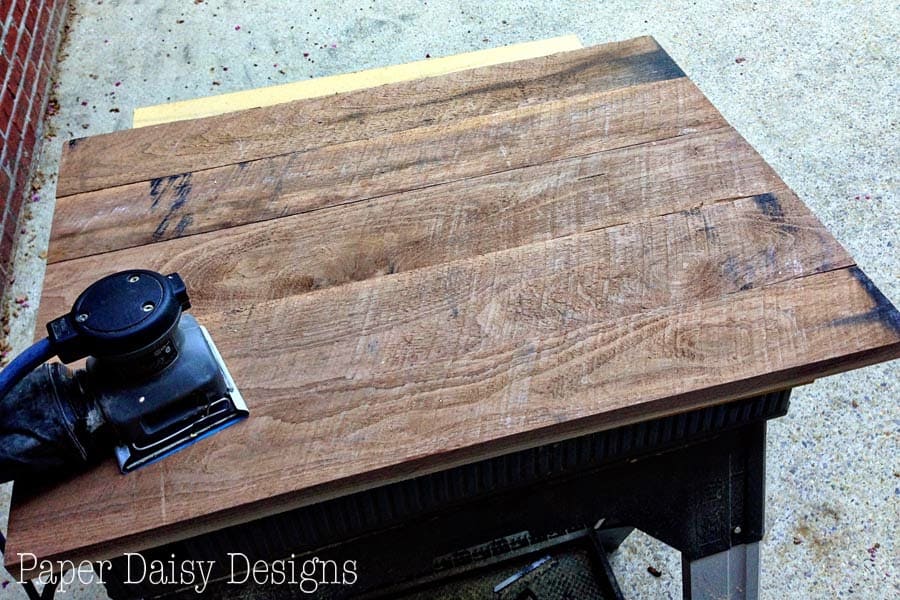
Here’s what the boards looked like before sanding and finishing.
After numerous passes with the sander, starting with 60 grit and ending with 200, the top looked like this.
My goal was not to remove all the imperfections, but to even out the overall surface and make it relatively level.
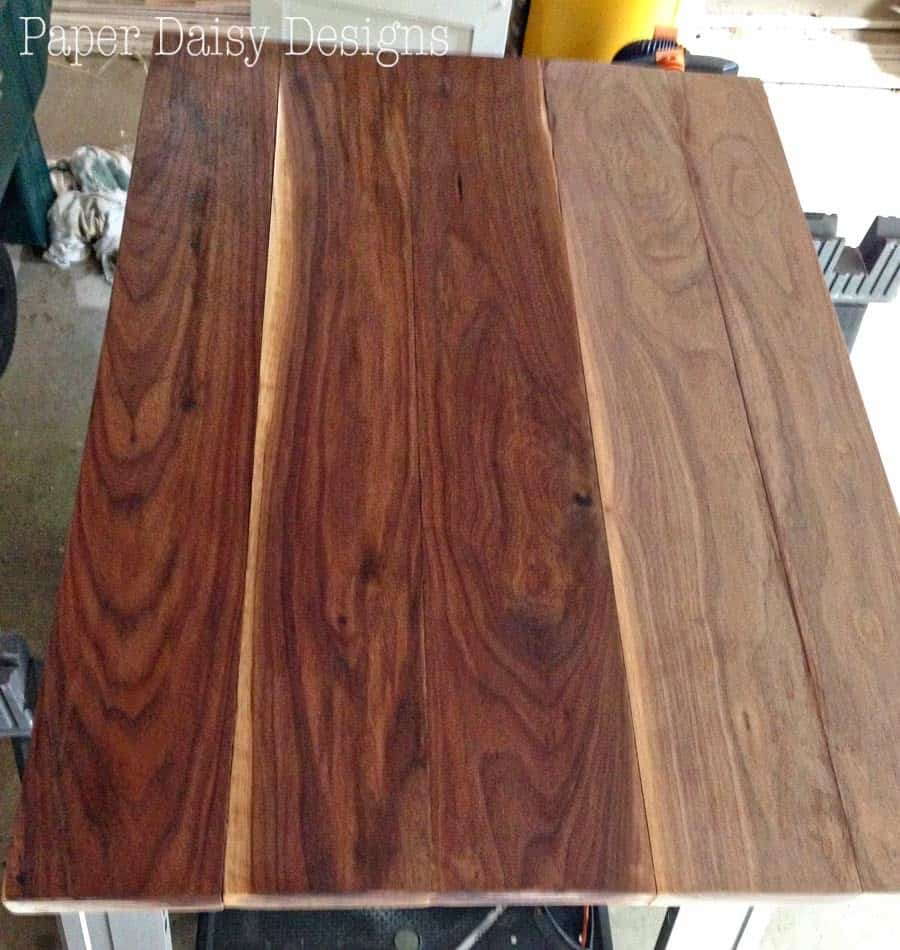
For a protective finish, I used a clear satin wipe-on poly. You can see the difference here between unfinished and finished.
The walnut was extremely porous. I ended up using about 6 coats of poly, following each coat with rube down with a fine steal wool. I could easily apply a new coat every 3 to 4 hours. Thankfully, it was dry and hot then, so it only took me a couple days.
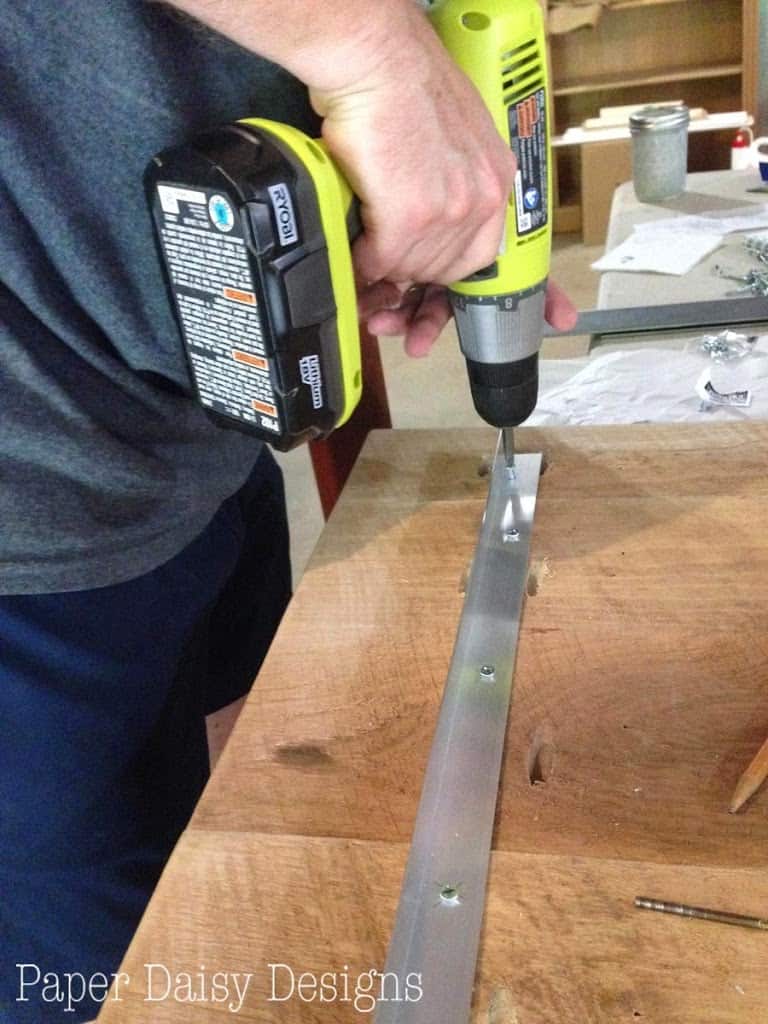
To secure the top to the cart we used “L shaped” aluminum strip. Be sure to use screws that are shorter than you top boards.
The aluminum strip was placed to fit exactly inside the top and was then screwed in on the left and right front of the cabinet.
While the finishing of the walnut top was going on in the basement, I worked on painting the base of the island indoors.
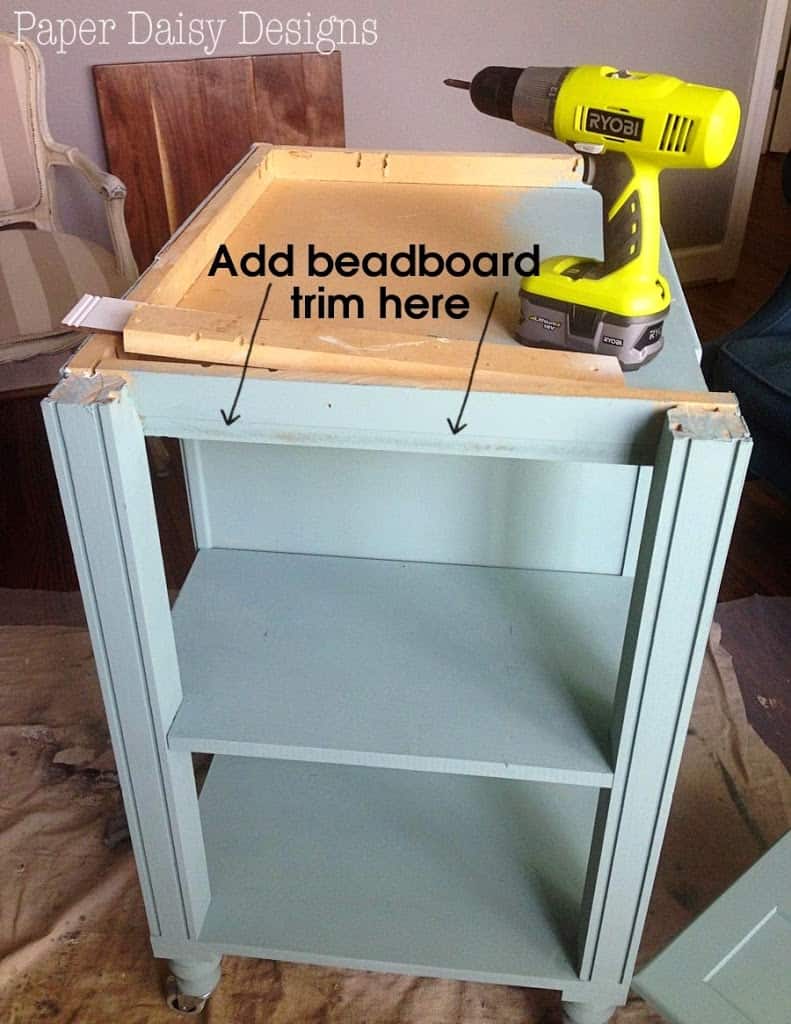
I started with a coat of Annie Sloan Chalk Paint in Duck Egg. After I got the first coat on, I realized we left off the apron on the open shelf side of the cabinet.
So, I cut a spacer board and a piece of bead board to fill in the gap and simply screwed them in place with wood screws like we did in the rest of the island.
In the end, I finished the whole piece with a wash of Paris Gray Annie Sloan Chalk Paint followed by a top coat of Annie Sloan Clear Wax with just hints of Dark Wax.
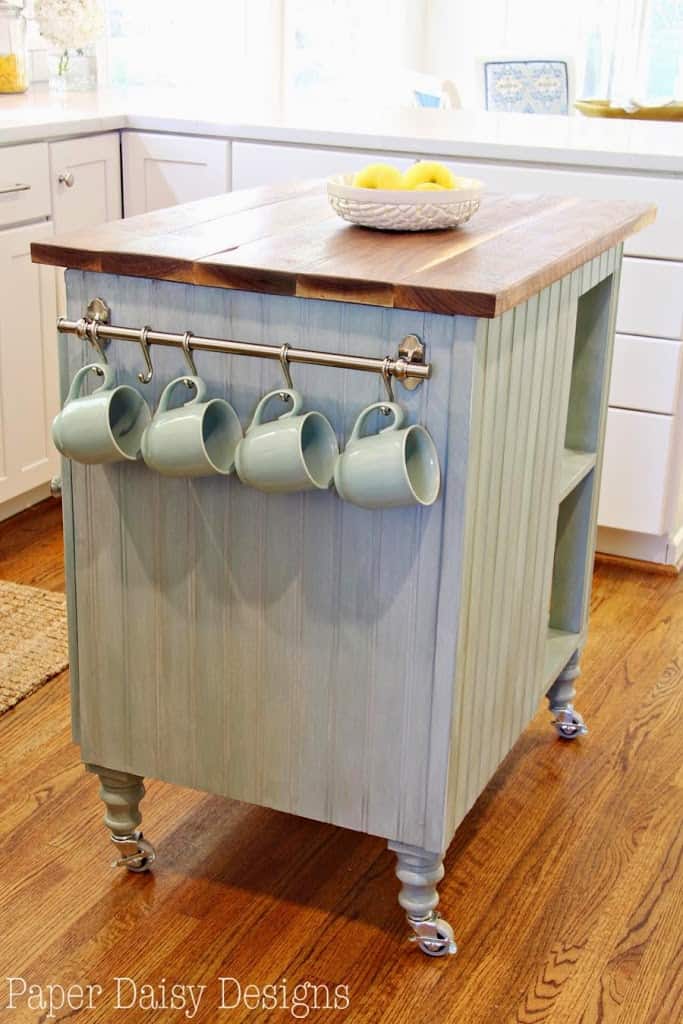
You can see here we also decided to trick out the back side with an Ikea Fintorp Rail Series to hang the mugs I use for my morning cup of tea.
Beyond all the functionality we added in storage and convenience, I love that if we find during big gatherings or the holidays when the kitchen might be filled with more people than usual, we can easily roll the island cart into the dinning room. We imagine that during the holiday scenario it would become a dessert cart!
So there you have it! We love our our new kitchen and the island cart is just one piece of it. I hope you are inspired to build your own. It’s a super handy, functional piece!
Thanks for reading, friends! If you liked this project, feel free to pin and share it! And be sure to let me know if you build your own!
Disclosure: I was provided with the Ryobi Circular Saw and Drill Set by Ryobi Tools to use in this project. I was not advised what to build or what to write; all opinions, design ideas and love for new tools are completely my own. Which includes telling my husband to keep is hands off my new favorite drill!! Just kidding, maybe!




27 Comments
the cape on the corner
October 21, 2014 at 2:23 pmthat is the perfect size, and i love your colorful dishes.<br />enjoy!<br />b
Britney Mills
October 22, 2014 at 5:25 amThis is super cute! And I love that it has wheels to move around!
robin lorraine williamson
October 22, 2014 at 3:03 pmI never thought of making one I always look for one when looking at houses hope to get a house within the year something I will have to think making my own love yours it turned out great thanks for sharing at some2 have a great day
Sarah Vanderkooy
October 23, 2014 at 3:27 amThis is a beautiful cart, love how it compliments your kitchen (which is also gorgeous). Thank you so much for linking up to #SoMe2 this week, hope to see you back again next week.
Kathryn Ferguson Griffin
November 1, 2014 at 7:09 pmSuch a great cart! Lovely! Thank you for sharing. You are one of the features at the Anything Blue party at The Dedicated House. Here is the link to this week’s party. http://www.thededicatedhouse.com/2014/10/anything-blue-friday-week-75.html I hope to see you again at the little blue soiree. Toodles, Kathryn @TheDedicatedHouse
Jennifer @ Dimples and Tangles
November 6, 2014 at 5:17 amWow, Leslie, what a great addition to your kitchen! I'm sure you love the extra storage and surface area. Love the finish you chose! Thanks for linking up with us at Best of the Nest!
Heather Clamp
November 7, 2014 at 10:22 pmI love this–the color, the top, the beadboard! And having your Fiesta Ware on it is even more fun. Nice job!
Thomas Watson
December 4, 2014 at 12:32 pmThis inspires me to try. Thanks for the instructions.
Julie Shearer
March 5, 2015 at 9:00 amAwesome cart! Thanks for sharing. Love your Fiestaware !
Brenda
May 2, 2015 at 9:16 amThis is a beautiful project! I now have something to show my husband. There isn’t anything I would change. Thanks for sharing!
Leslie
May 5, 2015 at 7:01 pmThanks! So glad you were inspired!! Good luck and let me know if you build one!
Christine
August 11, 2015 at 3:50 pmHI there! Found you via Pinterest.
Just wanted to thank you for your detailed plans. I have a beautiful, rough-cut slab of weathered pine into which I want to make an island. You’ve given me the get-go to get going.
Just wanted to tell you how sad it is that your careful diagrams and photos are disguised by ads. Yes, I can click them down, but come on. Every picture? Your work is being sabotaged. Is it worth it?
Best of luck with all your projects. You seem to have made a great go of it!
Leslie
August 11, 2015 at 4:10 pmI’m sorry to hear about your experience. Thank you for letting me know. It is not my intention to have an ad on every photo. I have given permission for one or two per post. I just checked across several devices and haven’t experienced this. I’ll check into it. Can you tell me what device, browser you are using that might help.? Good luck with your island and I’m glad theplans were helpful. That makes me so happy to hear!!
30 Smart kitchen decor ideas - White Floating Shelves
April 12, 2016 at 8:05 am[…] DIY Kitchen Island Cart […]
30 Smart kitchen decor ideas » on Mailoka.Com
May 18, 2016 at 12:02 pm[…] DIY Kitchen Island Cart […]
Best Build Your Own Kitchen Island Ideas | Kitchen Island Gallery
August 26, 2016 at 12:45 am[…] diy kitchen island cart Build Your Own Kitchen Island Size: 762 X 1024 | Source: image source […]
Build a Rustic Sofa Table & Make New Wood Look Old -
September 15, 2016 at 3:30 pm[…] had legs with bolts in them an worked off of what we had. We have used the Kreg Jig in our DIY Kitchen Island Cart and find we use it now for so many projects. Visit affilitate link above for more […]
Diy Kitchen Island Cart 2016 | Kitchen Island Gallery
September 22, 2016 at 8:41 am[…] diy kitchen island cart Diy Kitchen Island Cart Size: 636 X 1024 | Source: image source […]
8 Inspired Tricks for Small Kitchen Designs – ReDesignify
September 23, 2016 at 7:48 am[…] See more at Paper Daisy Design » […]
Stunning How To Build A Kitchen Island Cart Inspirations | Kitchen Island Gallery
October 20, 2016 at 12:14 am[…] diy kitchen island cart How To Build A Kitchen Island Cart Size: 636 X 1024 | Source: image source […]
Elegant How To Build A Portable Kitchen Island 2016 | Kitchen Island Gallery
November 12, 2016 at 4:44 am[…] diy kitchen island cart How To Build A Portable Kitchen Island Size: 636 X 1024 | Source: image source […]
Friday Favorites – Happiness from the Interwebs 5.8.15
February 11, 2017 at 11:23 am[…] kitchen as an island is just a little too big, so now I am looking at other options. I love this DIY island/cart from Paper Daisy Designs. So […]
Dwight
March 7, 2017 at 8:05 pmI love the design and build, your island is incredible! I love the colors that you chose. I wanted to share the Drop Leaf Kitchen Island that I built, which can be great for people with smaller kitchens: http://bacheloronabudget.com/diy-drop-leaf-kitchen-island-cart/
Looking forward to trying out some other projects on your site!
15 Easy DIY Kitchen Islands That You Can Build Yourself
June 19, 2017 at 6:55 am[…] Tutorial: http://www.paperdaisydesign.com […]
Watch 30 Smart kitchen decor ideas | Home 360
July 22, 2017 at 6:45 am[…] DIY Kitchen Island Cart […]
15 Easy DIY Kitchen Islands That You Can Build Yourself - My Blog
July 26, 2017 at 2:16 am[…] Tutorial: http://www.paperdaisydesign.com […]
50 Ideas to Organize Your Home • The Budget Decorator
December 12, 2017 at 5:35 pm[…] and more DIY kitchen islands! Want some more? Try this DIY rolling kitchen island from ‘Deeply Southern Home‘. We love how they recycle an old cabinet as the […]