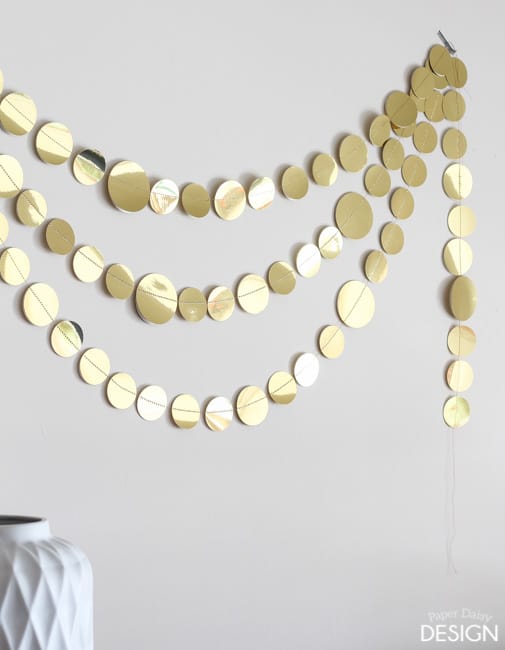
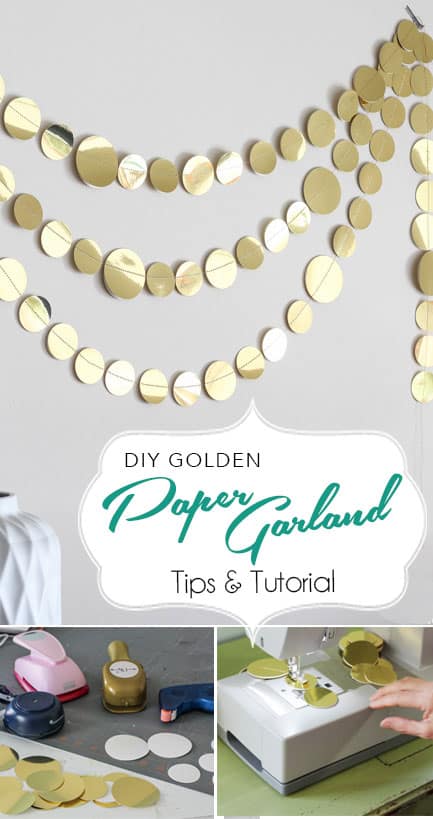
Today, I’m back with a quick tutorial for this easy paper garland. This addition to my Gleaming Teal and Gold Christmas decor provided the shine and drape I was looking for on my tree and garland, but this craft would be great for any festive occasion. How about draping this around your house for New Year’s or above any party table for that matter?
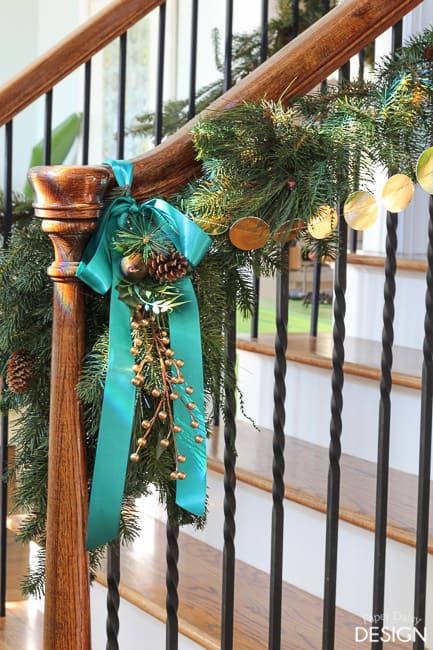
The key to the “gleaming” aspect of this particular garland is the paper I used. Going into this project I figured I would be using metallic scrapbook paper. But once I started to price out a large quantity of paper needed, I realized that was going to get a little costly. Thankfully, I remembered they also sell metallic poster board near the framing department at Hobby Lobby. It was actually a more attractive gold and much more cost effective than the scrapbook paper.
For this project, you can use several different sized circle punches or you can use a die-cut machine to cut a sheet of varying circles all at once. (I was going to do this, but my Silhouette blade was a little dull and I had the punches in my craft closet from my scrapbook instructor/designer days.)
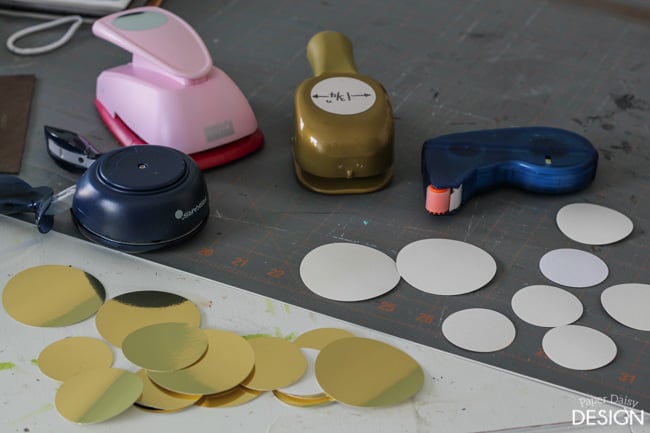
For a length of garland that is about 50 inches long I used about 50 circles, front and back combined or adhered. The sizes of my punches were 1 3/4″, 2″ and 2 1/2″. Most of the circles were the smaller, 1 3/4″ and I’m pretty certain this number of circles used about 1/3 of the poster.
Once all the circles are cut or punched, use a bit of tape adhesive. I used Hermafix squares to adhere them together so that both sides are metallic. You do not want to use glue. It will take too long to dry and will likely gum up the needle on your sewing machine.
Create a stack with varying sizes of circles and have them handy on your sewing machine. I placed mine on the deck of the machine.
As you begin to sew through one circle, begin to load the another circle so that the machine grabs the next circle. You can leave space between them or make the space kind of tight. It is just a matter of preference.
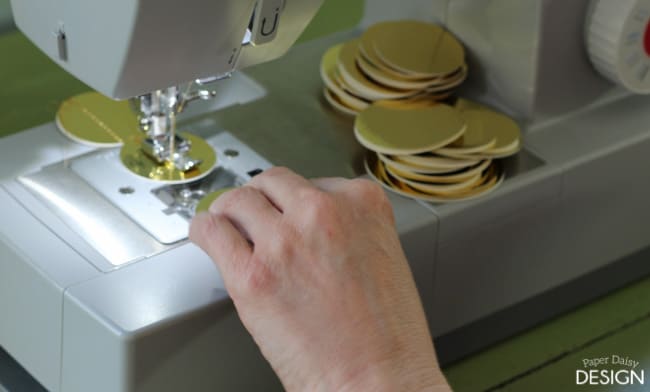
The machine does the work for you. Just be sure the circle goes through the machine fairly straight. The circles will flip a good deal if the stitch isn’t relatively in the middle.
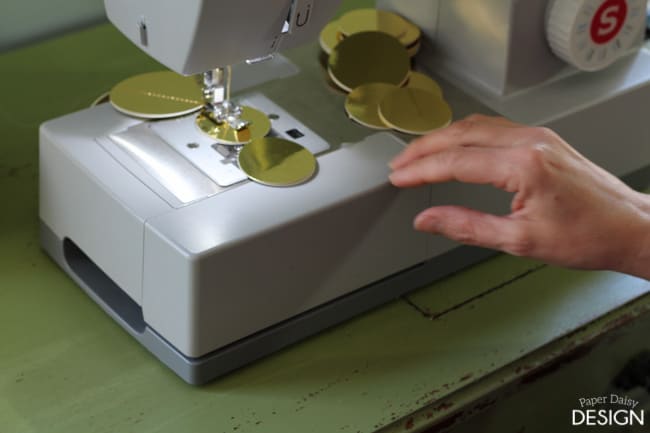 It’s that easy. If you don’t own a sewing machine, you definitely could just glue them together on a bit of twine, but sewing them goes rather quickly and I really like the look.
I plan on wrapping the garland up on a piece of cardboard to use it again for other occasions beyond Christmas.

What are your plans for New Years? Having a party these would be perfect for?

If you would like to see a mini version of this paper garland perfect for small craft projects, I actually wrote a tutorial for a scrapbook page embellishment using this technique years ago.





2 Comments
8 Christmas Decorating Ideas You Can Whip Up Before the Big Day
December 15, 2016 at 2:20 am[…] the tutorial at Paper Daisy Design if you want to sew your garland, otherwise just glue them together, plain sides touching over a […]
Henry Leo
January 2, 2021 at 3:12 amSuch easy steps with so less material which is easily available, Wow!