Let’s start with a little “hallelujah” this week! So very thankful we have 8 weeks during this season of the One Room Challenge!! The effects of Covid are still real and are creating challenges more so this season than in the last two previous challenges I’ve worked on during the pandemic.
WHAT IS THE ORC?
Thanks to Linda, the founder and organizer of this amazing bi-annual Interior Design event, the One Room Challenge™ there have been thousands of amazing room makeovers over the years. The event encourages and inspires room makeovers of 20 Featured Designers and hundreds of Guest Participants, like me. The official media sponsor is none other than Better Homes and Garden!
If you need to get caught up on the previous week’s progress updates and design plan check out these posts.
Week 1- the Intro || Week 2- Design Plan || Week 3 -Powered Curtains|| Week 4 Small DIY’s
Week 5 Architectural Details
Knowing Your Limits
This season more than any other, I have embraced the concept that not every detail of a room makeover has to be done by me. If you’ve been around here a while, you know there are very few DIY’s I shy away from. But in this challenge, I went into it knowing that I could not pull off installing a coffered ceiling by myself. I had planned and budgeted all along for that work to be done by my favorite contractor.
While he was delayed several weeks because of Covid, he and his crew pulled it off beautifully and in one day!
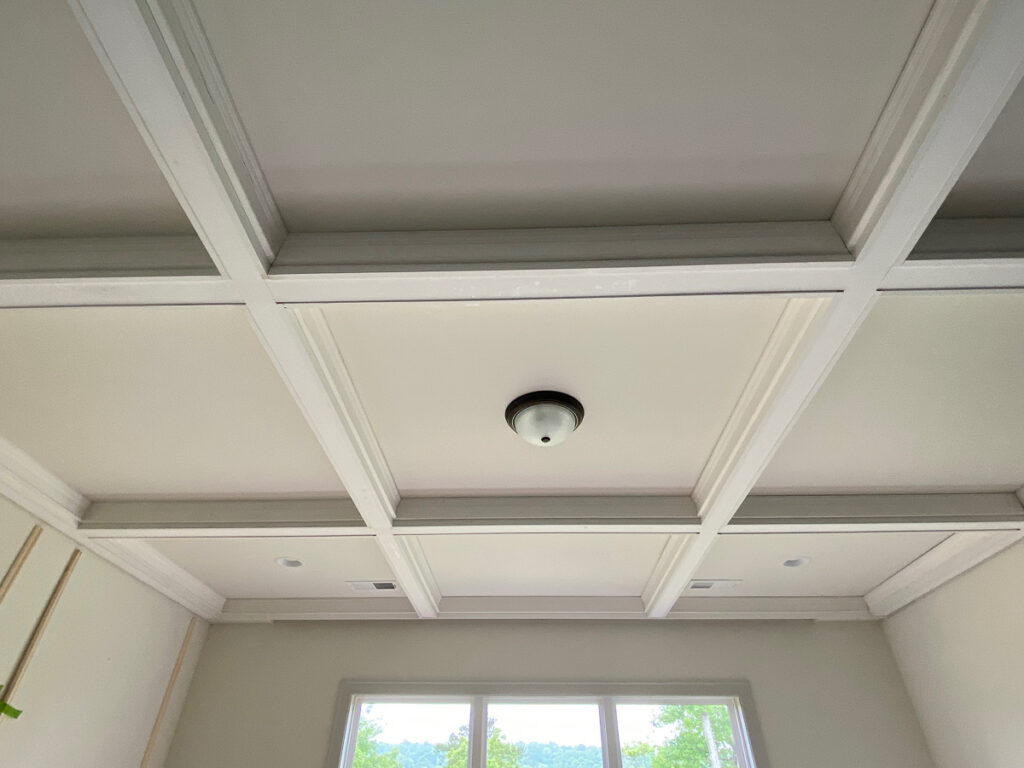
The design of the ceiling includes one more band of moulding in the center of each box. I thought this was something I could do myself. They are very small pieces. But as I started, my shoulder fairly quickly that this project was not for me.
So, I’ve called my contractor back to complete that task. He is scheduled to come Friday afternoon and I would guess he could knock that out rather quickly.
The other task I knew could be done infinitely better by a professional was upholstering the bench that will go at the foot of the bed.
Custom Upholstery
I have long been a customer of Calico Corners and for many years I created all of sorts of lovely curtains, pillows and recovered chairs. But this time, I wanted a specific look for this makeover and I knew it was beyond my skill level and was extremely happy to partner with them for this project.
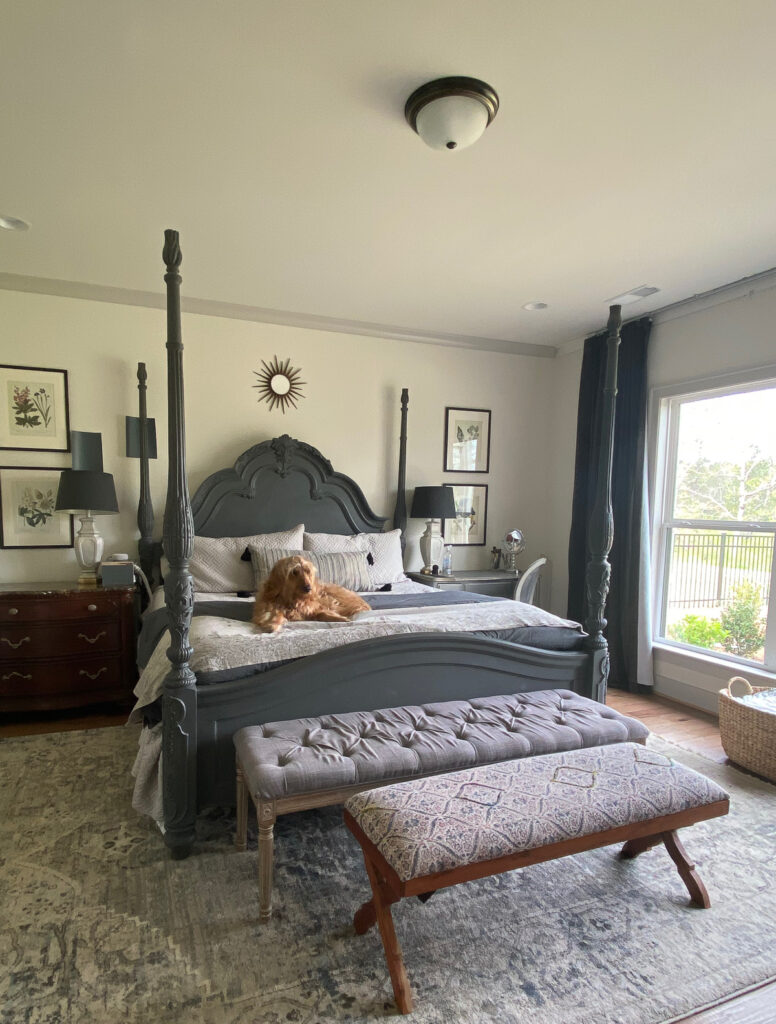
While I worked on refinishing the base of the bench, which I talked about in week 4, Calico‘s custom upholstery team transformed a basic cushion into this glamourous box cushion.
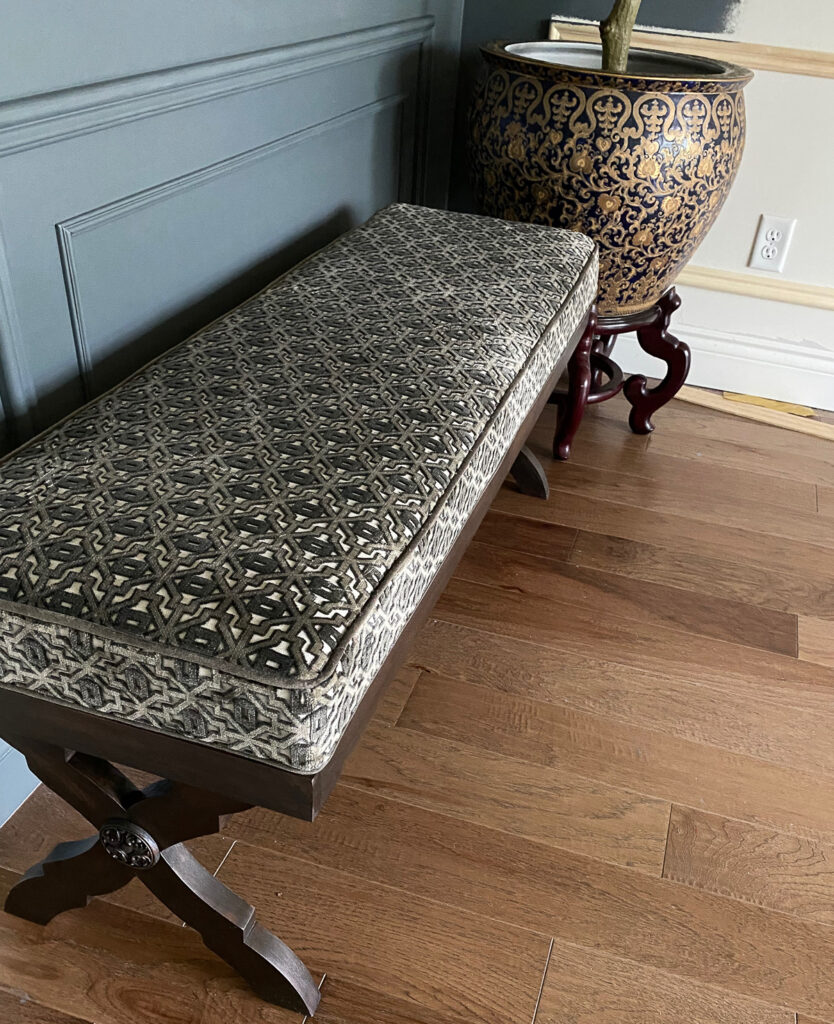
It is absolutely stunning, isn’t it? I took one look at it and immediately said, “I never could have done that!” Many of you might be surprised to hear me say those words. But it is true. I know my limits and to achieve this perfection and this skill of upholstery work is worth hiring out.
While I still need to finish one more small upholstery project, I was happy to have this bench complete. I love how the new dark finish looks with the fabric and the new luxurious cushion.
Continued work on the Panel Moulding
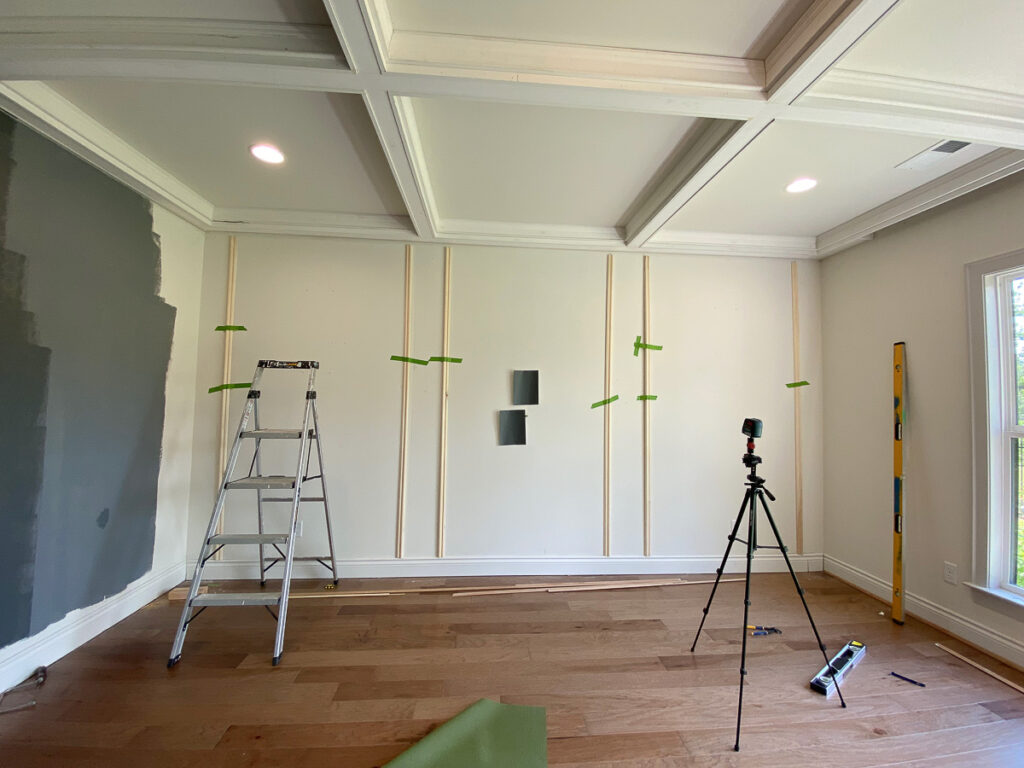
This is where I left off last week. After what felt like hours of calculating and considering all the options, I finally made a decision on spacing and placement and got to work on the paneling for the walls.
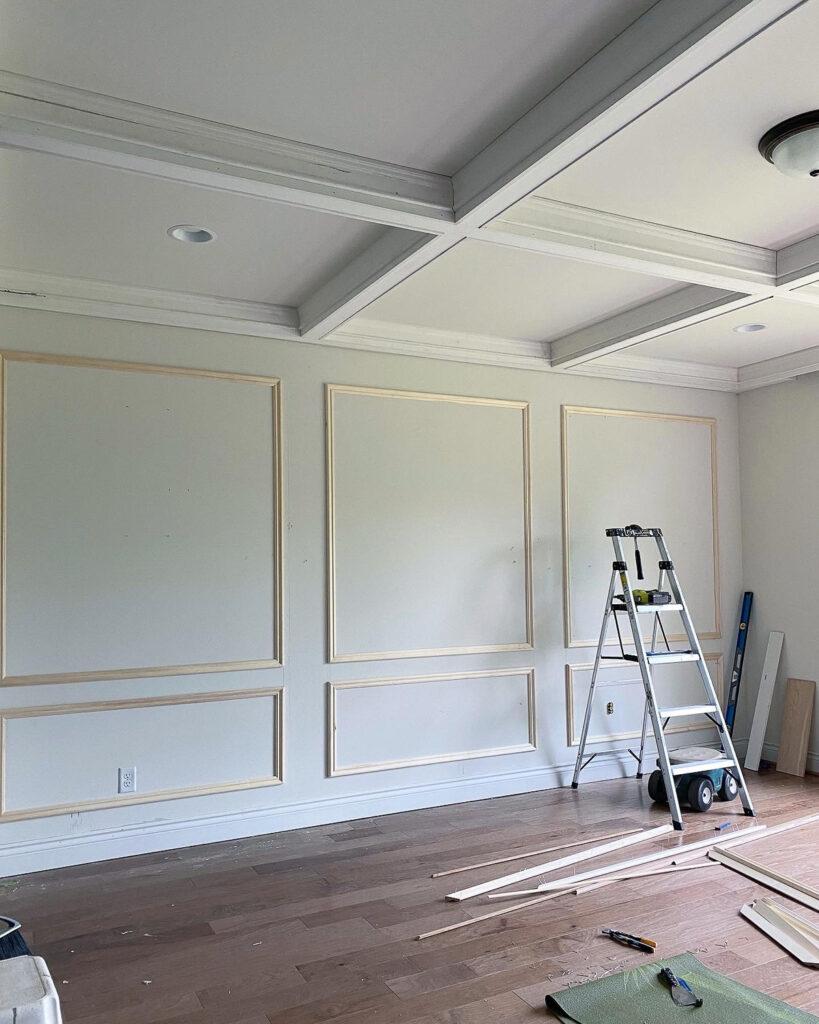
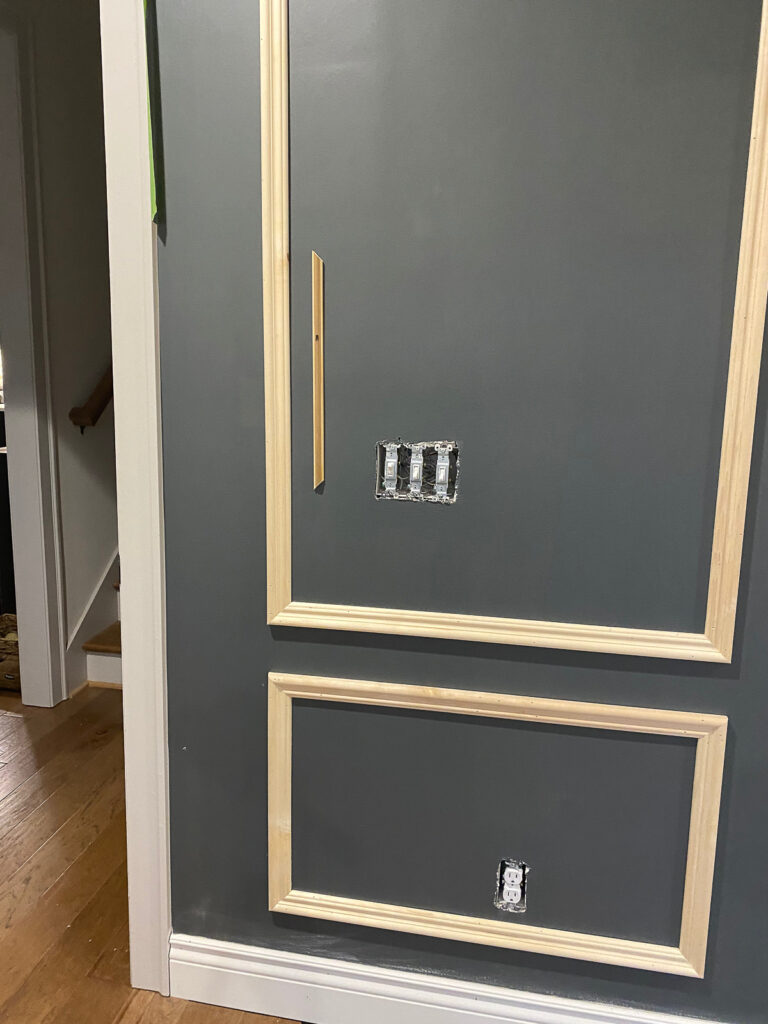
Then the debate of how far away the second layer of moulding should be from the first beagan. That was a lot easier. I felt like a 3″ spacing was perfectly proportional to each piece and the relationship to both.
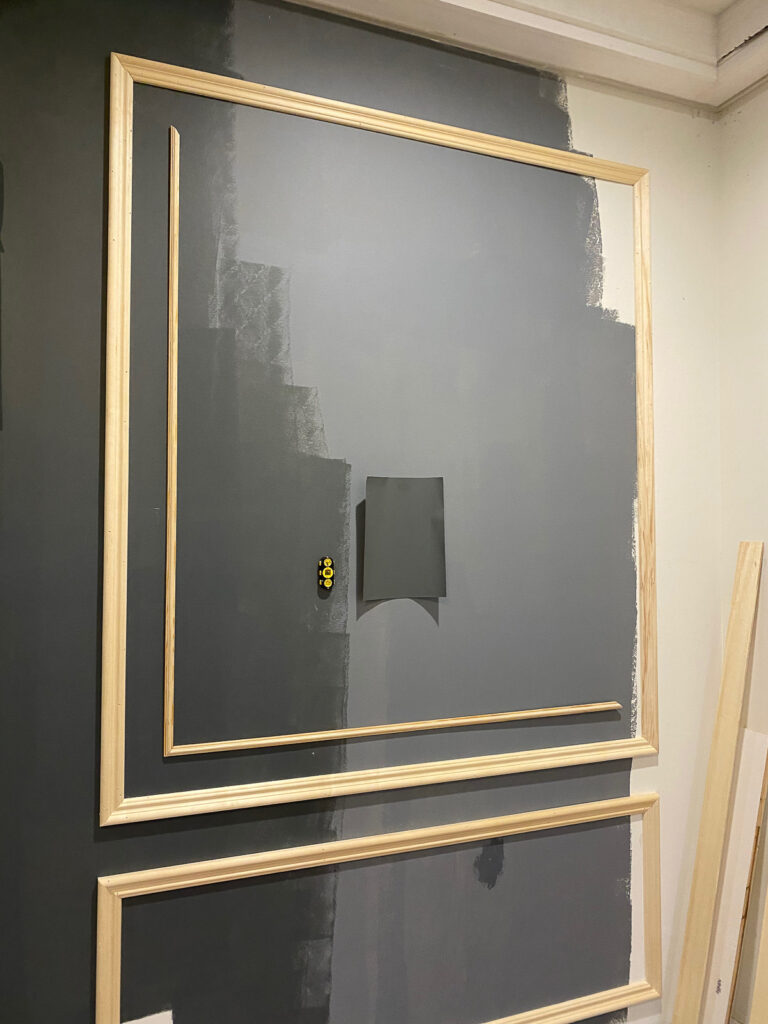
The part that has been most time-consuming with this second layer of moulding is the fact that I am basically creating my own custom moulding out of two smaller pieces of trim.
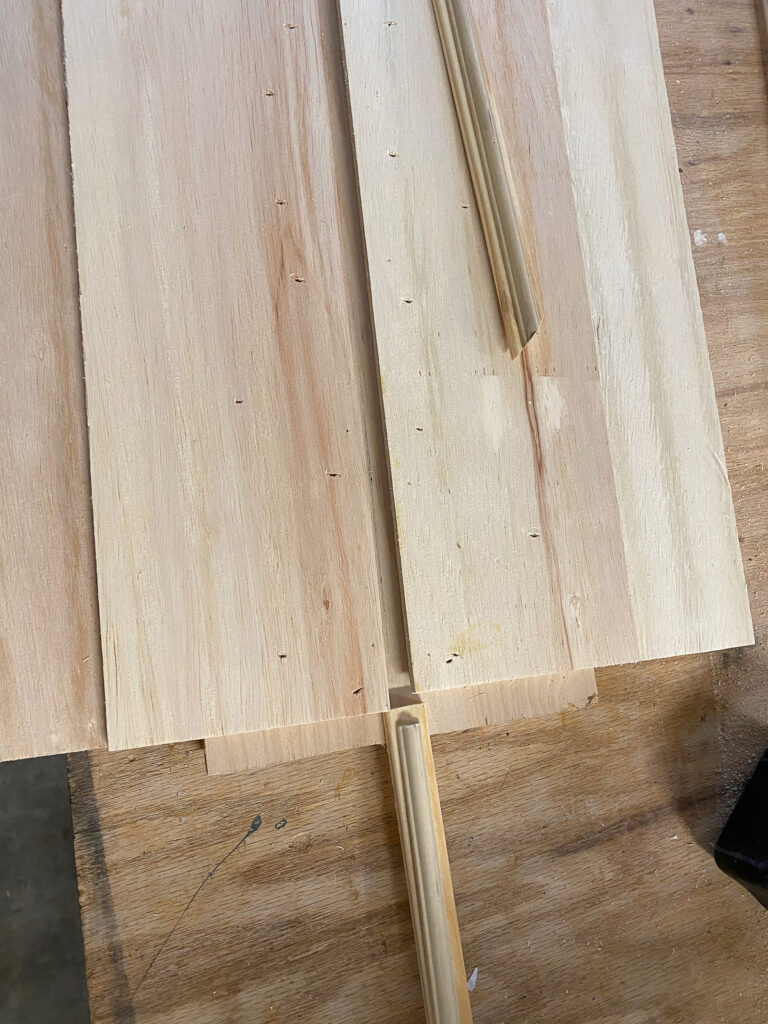
At the top of this photo you can see what I am creating. At the bottom, you can see how the two pieces go together. It is this small colonial trim from Novo Building Products and then a plain screen trim.
Why would I go to this trouble?
There are two reasons. I love the ridge in the middle and the symmetrical ridges on the sides. (There might be more technical terms for this but that’s the best way I know how to describe it.)
The second reason is even that though ended up miscalculating the actual size of the moulding, I think it was worth finding a way to make it look even better! Adding the screen trim to the back “beefs” it up just enough to be paired with the thicker chair rail I am using as the outside panel.
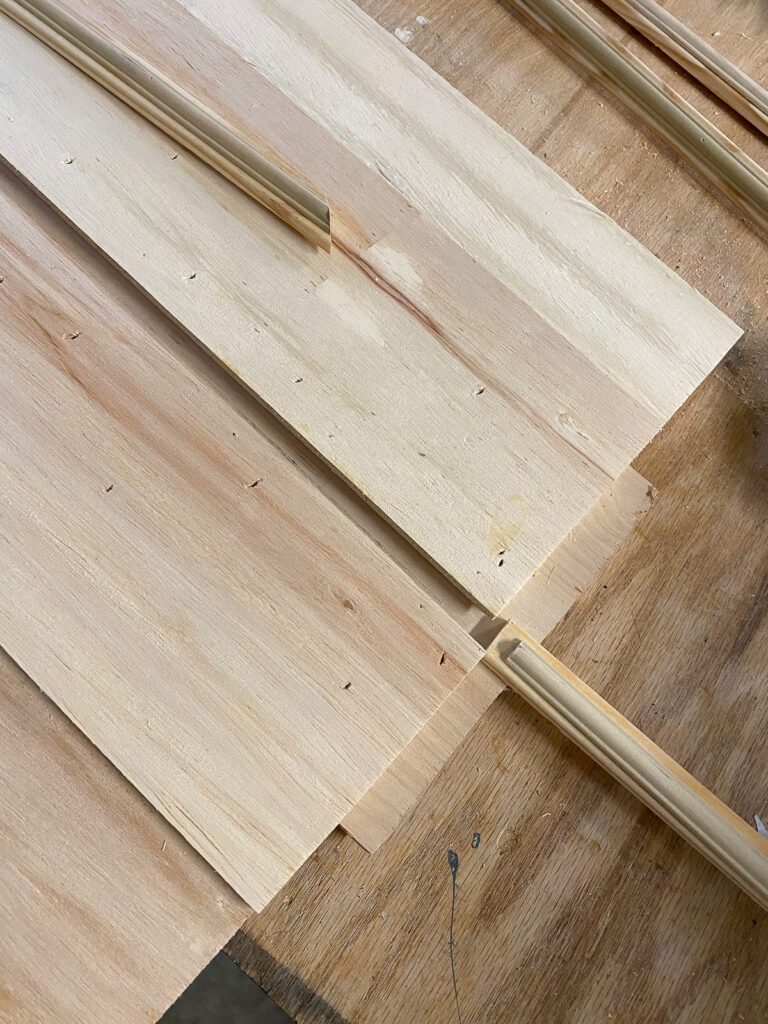
Because the screen and the smaller trim are both rather flexible, I decided to create the jig you see above to help me attach the two pieces together before installing them.
Basically, I applied wood glue to the pieces and then slid the two pieces through the channel. When the two pieces came out of the jig, I nailed them together. Some strips were easy, others that were more irregular required a good deal of force to make them go through the jig.
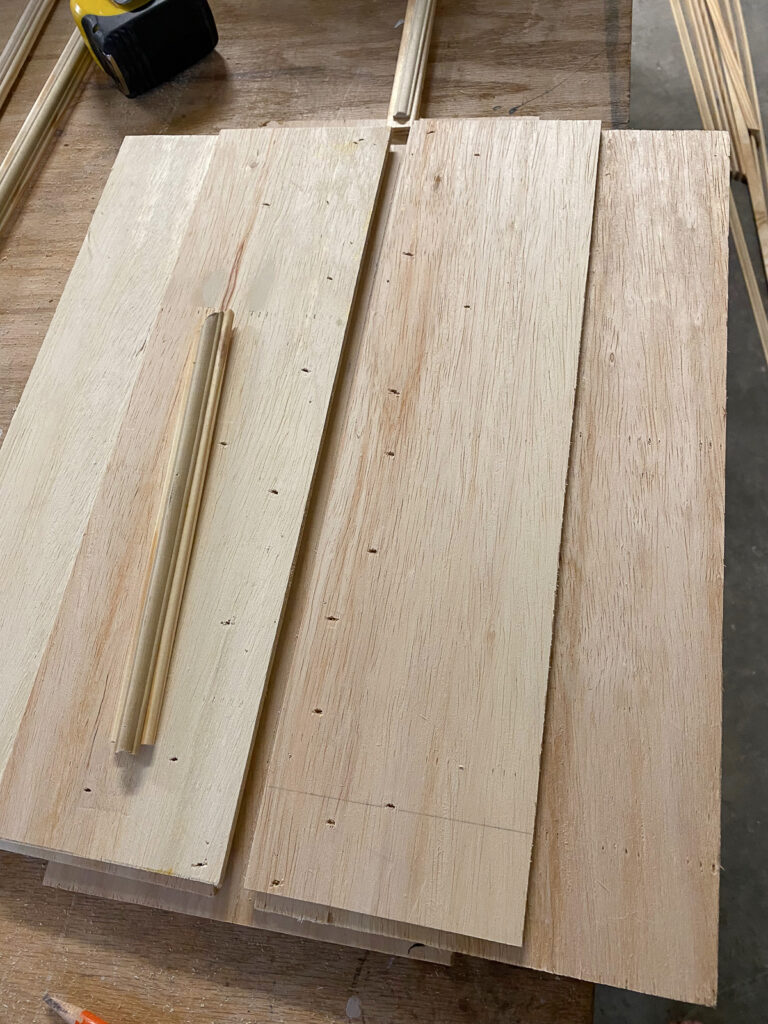
Regardless, I thought the jig was quite clever. I felt like I was manufacturing moulding in my garage! And I loved the results!
The other behind the scenes project I worked on this week was building a zero clearance jig for my miter saw.
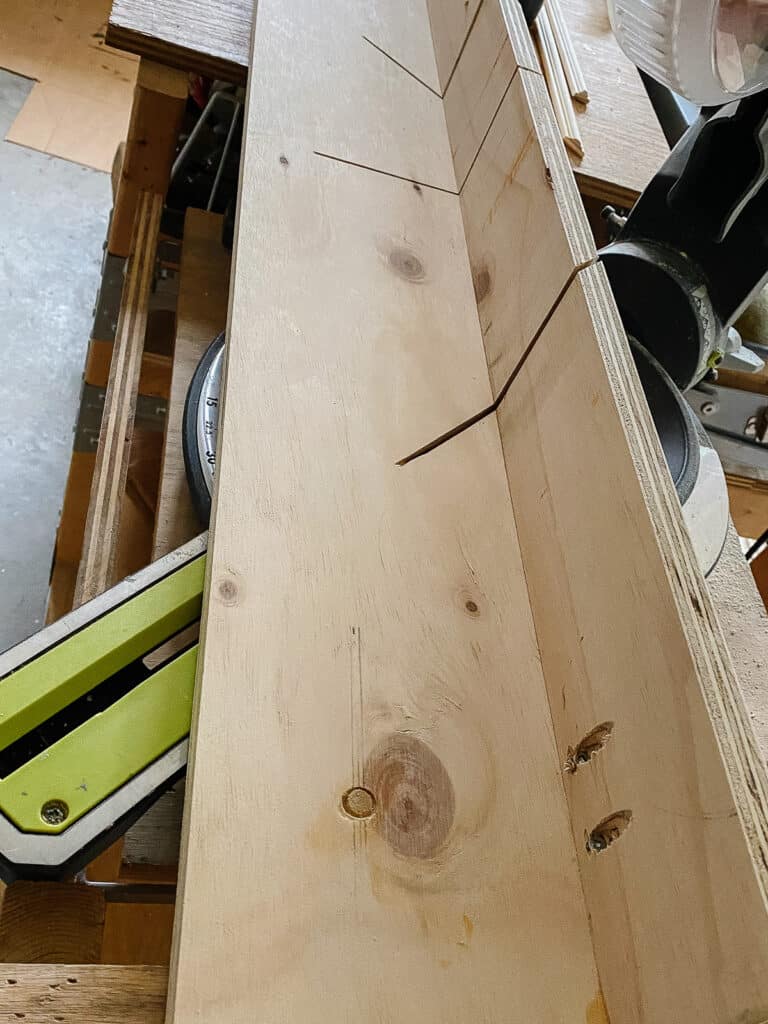
What does it do? Why do I need it? It allows you to cut small pieces of moulding cleanly without the danger of popping or tear-out. It worked like a charm! Here is a link to the tutorial I used to build it.
Now, I’m ready to safely cut all of the small moulding I’ve “manufactured” without fear of injury or loss of material.
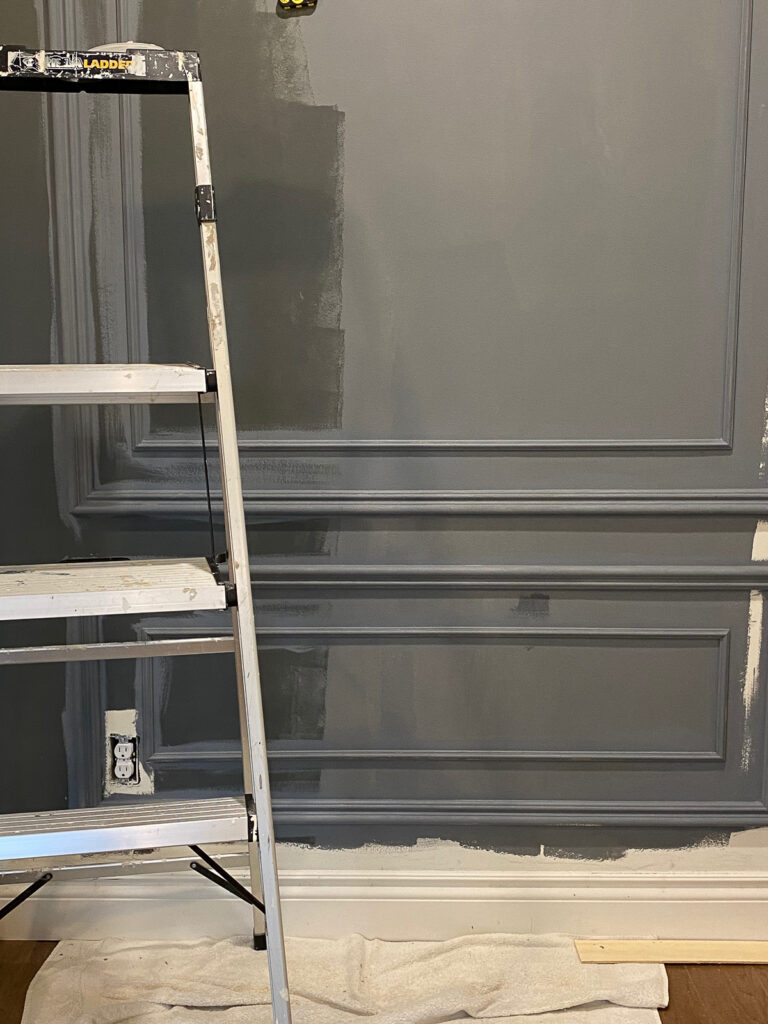
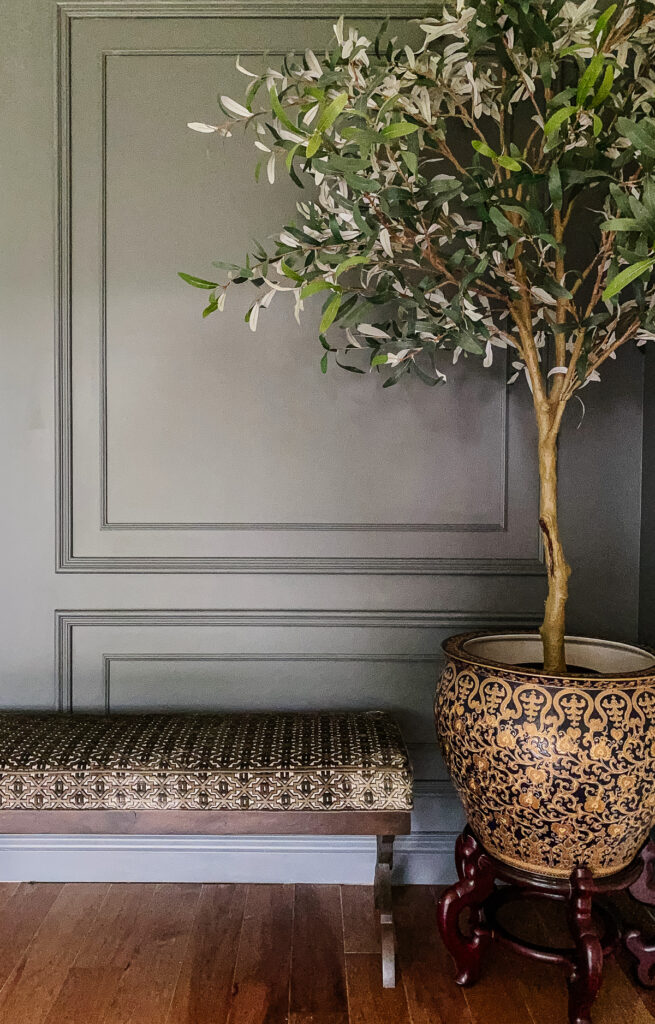
Even though we are far from pretty photos, I wanted to give you a small visual nugget for the final room should look in two weeks! This wall is completely staged and these two items, the custom bench and this oriental fishbowl with an olive tree won’t even be near each other in the final room.
If nothing else this image gave me a glimmer of hope. I can’t wait to tell you the story about how I acquired this giant oriental fishbowl off Facebook Marketplace. Isn’t it fabulous??
All of this would not be possible without the support and contributions from these amazing sponsors!

Novo Building Products and Empire Moulding and Millwork || Calico Fabrics || Couture Lamps
Crystorama || Custom Picture Frames || Boll & Branch || Charleston Hardware Co.
Be sure not to miss this season’s Featured Designers and the Guest Participants links at the One Room Challenge weblink up! As always, special thanks to the One Room Challenge media Sponsor, Better Homes and Garden and Linda, owner and creator of the One Room Challenge.





2 Comments
Deborah Main
June 10, 2021 at 10:23 pmThat bench is absolutely stunning!!! And the moulding you are making is mind blowing. I can’t wait to see your Big Reveal! And I believe that this spring is probably harder cause materials are more expensive and there are so many shipping delays. I was lucky to get my 2 rooms completed w/out any delays in 2020. Good luck thru the finish line!
AMJ
June 11, 2021 at 7:26 amLove your work. Sadly, I’m reminded why I quit following earlier: all the PoP uP aDs. It’s feels like a video game with elevated adrenaline by the time I complete your blog. I have to hunt for the ‘x’ and not once but twice hit it (if I’m lucky. Otherwise I have to close page it popped me over to so I can finish reading your post) even know the ads are constantly popping as I’m typing. It’s even covering what I’m typing so I’m hoping this is readable since the ad is blocking everything. Just too much. If you’re not aware of this, please log on as a viewer. Your sponsees shouldnt drive people away because their ads are so aggressive and relentless. Just. Too. Much.