Finding balance in a multi-functional room.
My goal for designing our bonus room was to create a little personal retreat away from the rest of the house. A room with a distinctively feminine vibe and a place to highlight my love for all things chinoiserie and blue and white in my design. I also needed to pack a great deal of function into this one space and balancing those needs proved to be a little challenging. I walk you through the process of how I planned this multi-use room.
When I first introduced this room several months ago, it was only partially finished and partially functioning. There was still a great deal of organizing and editing that needed to happen to bring this multi-purpose room to where it is today.
Today’s blog post is sponsored by Build.com. I was gifted items in this room in exchange for my honest review. I use affiliate links as a service to you. Those links bring a small commission if you make a purchase, at no extra cost to you.
If you haven’t seen the first iteration of this room and the ridiculously cluttered before you really should check out this blog post. Taking our bonus room from a cluttered mess to a lovely lady’s lounge.
If I am being totally honest with myself the proclamation that the room had moved from a cluttered mess to a beautiful space was only partly true. Sure, the room had come a very long way from the before, and definitely qualified as a beautifully feminine room makeover, but the real work had only just begun.
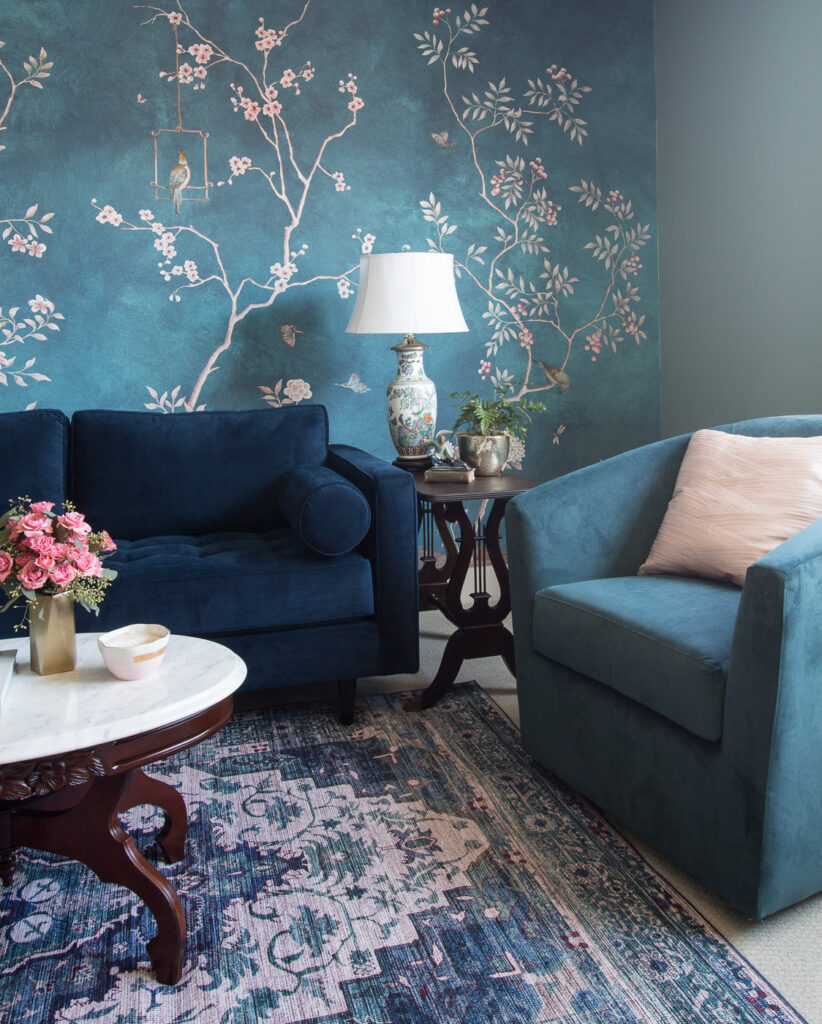
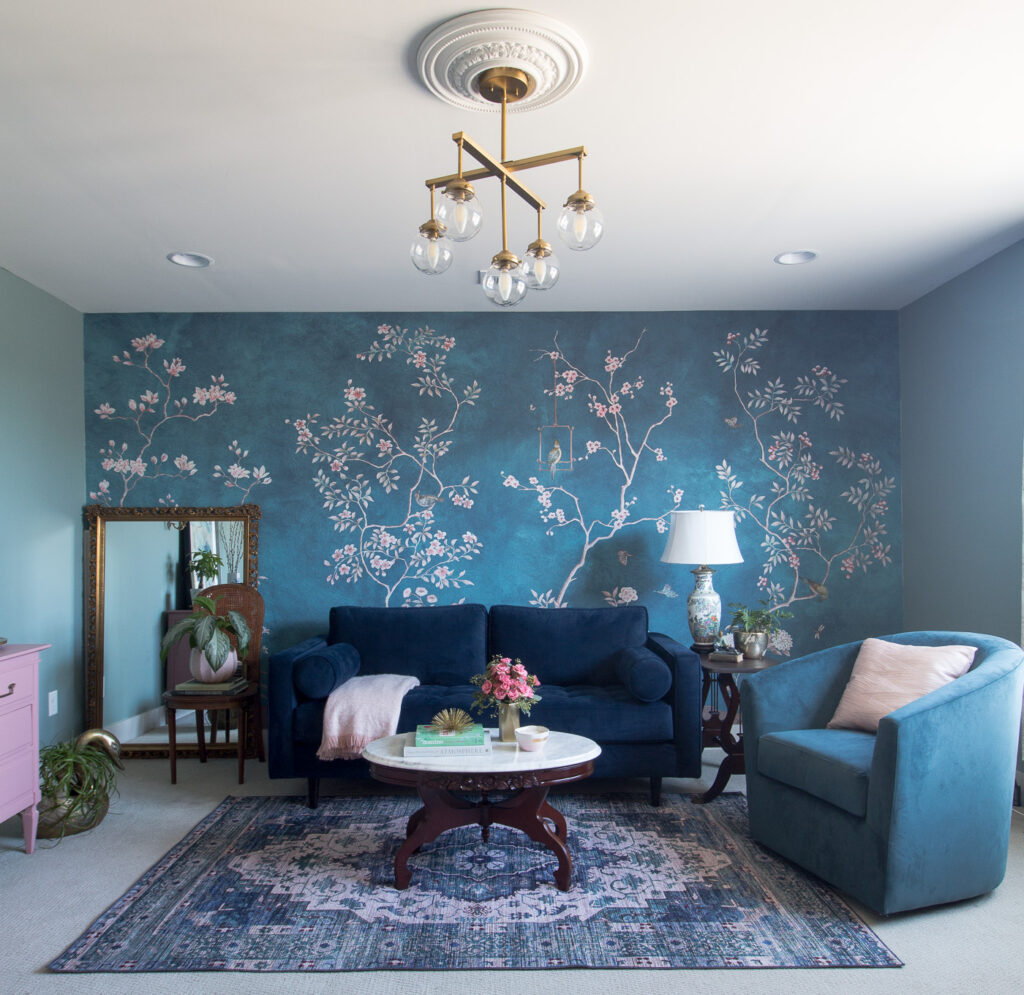
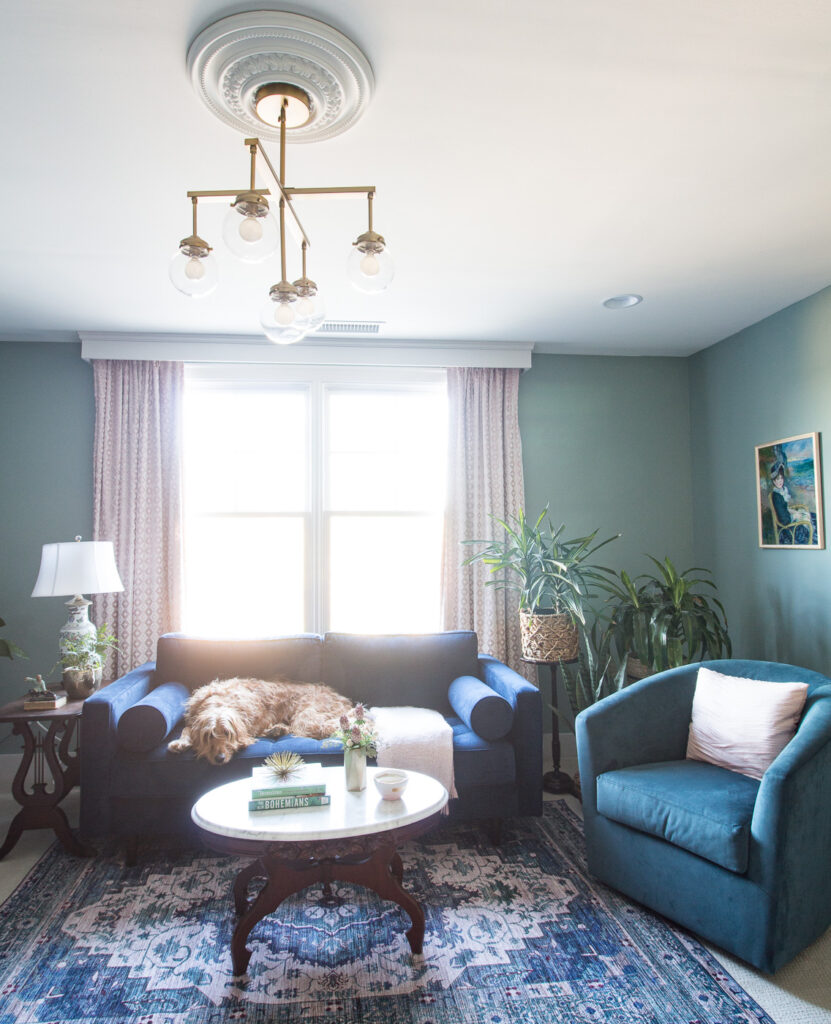
There is no denying this gorgeous blue Loloi rug, modern lights and traditional ceiling medallion from Build.com bring the modern and vintage elements in the room together perfectly.
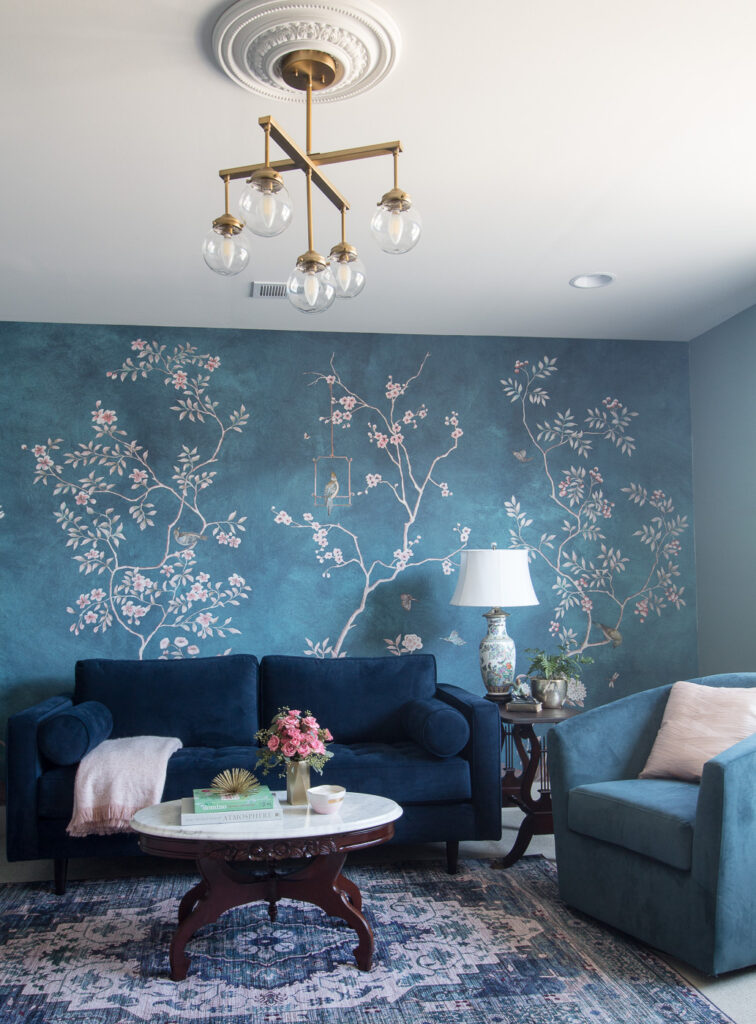
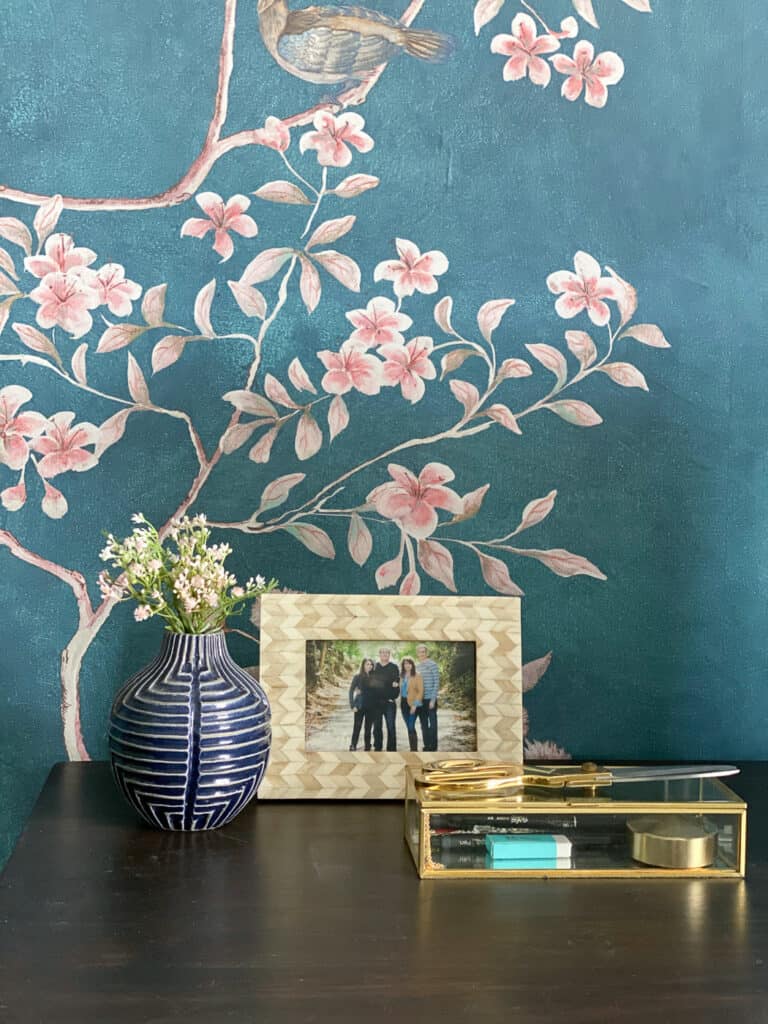
I absolutely love this teal chinoisere removable wallpaper mural from Awallon Design. It was very easy to install. You provide this Etsy shop with the dimensions of your wall and she custom fits the design to your wall.
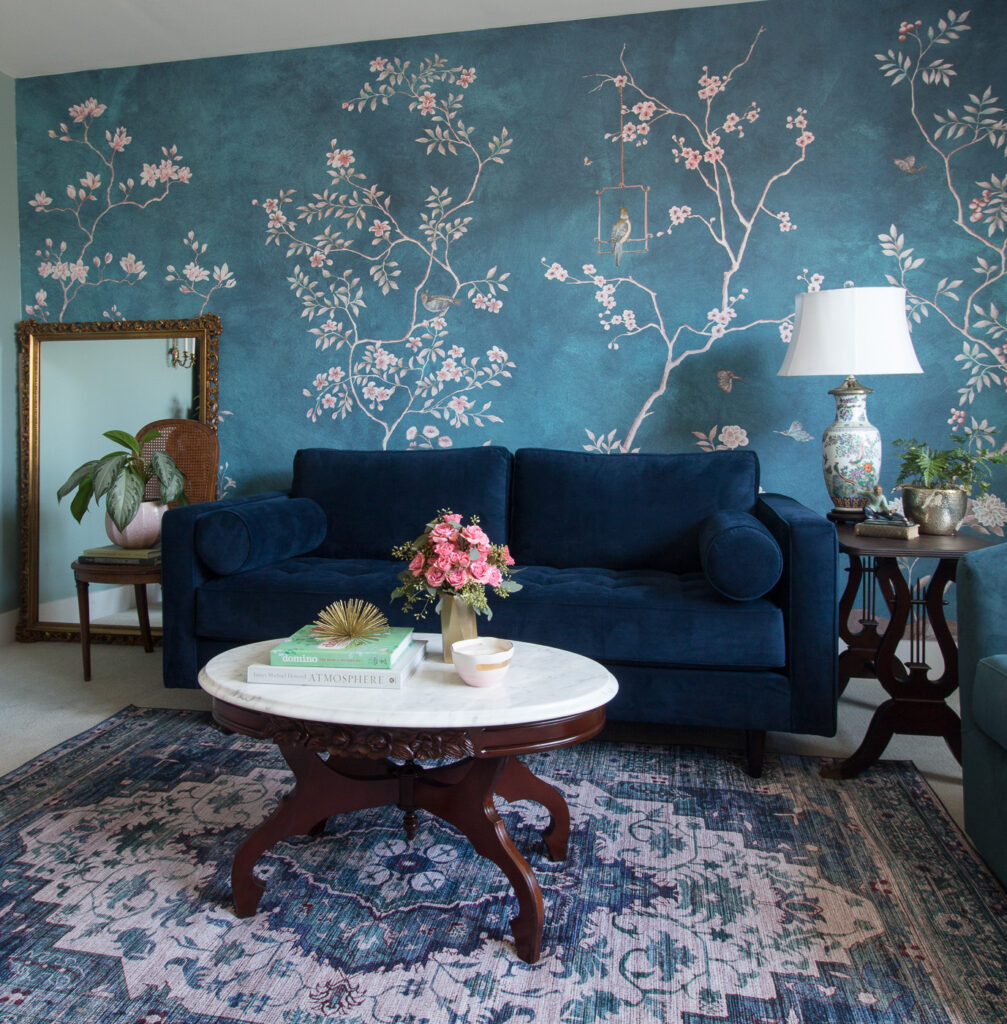
The velvet sofa and swivel chair are from Rooms to Go. (Gifted and previously sponsored.)
The marble coffee table, oriental lamp, glided mirror and harp side table were all thrifty scores from either Facebook Marketplace or estate sales.
The New Office Side
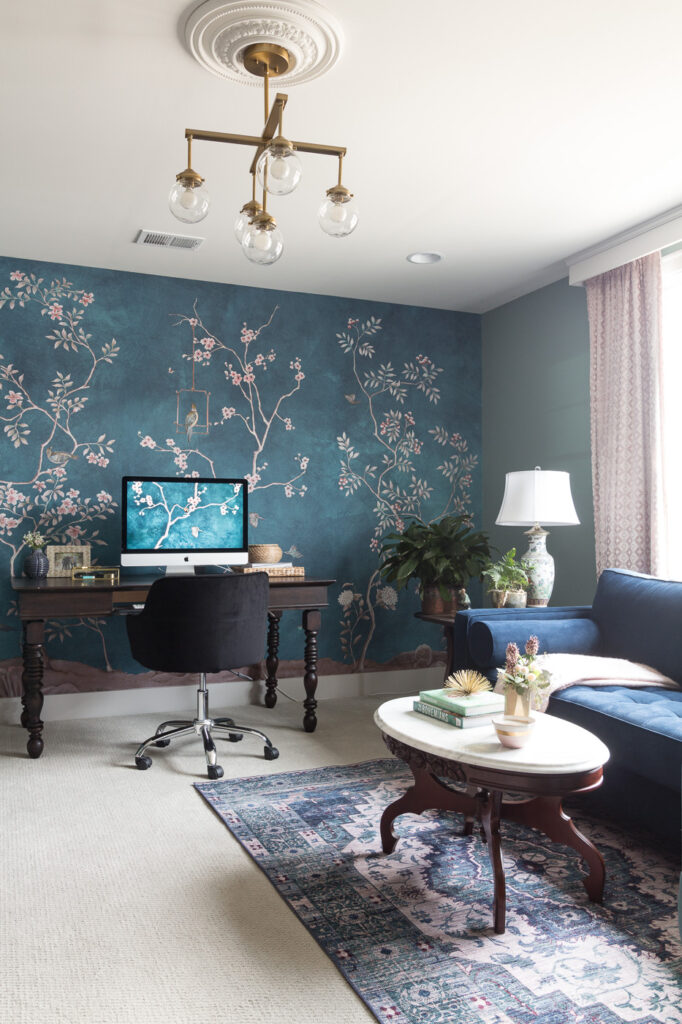
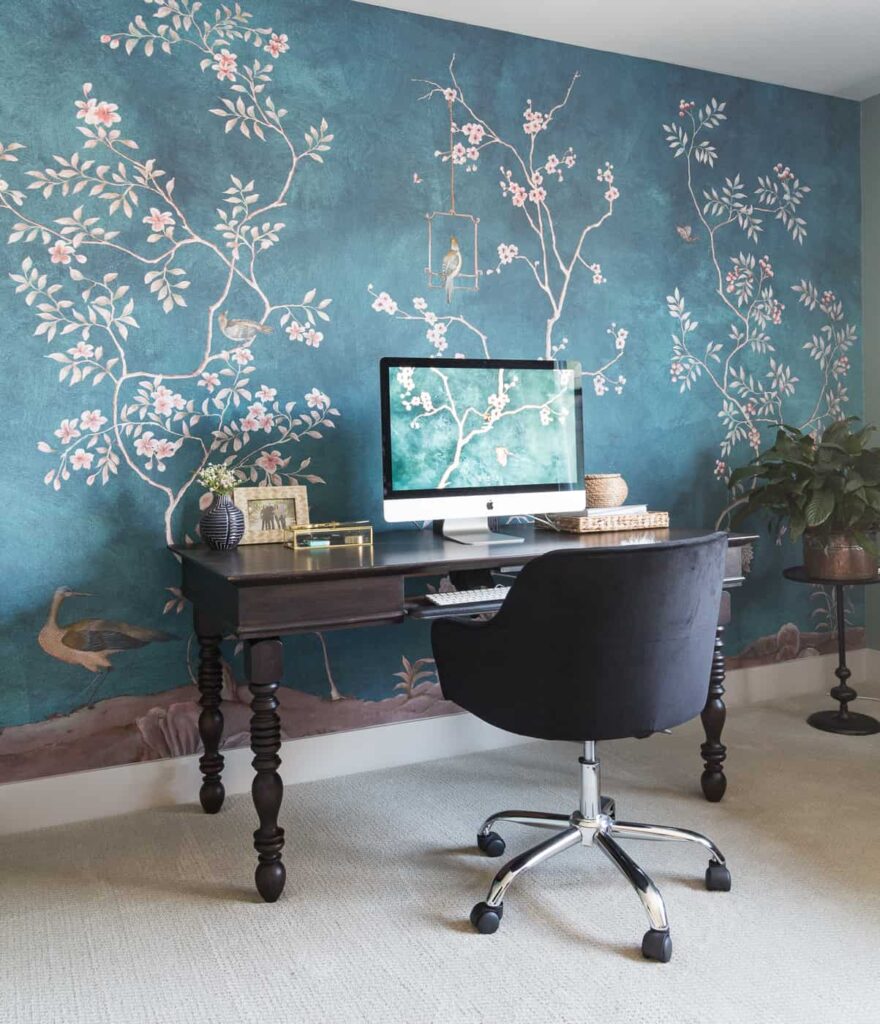
So in this, the second room reveal, the furniture has been rearranged to highlight the main function of this room – an office space. The cluttered mess of the craft area has been completely organized and supplies have been appropriately stored away.

One basic design problem with this configuration its that my back is to the room and that is not good feng shui. I do love seeing the silhouette of my DIY Computer Desk made out of an antique bed. You can see the transformation and tutorial here.
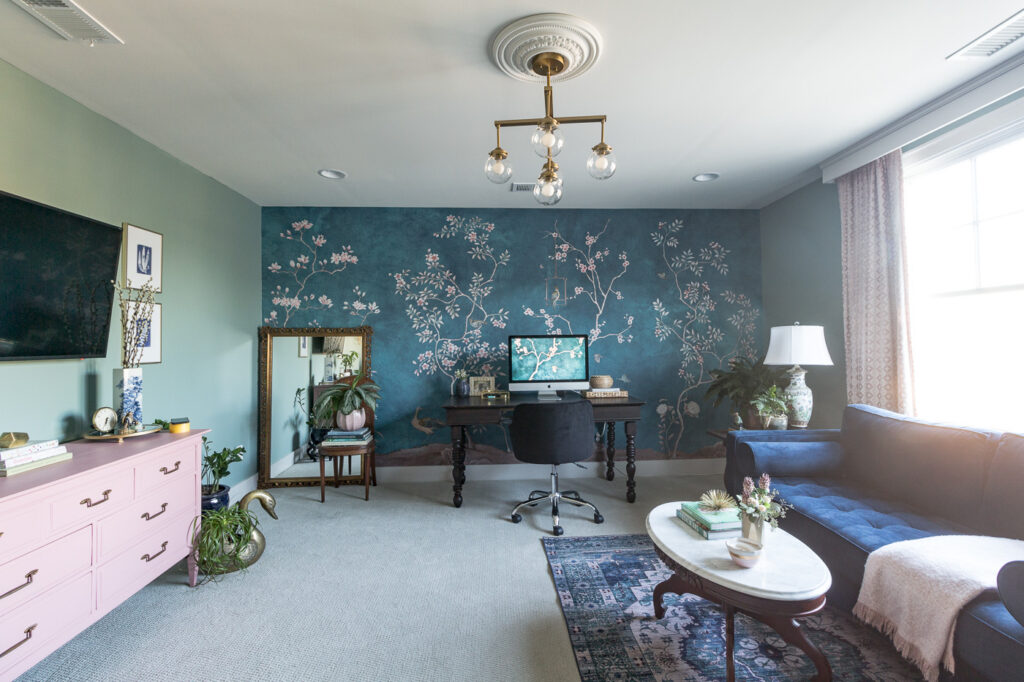
Yet, I am totally in love with having the beautiful chinoiserie wallpaper as the backdrop to my computer screen. All I can see beyond my screen are the lovely flowers and birds and I have found that to be both calming and inspirational.
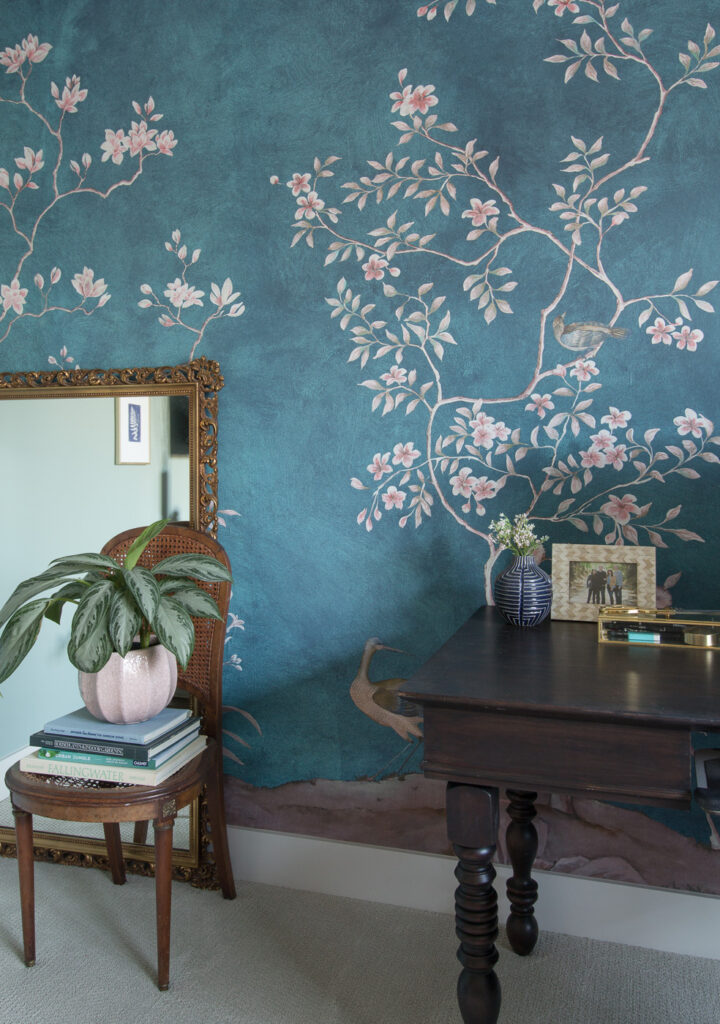
The only other problem I am encountering with this arrangement is the back wheel of my desk chair bunches up the rug, occasionally.

Shop the Room
Optimal TV Viewing

With the sofa and chair grouping moved in front of the window, the room is definitely set up for more comfortable TV viewing than with it off to the side.
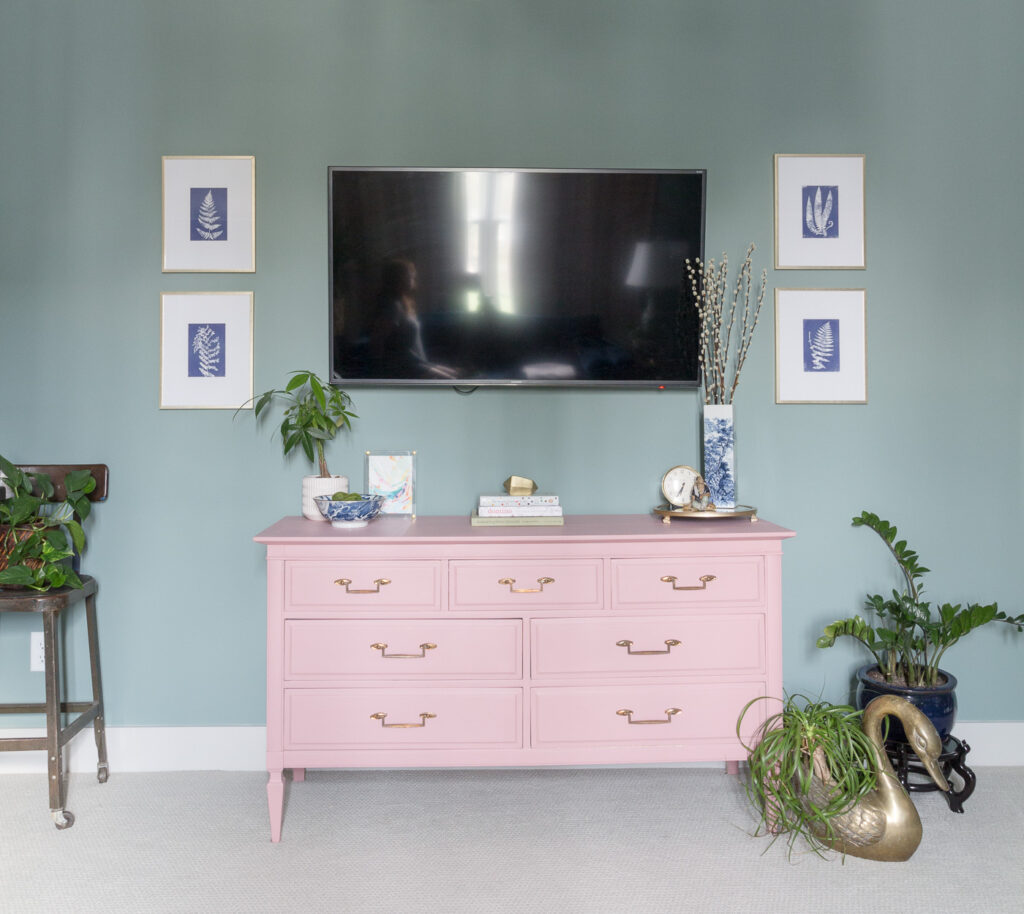
Instead of the art that first hung over the pink dresser, a TV has now been installed. I added a set of blue and white prints to either side of the TV. Adding art to a TV just makes it feel a little more purposefully decorated.
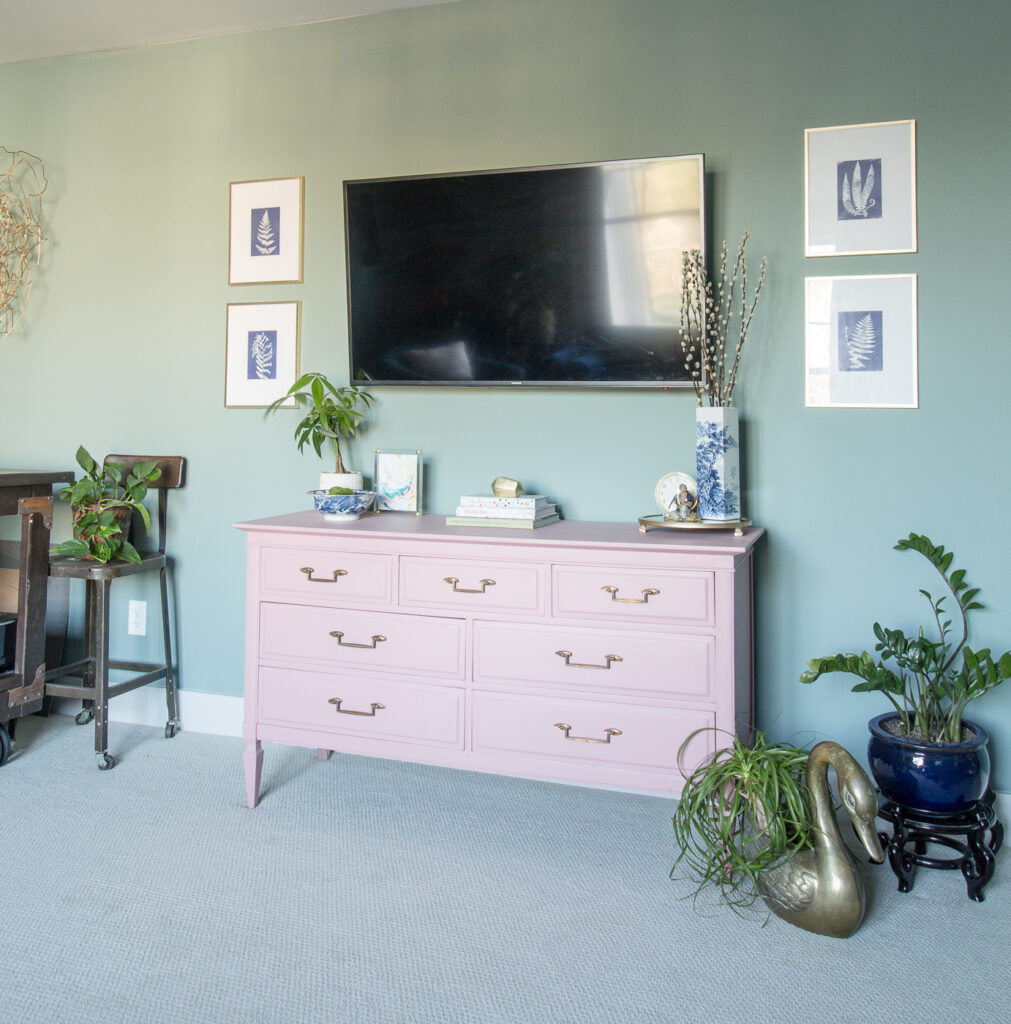
While the main function of this room is an office, then as a craft space, having a comfortable place to lounge quietly or watch TV in our newly downsized home is a welcome addition. This arrangement definitely makes that more enjoyable than off to the side.
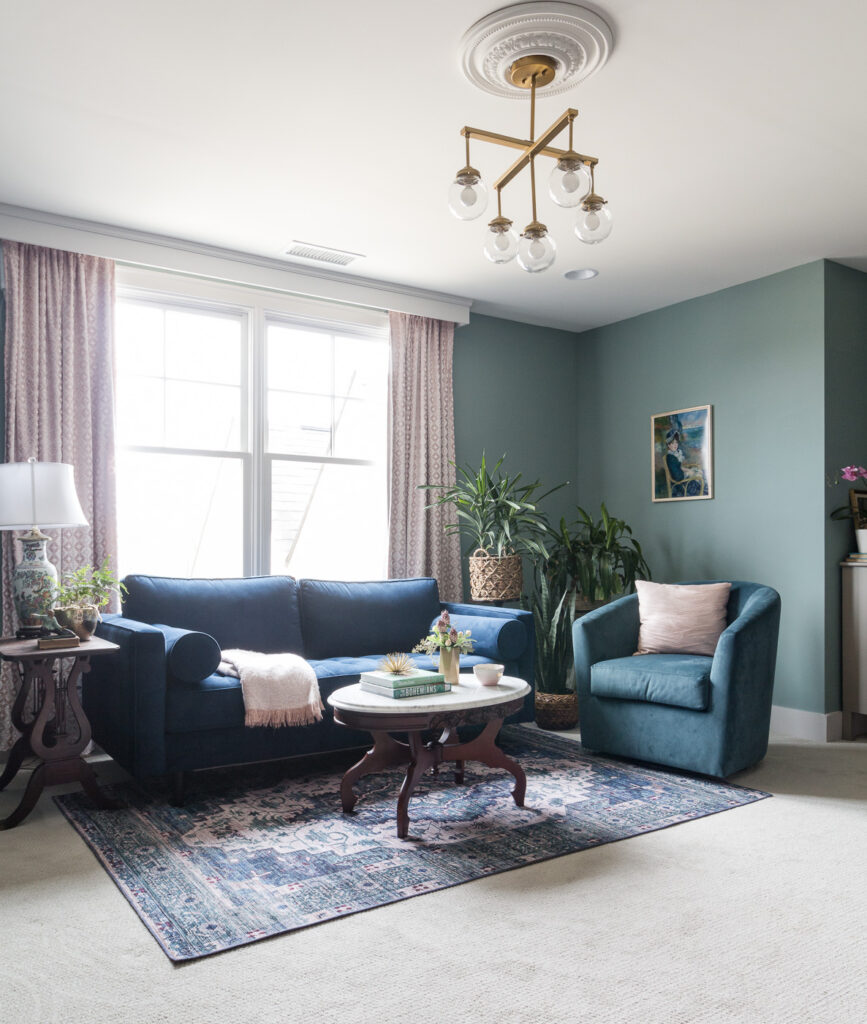
I have already taken advantage of the ample space here in the middle for yoga sessions.
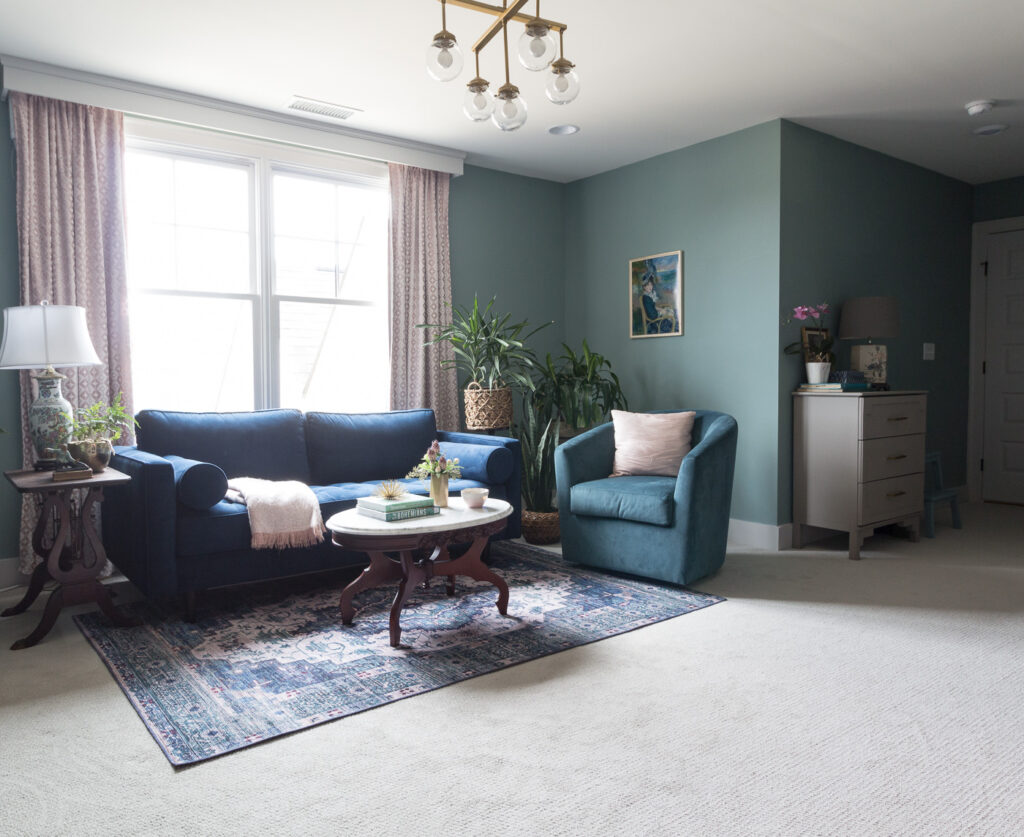

No doubt the furniture pieces looked amazing on the mural wall but having them framed by the pink curtains is still quite lovely.
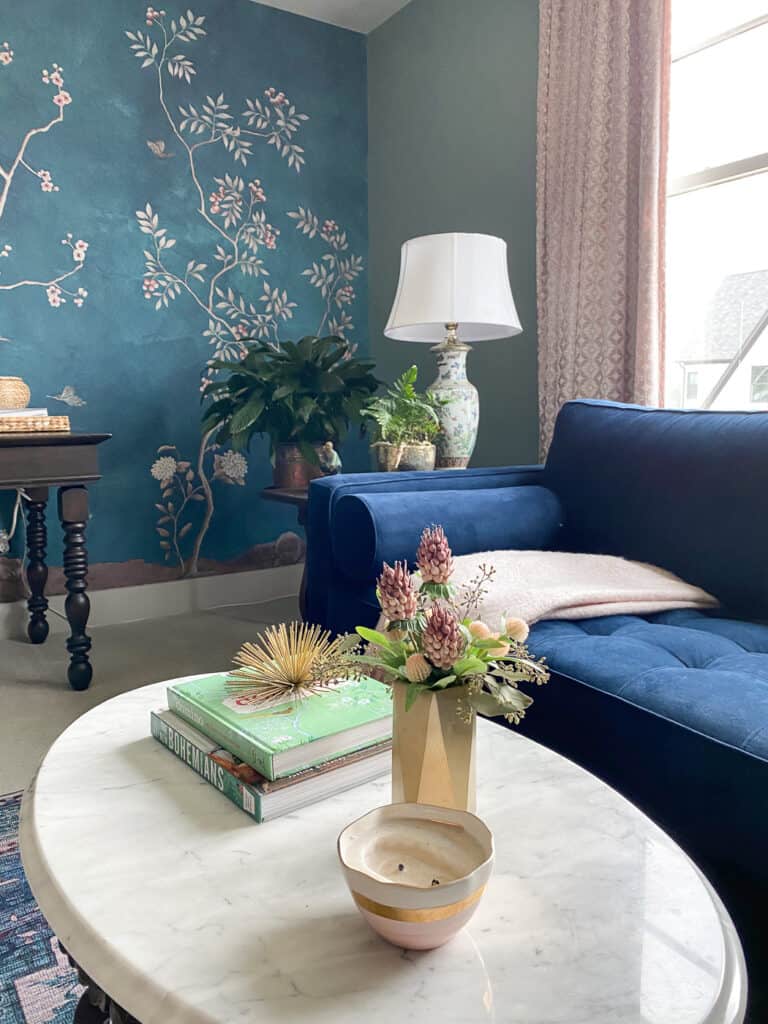
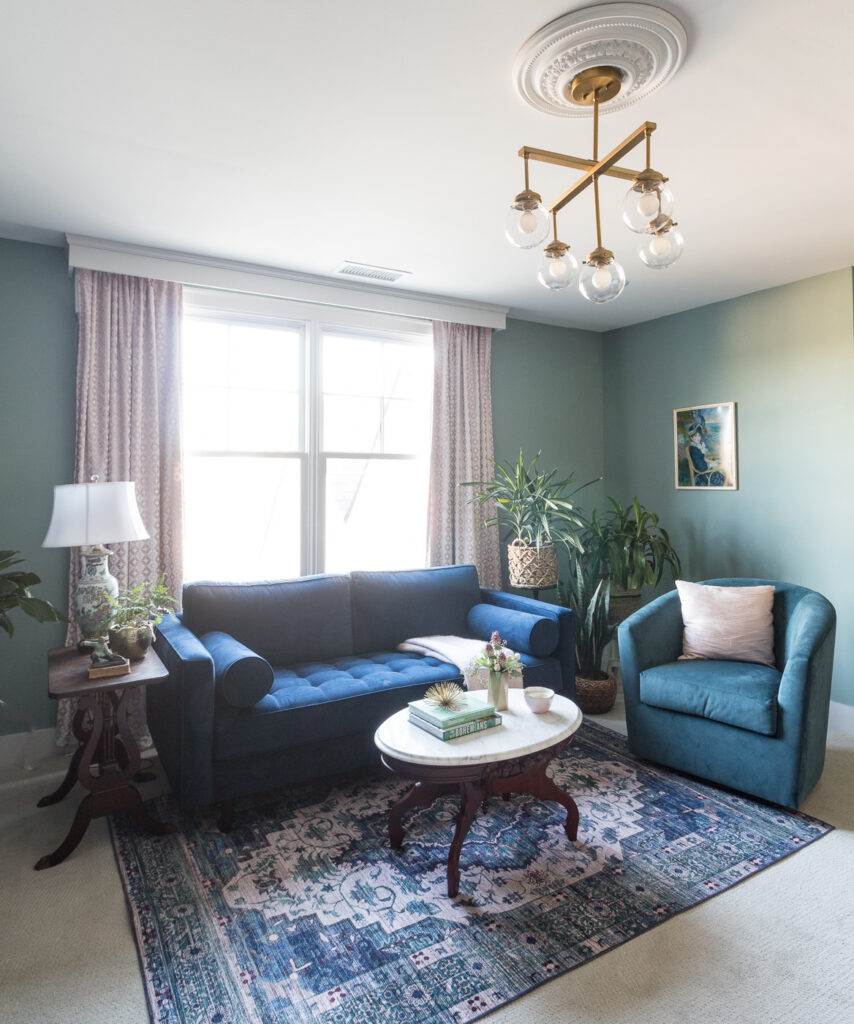
Because this upstairs bonus room is in the front of the house, we set up the curtains with smart powered operation. (I’ll share more about that in an upcoming blog post. Suffice it to say they are amazing!!)
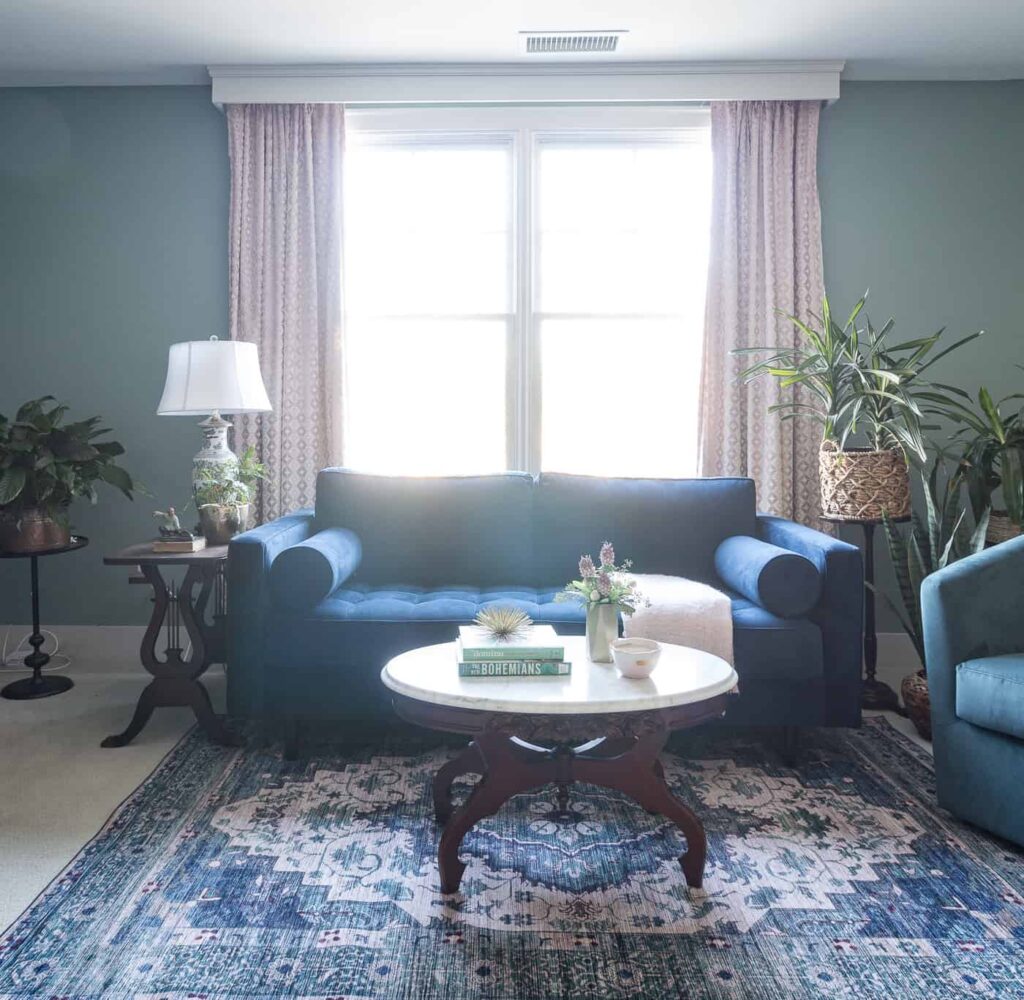
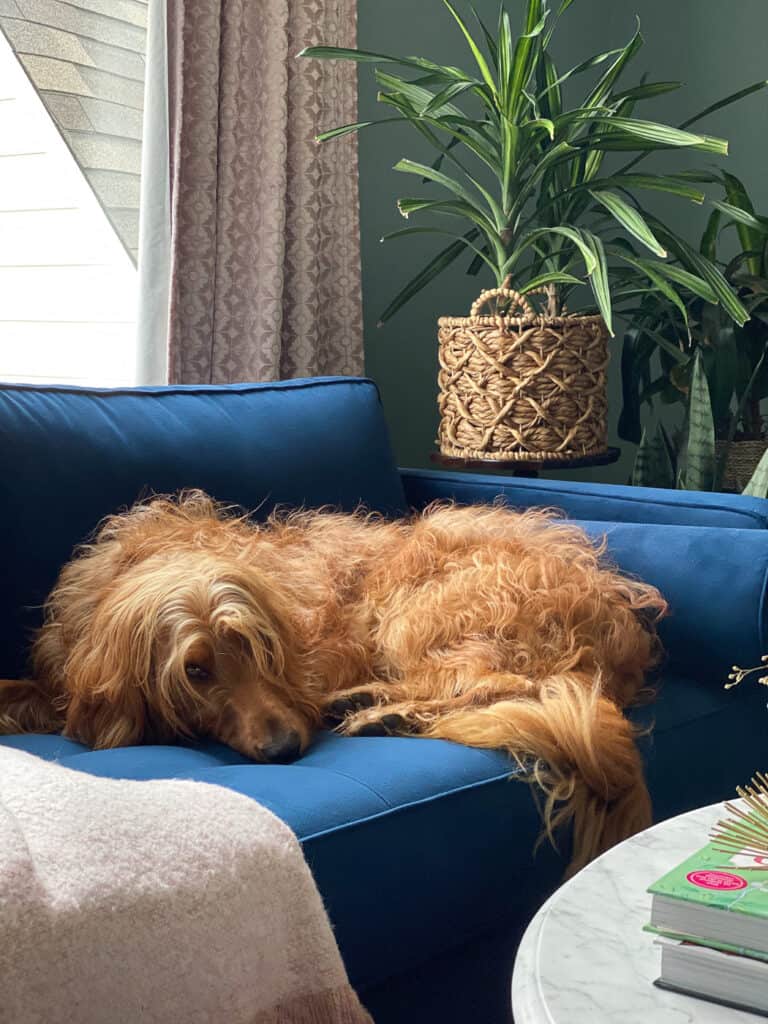
Someone else is particularly found of this arrangement. Freddie often naps here while I work and has a fantastic view of the front of the house and walkers going by.
Shop the Room
A place for Crafting and Storage
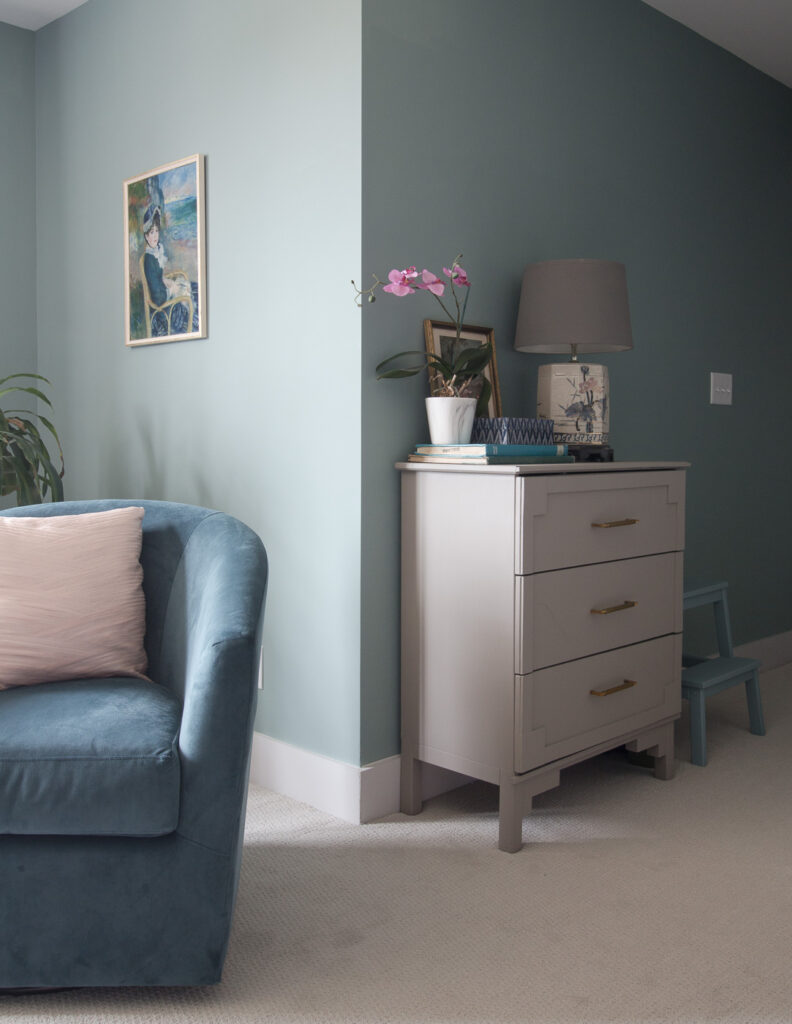
Because this room has no closet, I needed to fit as many storage pieces into the room as attractively possible. As I was working to tidy the space, I realized I kept creating small piles of things in this area against the wall. The jog out into the room creates sort of an entry or hallway. I decided to replace the larger dresser I was going to use behind the swivel chair with this thinner profiled one in the “hall”.
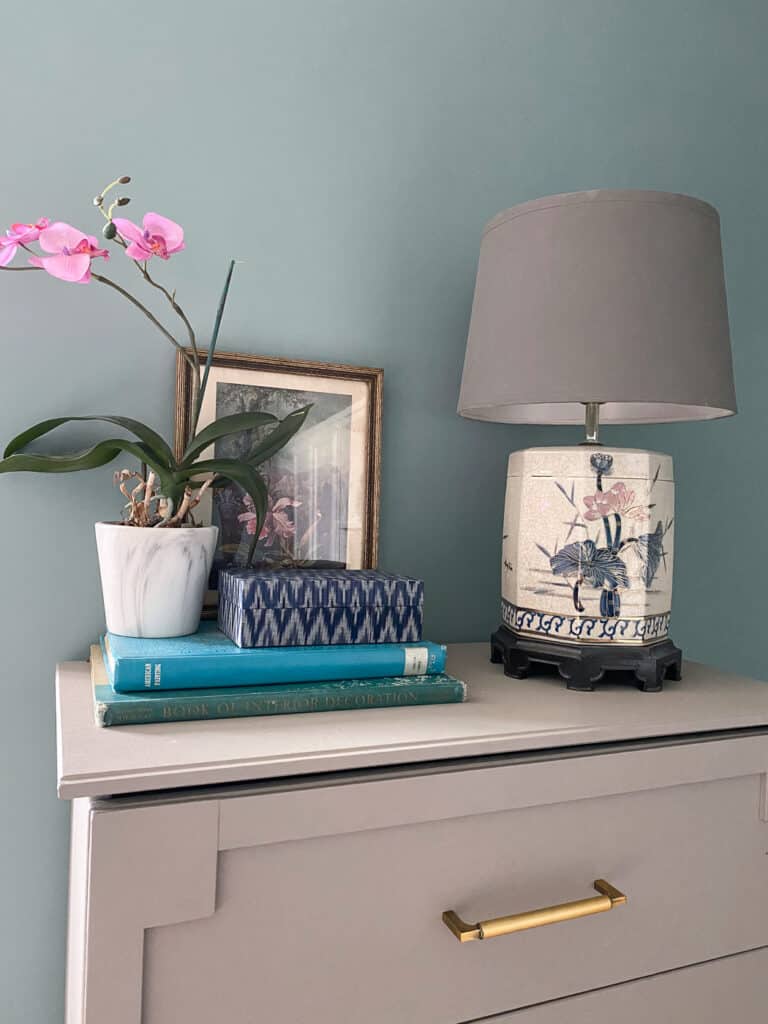
There is actually a full 32″ between the dresser and the standing shelf. The room is almost solely used by me, and occasionally my daughter when she is home from college, so I think this is perfectly acceptable.
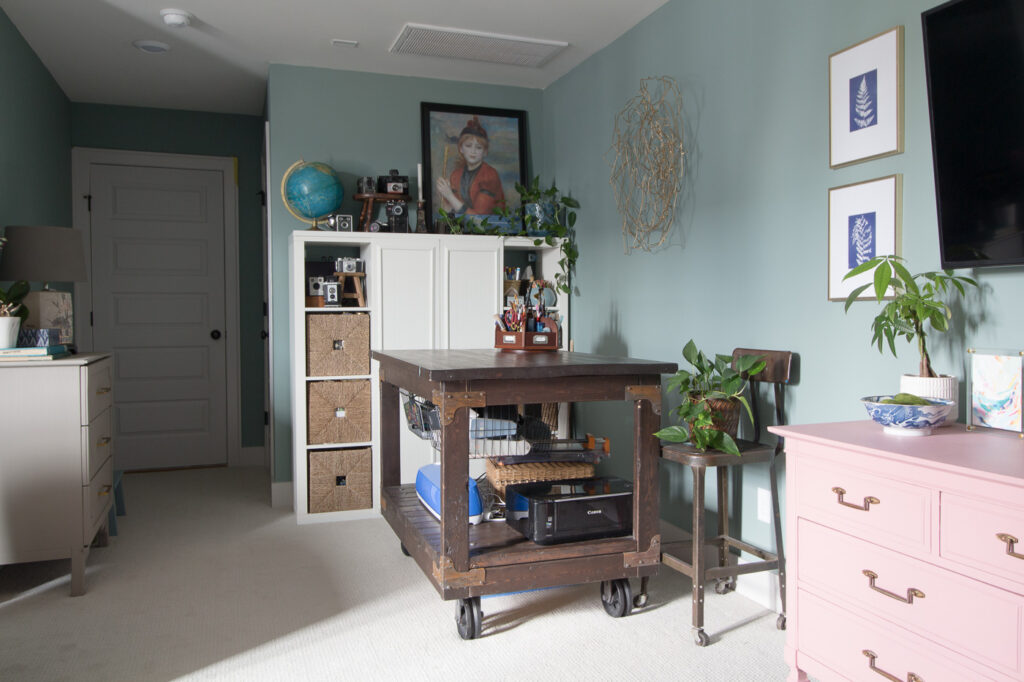
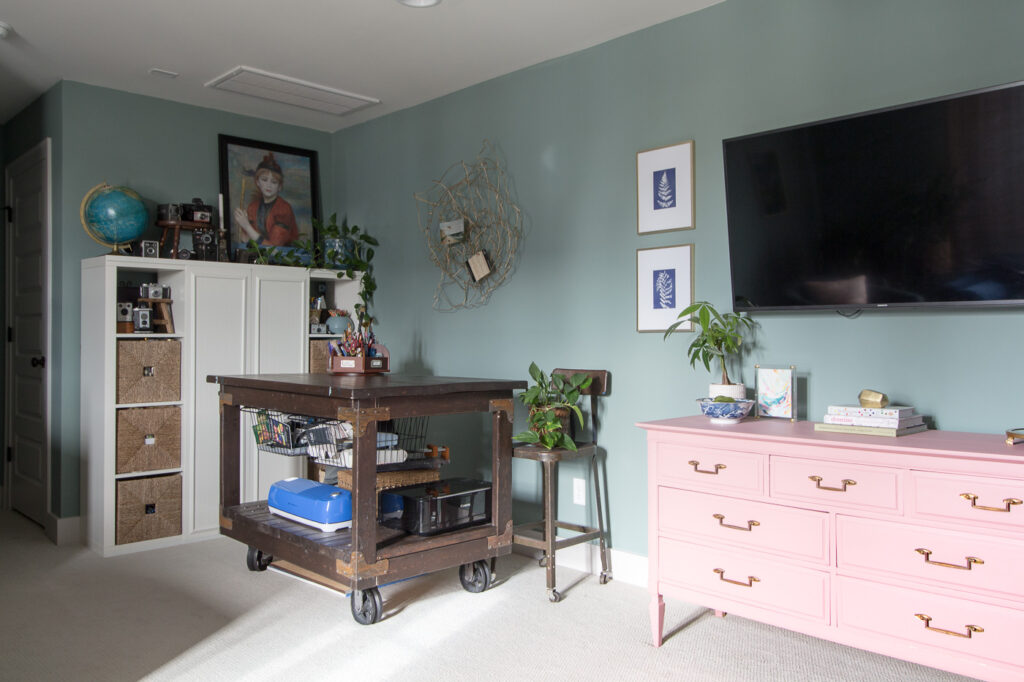
My large, industrial cart inspired craft table holds all of the other electronics in the room. I love that I built it on wheels so that if I need to shoot video or photograph crafts for the blog or YouTube, I can easily roll the cart closer to the natural light of the window. (You can see how I built this craft cart completely from 2×4’s in this blog post.)
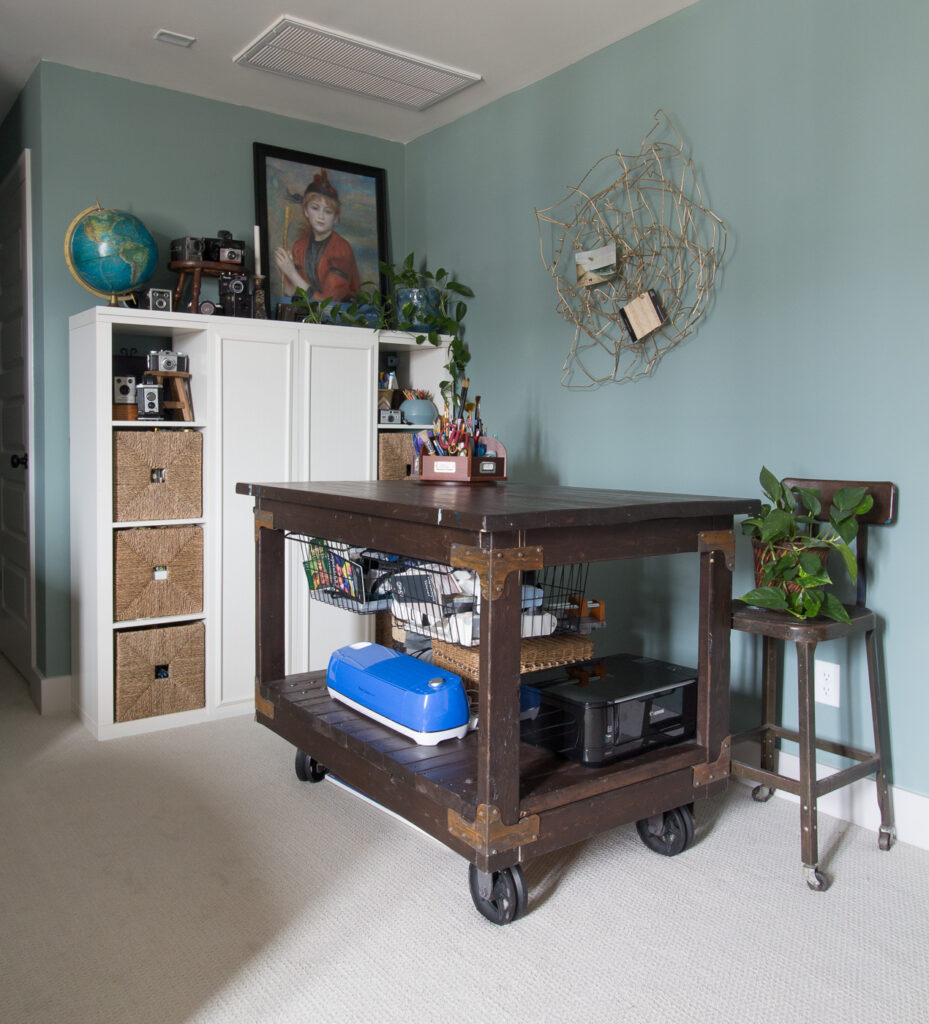
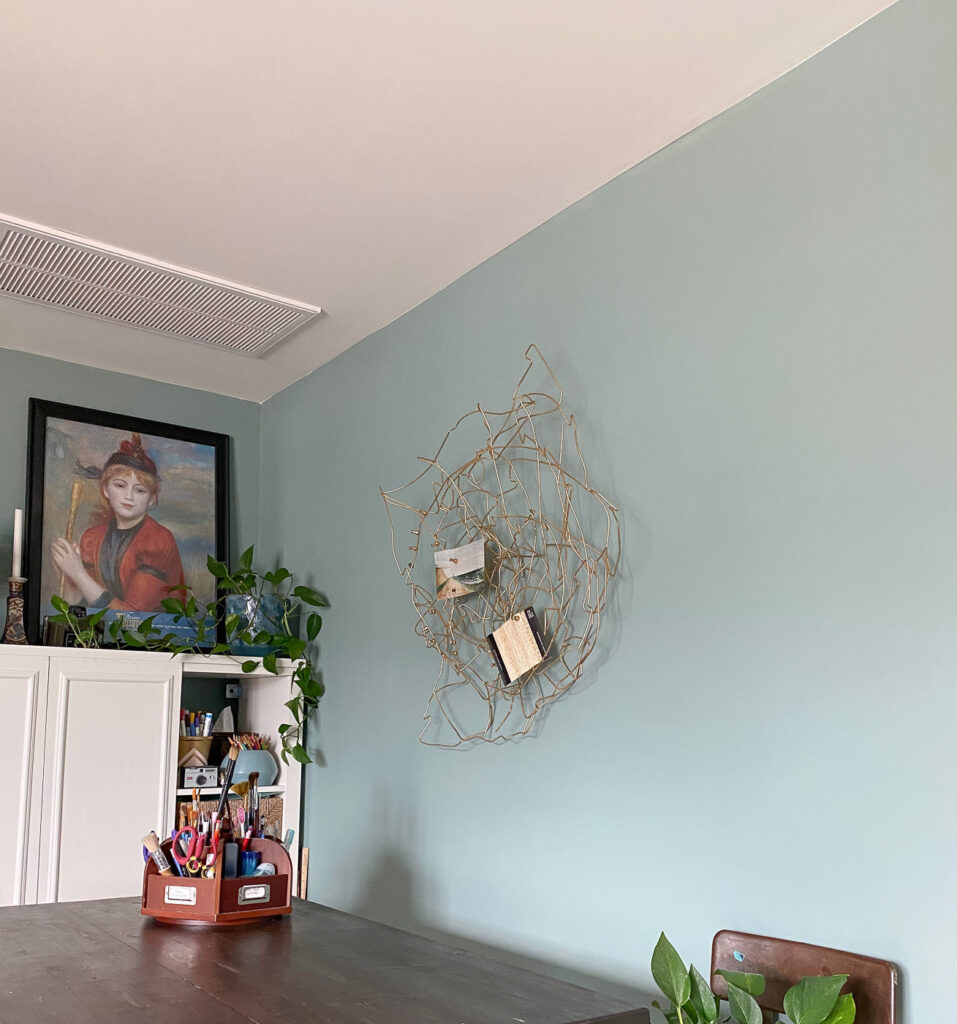
Over the craft cart, I hung this wire “art” that was a recycled piece of metal from the root ball of a tree. I have been hanging on to it for years and decided to paint it gold. I have magnets to attach inspirational images and swatches. While Pinterest will always be a great place to corral design ideas and imagery, it’s nice to have a rotating collection of physical images too. (You can follow me on Pinterest too!)
My existing Ikea Kallax unit has always been the main storage piece in my studio/office spaces. The storage is ample but I always felt like it contributed to the visual clutter of the room, even with a majority of the items stored within baskets.
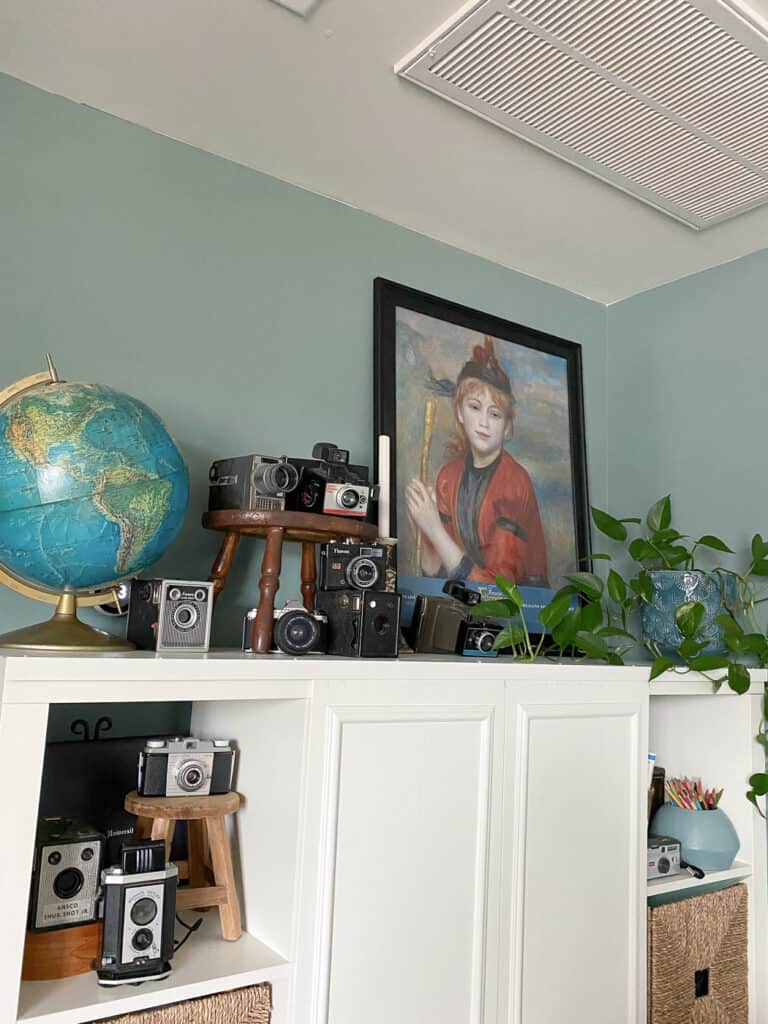
To reduce that visual clutter we added sliding doors to the front. I shared a detailed tutorial for adding doors to an Ikea Kallax here. This tutorial could definitely be used for any bookshelf though.
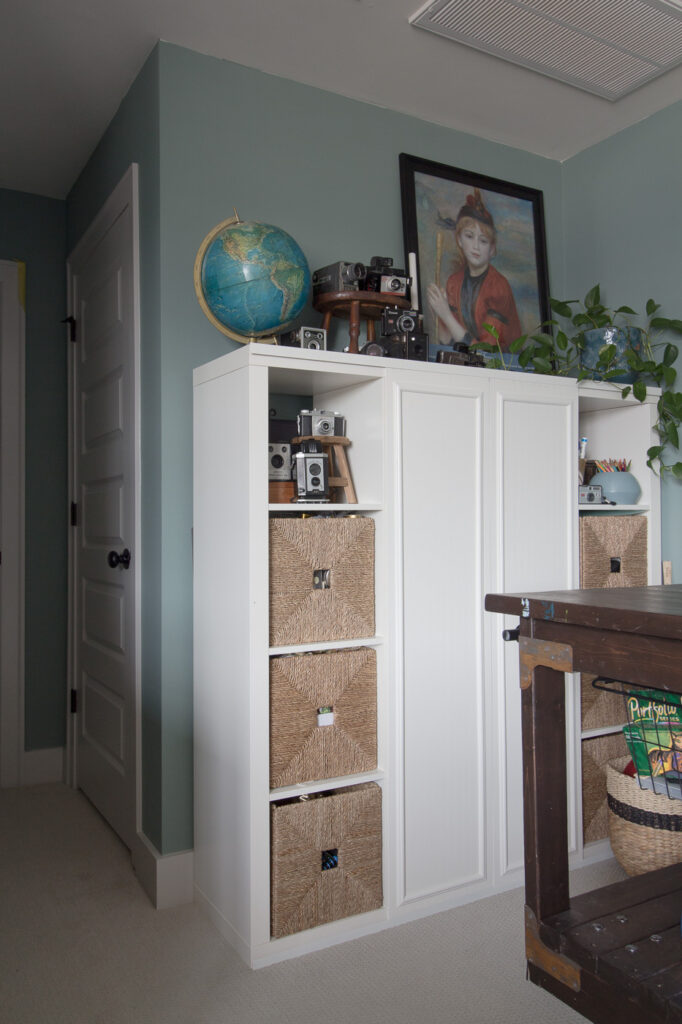
Once I am able to shop around a little more, I will look for suitable knobs to help slide the doors more effectively. I was careful to add items that I don’t need access to as often behind the doors.
Deciding what to do next?
As I compare the room arranged in these two different manners, I can see the value of both as aesthetically pleasing and practical for daily use.
Here is another look for a comparison.

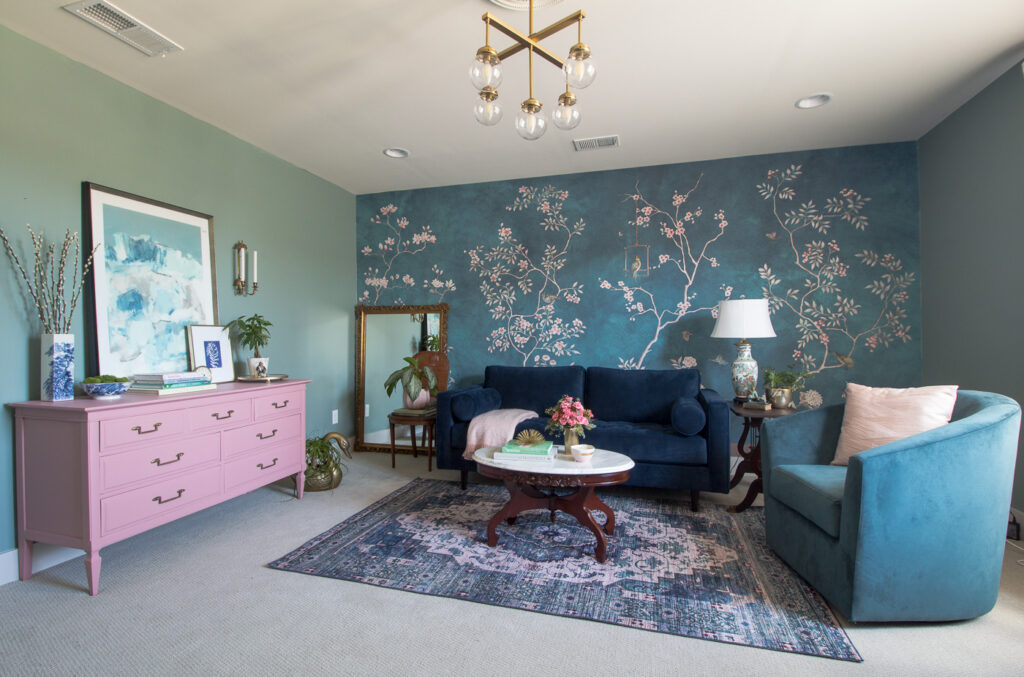
I think for now I’ll leave it like this. The way I thrive on change though, it will likely not look like this forever!

I’d love to know your thoughts!
Special thanks to Build.com for the special additions to this room. They are truly my number one resource for finishing our home.




3 Comments
Cynthia
March 28, 2020 at 4:36 pmWow! A huge improvement … in a relatively short timeframe. It takes me years (if ever) to accompany a project.
However, it would drive me crazy to have my back to the door. Have you considered turning it around and moving it away from the wall (same location, but facing the door)?
Dena
March 29, 2020 at 4:02 pmI love everything about this room, except for the desk. Like Cynthia, I suggest turning your desk around so your back is facing the wall. That way your back would not be facing the door, you could see the tv from your desk and it would fix the problem of the rug bunching under the chair wheels. Of course you would have to hide your electronic wires, but there are plenty of fixes for that on the market. Beautiful colors and wallpaper.
Cyndi J
March 30, 2020 at 10:40 amIt’s a beautiful room. I’d never leave! As the others have mentioned, bring the desk forward so you can sit behind it. I’m thinking you already tried that but if not . . .